Programming a weather radio is a critical step in ensuring you receive timely alerts and information about severe weather conditions in your area.
Weather radios provide a dedicated source of weather forecasts, alerts, and emergency information, often supplied by the National Oceanic and Atmospheric Administration (NOAA) and the National Weather Service (NWS). With the proper setup, these radios can be a lifeline during unpredictable weather patterns by offering alerts for tornadoes, hurricanes, severe thunderstorms, and other emergency weather conditions.
Setting up your weather radio requires understanding its functions, configuring alert types, and occasionally troubleshooting issues that may arise. The process involves entering specific codes for your geographic area to receive the correct alerts, adjusting the device’s settings for your desired notification level, and maintaining the device to ensure its continued performance.
Regularly updating your weather radio and familiarizing yourself with its various features can significantly enhance your readiness for severe weather events.
To program a weather radio, input local SAME codes, adjust alert settings, and ensure the device is maintained for accuracy. Regular updates enhance preparedness for severe weather.
Understanding Weather Radios
Weather radios are vital for staying informed about severe weather conditions in your area. Knowing how to program your weather radio can ensure timely alerts and potentially save lives.
Types of Weather Radios
Among the variety of weather radios available, NOAA weather radios stand out due to their reliability and direct connection to the National Weather Service’s broadcasts. Standard models typically offer basic forecast information and weather alerts. Advanced models might include features like an AM/FM radio, flashlight, or hand crank power options. For antenna design, most models come with a whip antenna, but in areas with weaker signal reception, an external antenna may be necessary for improved clarity.
SAME Technology and Codes
SAME, or Specific Area Message Encoding, allows you to receive alerts tailored to your location. When you program your S.A.M.E. code, you can choose to receive warnings for a single county or multiple counties, ensuring you get the necessary information without being overwhelmed by irrelevant alerts. Your NOAA weather radio guide will have detailed instructions on setting up this feature.
Signal and Reception
The strength of the reception can vary based on your geographical location and the antenna design of your radio. For optimal reception, place your weather radio near a window and away from electronic interference. If you’re in an area with a known weak signal, consider purchasing a radio with an external antenna to boost the ability to catch the designated NOAA frequencies. Signal quality is crucial for ensuring that alerts are timely and clear, allowing you to respond to weather threats appropriately.
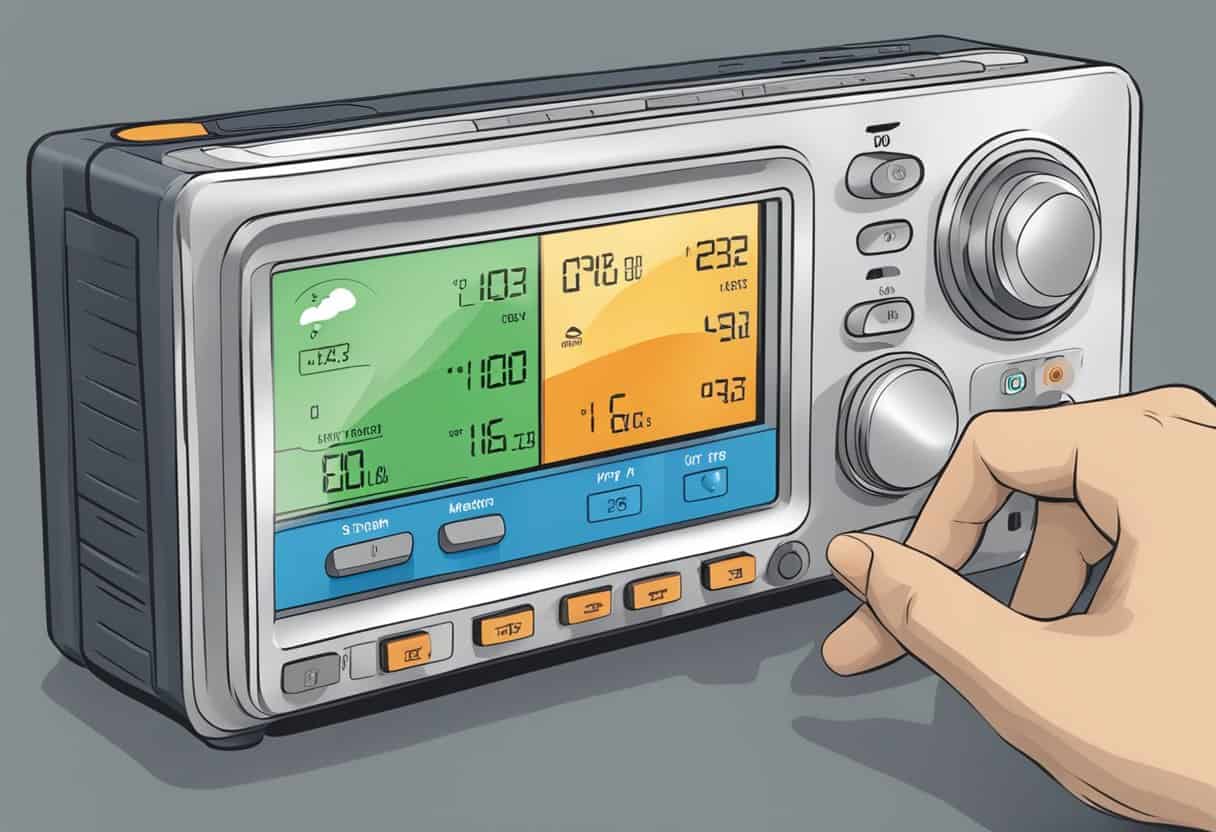
Programming Your Weather Radio
Programming your weather radio is a crucial step to ensure you receive timely alerts about severe weather conditions in your area. By accurately setting up your device, you can stay informed and prepared for any weather emergencies.
Basic Setup Instructions
To begin, insert fresh batteries or connect your weather radio to a power source. Turn on the radio and locate the set button or programming instructions in your manual. Using the prompts on the radio, set the time and date to ensure timely alerts.
Setting Location Codes
Next, determine the county codes (also known as SAME codes) for your location. You can find these codes listed by state and county in your manual or on the National Weather Service website. Use the set button to navigate to the location programming area and enter your county codes. If your radio allows for multiple codes, consider adding neighboring counties to stay informed about approaching systems.
Adjusting Alerts and Warnings
Finally, customize which alerts and warnings you’d like to receive. Select the channel with the strongest signal that broadcasts weather frequency updates in your area. In your radio’s menu, you might also have the option to turn off non-essential alerts to minimize disturbances. Always ensure the device is set to a loud enough volume to hear the alerts.
Advanced Features and Maintenance
When configuring your weather radio, understanding its advanced features and routine maintenance is essential for optimum performance during critical weather conditions. Your weather radio is a lifeline to real-time alerts, and proper setup with reliable power sources and accessories ensures you’re always prepared.
Power Sources and Backup
Your weather radio typically runs on AC power, but it’s crucial to have a battery backup. In the event of a power outage, AA batteries can keep your device operational. Most models will signal when batteries are low, but it’s best to check regularly and replace them proactively.
- Primary Power: Plug into AC outlet.
- Backup Power:
- Install a fresh set of AA batteries.
- Check the backup battery life monthly.
External Devices and Antennas
Utilize the external antenna jack if you’re in an area with poor reception to improve signal strength. For enhanced alerts, connect external notification devices, such as strobe lights or bed shakers, especially helpful if you have difficulty hearing.
- Antenna Improvements:
- Connect an external antenna for stronger reception.
- Notification Add-ons:
- Integrate devices for visual or tactile warnings.
Testing and Updating Your Device
Regularly test your weather radio to ensure it’s receiving transmissions properly. Pay attention to warnings like a tornado warning or severe thunderstorm warnings, which can save lives. Update your device’s settings if you move to a new area or if there are changes in channel frequency.
- Routine Testing:
- Perform a test reception every month.
- Stay Updated:
- Adjust settings as needed for local weather alert frequencies.
Troubleshooting Common Issues
When programming your weather radio, encountering certain issues is common. This section is designed to guide you through resolving typical problems such as unwanted alarms and poor reception, to ensure your weather radio is reliable and adheres to technical standards, like those symbolized by the public alert logo.
Coping with False Alarms
False alarms can be disruptive, but you can manage them effectively. Firstly, verify that the controls on your device are set correctly—this ensures you receive appropriate alerts. Secondly, if your weather radio has it, consider adjusting the siren volume or warning light settings to minimize disturbance during non-critical alerts. For advanced users, programming the Specific Area Message Encoding (SAME) can significantly reduce false alarms by tailoring the alerts to your specific location.
Improving Reception and Sound Quality
To enhance the reception and sound quality of your weather radio, start by repositioning the antenna for optimal signal strength. If necessary, relocate your radio to a higher place or near a window. Use of an external antenna could also help. Furthermore, make sure to adjust the audio settings to ensure the alarm, watch light, and statement light are clear and discernible. Regularly cleaning the speaker grills can also prevent muffled sound.
Handling Device Malfunctions
In case of device malfunctions, a step-by-step approach can save time and effort. Begin by checking the power source and batteries, as these can often be the culprit. If all lights, including the LED alert, are non-functional, consult the manufacturer’s troubleshooting section in the manual. If basic troubleshooting doesn’t resolve the issue, your device may need professional repair or replacement to meet the necessary technical standards.
Frequently Asked Questions
When programming your weather radio or troubleshooting reception issues, it’s important to have precise guidance at your fingertips. Here’s a straightforward set of answers to common questions about the setup and maintenance of various weather radio models.
What are the steps to program county codes into a Midland weather radio?
To program county codes into your Midland weather radio, you’ll need to enter the menu mode, select ‘SAME SET’, and then input the specific county codes for your area. These codes can typically be found on the NOAA website or in the weather radio’s manual.
How do I set up a Radio Shack NOAA Weather Radio?
To set up a Radio Shack NOAA Weather Radio, first, insert the batteries and connect the radio to power. Next, press the ‘Menu’ button and navigate to the ‘Set Location’ option to input your local codes. Ensure the antenna is extended and positioned for optimal signal reception.
What frequencies should I use to receive NOAA Weather Radio broadcasts?
NOAA Weather Radio broadcasts occur in the VHF public service band at seven frequencies ranging from 162.400 to 162.550 MHz. You should auto-scan or refer to the NOAA website to identify the strongest frequency in your location.
How can I find SAME codes for use with my NOAA Weather Radio?
SAME codes, or Specific Area Message Encoding codes, can be found by visiting the National Weather Service website and searching for your county. These codes enable you to receive targeted alerts for your specific area.
What should I do if I’m experiencing issues with receiving NOAA Weather Radio broadcasts?
If you’re having trouble with reception, try repositioning your weather radio or its antenna. Ensure the device is in a location free from obstructions and move it towards a window. Check for any weather or geographic factors that might affect the signal and consider using an external antenna for better reception.
Where can I find a manual for my All Hazards NOAA Weather Radio?
Manuals for All Hazards NOAA Weather Radios are often available on the manufacturer’s website. Search for your specific model number to find the correct manual, which will provide detailed instructions for use and troubleshooting.