Resetting your weather station can be an essential step toward ensuring accurate readings and reliable weather forecasts.
Whether you’re a hobbyist or rely on weather data for agricultural or scientific purposes, a reset may be necessary to correct errors, update firmware, or clear old data. Before initiating a reset, it’s crucial to understand how your weather station functions and to be familiar with the data it collects. This groundwork will enable you to approach the reset process methodically and minimize the risk of losing important historical weather data.
The reset process typically involves a sequence of actions customized for your specific weather station model. It is generally straightforward but requires attention to detail to ensure that all steps are followed correctly. After a reset, you will likely need to reconfigure your device settings, which may include date and time, calibration settings, and alarms. This post-reset configuration leads your weather station back to its optimum performance, providing you with accurate weather measurements.
In the unfortunate event you encounter issues during or after the reset, troubleshooting common problems may be necessary to get your weather station back on track.
Resetting your weather station is key for accurate data and fixing issues. Follow specific reset procedures, reconfigure it, and troubleshoot if needed. Understand its components, check connections and sensors, then reset when necessary. Maintain it carefully for reliable weather data.
Understanding Your Weather Station
When you’re looking to get accurate weather readings, a foundational grasp of your weather station’s components and their roles is essential. By understanding how these elements work together, you can ensure precise data collection and interpretation relevant to your location.
Components and Functions
Your weather station is typically comprised of several key components that each record different aspects of the weather:
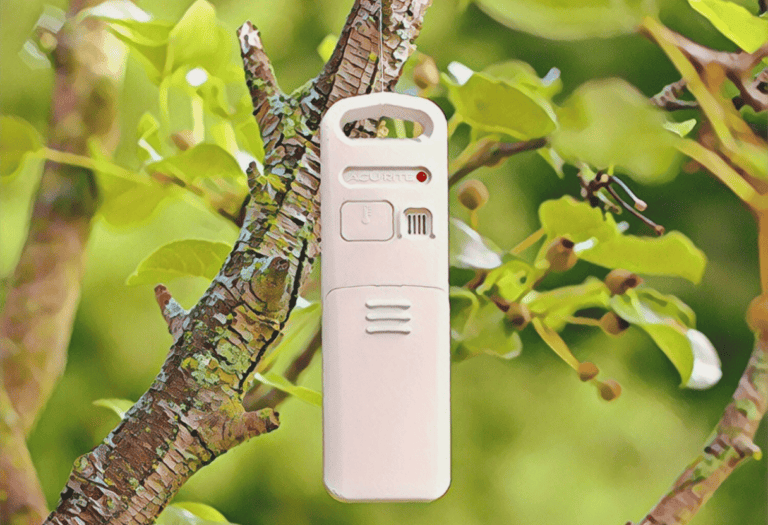
- Sensor Suite: This is the heart of your weather station. It commonly includes sensors for measuring temperature, humidity, wind speed, and rainfall.
- Temperature Sensor: Measures the air temperature, usually in degrees Celsius or Fahrenheit.
- Humidity Sensor: Records the amount of moisture in the air as a percentage.
- Wind Speed Sensor: Often referred to as an anemometer, this measures how fast the wind is blowing.
- Rain Gauge: Collects and measures the amount of precipitation over a certain period.
These sensors are typically housed together in a unit placed in an outdoor location that can representatively capture outdoor temperature, humidity, wind, and rain data.
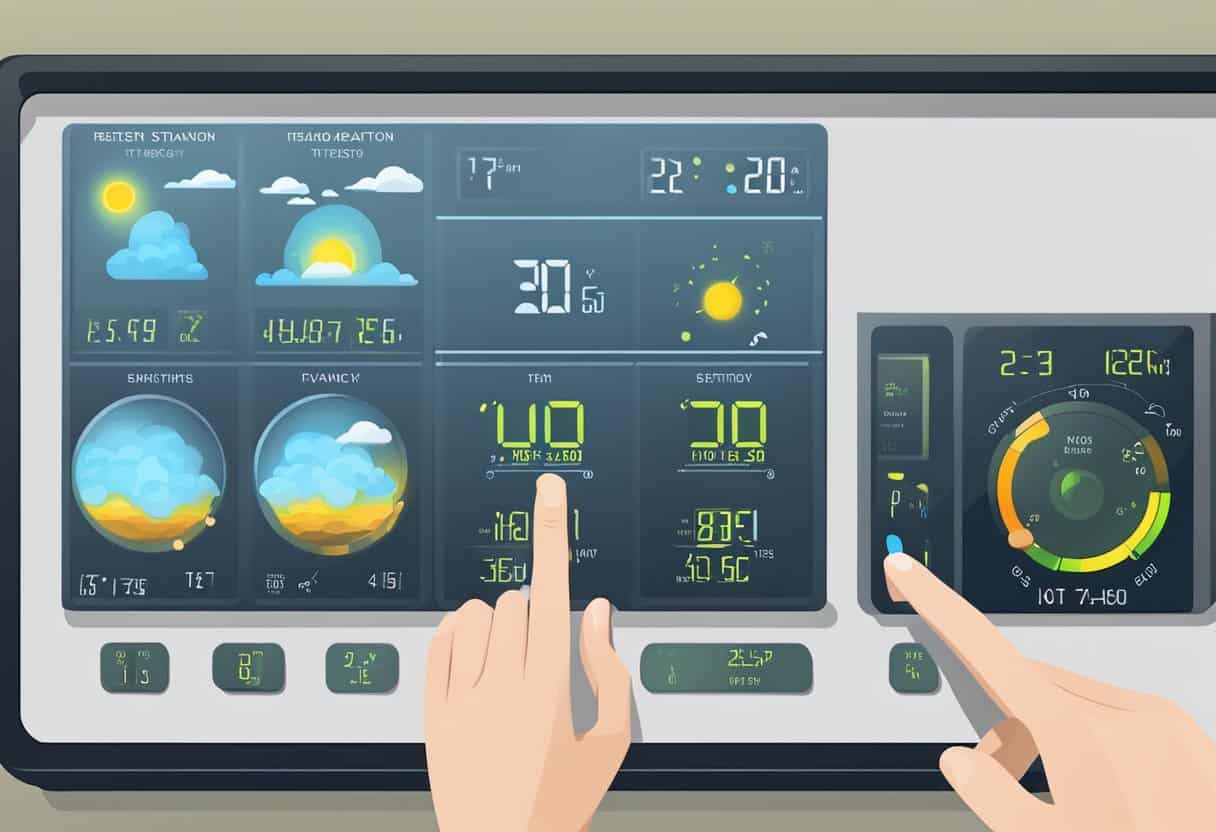
- Display Console: Your station’s display acts as the interface, presenting the collected data in an understandable format. It can showcase current readings, historical data, as well as forecasts based on collected data.
Operating Principles
The operating principles behind a weather station revolve around realtime data capture and analysis:
Data Collection: Sensors continuously collect environmental data. Your weather station is designed to be sensitive and responsive so that it can provide up-to-the-minute information on the weather conditions.
Data Transmission: Once collected, this data is then wirelessly transmitted to your display console. This process typically involves a form of radiofrequency communication to ensure that the data is updated in real-time.
By keeping an eye on your weather station’s display panel, you can observe real-time temperature changes, humidity variations, wind speed dynamics, and identify when it starts to rain. This immediate insight into current conditions can be crucial, especially if you need accurate weather information for activities like agriculture, aviation, or event planning. Understanding these principles ensures you can trust the accuracy of your weather station’s readings and forecasts.
Before Resetting
Before attempting to reset your weather station, it’s crucial to ensure that it’s necessary and that the device is prepared for the reset. This involves checking the battery levels, assessing the quality of the wireless connection, and verifying the current status of the sensors.
Checking Battery Levels
Make sure that the batteries in the weather station and its outdoor sensor are sufficiently charged. Weak batteries can cause many issues, including inaccurate outdoor readings. Open the battery compartment and replace the batteries if needed. Wait for about 1 minute before powering up the weather station again, as recommended in the LaCrosse Technology manual.
Assessing Connection Quality
Assess the connection quality between the weather station and its sensors. A poor wireless signal can lead to interrupted data transmission. If the signal is weak, troubleshoot by re-positioning the units closer together or away from obstructions that might block the signal. This can often resolve connection issues without the need for a reset.
Verifying Sensor Status
Verify that the sensors are operational and providing accurate data. Check the sensor readings and compare them with known standards or other sources to confirm their accuracy. If a sensor is malfunctioning, a simple reset might not suffice; in some cases, you might need to address specific troubleshooting steps for that sensor or even replace it.
Reset Procedures
Resetting your weather station is a straightforward process that ensures accurate data collection and functionality. There are several steps you should follow to properly reset and calibrate the station, ranging from a basic restart to a more comprehensive hard reset.
Basic Restart Steps
To initiate a basic restart, locate the reset button usually found on the base unit of your weather station. Press this button once to reset the system, which will typically sync the indoor and outdoor modules. After restarting, check if the data display is functioning correctly. It’s important to use recommended batteries to avoid power issues that can affect the reset process.
- Press the reset button on the base unit.
- Wait for the stations to sync and display updated data.
- Confirm functionality.
Performing a Hard Reset
For a hard reset, you’ll need to power down your weather station completely. Remove all power sources including batteries and disconnect any power cables. Before reinstallation, ensure the station is left unplugged for a few minutes. A factory reset will revert the station to its original settings, which is helpful in troubleshooting steps when a basic restart doesn’t resolve an issue.
- Disconnect all power sources.
- Wait a few minutes.
- Reinstall batteries and reconnect power.
- Pair the station with any external sensors.
Calibration After Reset
Once the weather station is reset, calibration is essential for accurate data collection. Follow your station’s specific set up instructions to calibrate sensors for temperature, humidity, or other variables as needed. Calibration ensures that, post-reset, your station’s data is reliable and reflects true environmental conditions.
- Refer to the user manual for calibration steps.
- Perform necessary calibrations for all relevant sensors.
- Verify accuracy with known measurements.
Post-Reset Configuration
After resetting your weather station, it’s essential to re-establish connections, set the correct time and date, and perform a final calibration to ensure accurate readings. This process is critical to retrieve reliable data from your weather station.
Syncing Devices
To resume the synchronization of your weather station devices, begin by turning on your Acurite weather station and any remote sensors you have. Next, ensure that each device is set to ABC switch – this might be a small switch on your devices labeled ‘A,’ ‘B,’ or ‘C.’ Choose the same channel for each device to properly pair and initiate the sync process. Your console and external sensors should start communicating, and you’ll see the temperature, humidity, and wind readings reappear.
Setting the Time and Date
Your weather station’s internal clocks require accurate time and date settings to log data correctly. Navigate to the settings menu on your Acurite weather station, and look for the option to set the time and date. Use the buttons typically marked with symbols or labels to adjust the values. Correct time settings are crucial for proper record-keeping and data analysis.
Final Calibration
For precise readings, calibrate your temperature, humidity, and wind sensors. Start with the temperature sensor, placing it in a location out of direct sunlight and away from any heat sources for an accurate temperature reading. Next, calibrate your station’s humidity sensor by using a known humidity source or calibration kit. Finally, ensure the wind sensor is clear from obstructions and moves freely for it to measure wind speed and direction correctly. Regularly check the calibration to maintain the integrity of your weather station’s data.
Troubleshooting Common Issues
When your weather station isn’t performing as expected, addressing common problems can often lead to quick solutions. Below are targeted troubleshooting tips aimed at ensuring accurate weather readings and optimal performance.
Loss of Signal
If your weather station has stopped working due to a loss of signal, the first step is to check for obstructions that might block wireless communication. Make sure the distance between the transmitter and receiver does not exceed the manufacturer’s recommended range. If there are walls or large objects between them, try relocating your weather station components to ensure a clearer signal path. Additionally, check the batteries, as low power might weaken the signal strength.
Inaccurate Readings
To maintain accuracy in your weather data, calibrate sensors periodically according to the manufacturer’s instructions. Extreme temperatures and sudden weather changes can sometimes affect sensor readings. Protect your devices by placing them in locations shielded from direct sunlight and precipitation. If readings continue to be off, consider a factory reset to clear the memory and restore accurate weather readings.
Display Malfunctions
High definition displays are essential for reading your weather data easily. If the display is malfunctioning, start with the simplest fixing step: Check the power supply and connection cables. If your display unit uses batteries, replace them to see if this resolves the issue. For persistent problems, refer to the product’s manual for specific troubleshooting tips or contact customer support for assistance.
Remember, regular maintenance and careful placement of your weather station can prevent many issues from arising. By following these troubleshooting issues, you can ensure your weather station provides reliable data throughout its lifespan.
Maintaining Your Weather Station
Proper maintenance of your weather station is essential for accurate data and long-term performance. Precise care, optimal station placement, and diligent battery management are crucial steps you must follow.
Regular Cleaning
To ensure the accuracy of readings and prevent damage from environmental factors, it is paramount to clean your weather station regularly. Dust and debris can interfere with sensors and skew results. Follow these steps for cleaning:
- Exterior Surfaces: Use a soft, damp cloth to gently wipe away any dirt or dust.
- Sensors: Clear any obstructions and carefully remove debris without damaging delicate parts.
- Rain Gauge: Check for leaves and other blockages that can affect rainfall measurements.
- Humidity Sensors: Remove dust and cobwebs, as they can trap moisture and affect readings.
Optimal Placement
Selecting the right location for your weather station is key to obtaining reliable data. Here are the conditions for optimal placement:
- Sun and Shade: Place temperature sensors in a location with natural shade to avoid direct sunlight.
- Open Area: Ensure the station is in an open area away from obstructions to accurately measure wind and rain.
- Height: For wind measurements, the station should be placed at least 10 feet above ground level.
- Moisture: Avoid placing the station in areas prone to pooling water or excessive moisture.
Battery Care
To avoid power interruptions and potential data loss, take care of your weather station’s batteries with these guides:
- Types of Batteries: Use high-quality lithium batteries in colder climates for better performance.
- Regular Checks: Inspect the battery compartment every few months for signs of corrosion or leaks.
- Replacement Schedule: Replace batteries at least once a year, or as indicated by your station’s low battery indicator.
By following these specific maintenance steps, you ensure that your weather station operates efficiently and provides you with the most accurate weather data.
Seeking Additional Help
When attempting to reset your weather station, you might find that you need additional assistance beyond the basic troubleshooting steps. Expert support is often available to help you through technical difficulties, and your weather station’s manual is an invaluable resource for resolving issues related to setup and operation.
Contacting Support
To receive personalized assistance, contact the support team of your weather station’s manufacturer. You can typically reach out in the following ways:
- Phone: Call the support line for direct conversation with a support agent.
- Email: Send a detailed description of your issue and await a written response.
- Live Chat: If available, use the manufacturer’s live chat for real-time help.
Remember to have your model number and purchase information at hand, as this will expedite the support process.
Consulting the Manual
Your weather station’s manual is a comprehensive guide for setup and troubleshooting. Look for sections labeled:
- “Troubleshooting”
- “FAQs”
- “Reset Instructions”
It’s crucial to follow the manufacturer’s recommended steps for resetting your device to ensure you do not inadvertently void any warranties or cause further issues. If your manual is missing, visit the manufacturer’s website to find a digital copy.
Conclusion
When you’re considering a reset on your weather station, it’s imperative to understand the implications and benefits it brings to your device. A reset on a wireless weather station often serves as a troubleshooting step that can resolve various issues, restoring functionality to the system.
Your small device relies on accurate data collection and processing to deliver reliable weather forecasts. In instances where anomalies or persistent errors occur, restarting the weather station can be a practical solution. This process typically involves:
- Turning off the device
- Waiting a brief period
- Powering the device back on
Remember, a reset should serve to enhance the weather station’s performance, ensuring that data is accurately gathered and disseminated for your utilization. Keep in mind that regular maintenance, including occasional resets, can prolong the lifespan of your weather station, ensuring that it continues to operate at peak efficiency.
Always refer to the manufacturer’s instructions or support resources if you’re unsure about how to reset your particular model.
Frequently Asked Questions
Navigating through the use and maintenance of weather stations can often lead to questions about setup and troubleshooting. Here, you’ll find direct answers to some common inquiries regarding La Crosse and Ambient weather stations, as well as AcuRite models.
How do I replace the outdoor sensor on my La Crosse weather station?
To replace the outdoor sensor, first remove the old sensor by unscrewing it from its mounting position. Insert the new sensor, ensuring that it’s compatible with your model, and secure it in place. Finally, synchronize the sensor with your weather station by following the pairing instructions.
What are the steps to reset the time on a La Crosse weather station?
Reset the time by pressing the ‘time’ or ‘set’ button on your La Crosse weather station. Use the ‘+’ or ‘-‘ buttons to adjust the hours and minutes as needed. Confirm your changes by pressing the ‘time’ or ‘set’ button again, which should save the new time settings.
How can I troubleshoot an outdoor sensor that is not working on my La Crosse weather station?
Start troubleshooting by checking the batteries in the outdoor sensor and replace them if necessary. Ensure the sensor is within range of the indoor unit and that there are no obstacles causing interference. Also, verify that the units are properly paired according to the instruction manual.
What procedure should I follow for a factory reset on an Ambient weather station?
A factory reset can be performed by locating the reset button on the Ambient weather station, which is usually found at the back of the console. Press and hold this button for a few seconds until the display indicates that the reset is complete. Refer to your specific model’s manual as procedures may vary.
Why might a weather station not display outside temperature readings, and how can this be rectified?
A weather station might not display outside temperature readings due to dead batteries, poor placement, or signal interference. Replace the batteries if needed, ensure the sensor is placed in a location free from obstructions, and minimize interference from electronics or large metal objects.
How can I reset an AcuRite weather station if it’s not reading the outside temperature correctly?
If your AcuRite weather station is giving incorrect temperature readings, start by removing batteries from both the display unit and the outdoor sensor. Wait for 2 minutes before reinstalling the batteries. This will reset the connection and should correct the temperature discrepancy.