Mounting a weather station at home can greatly enhance your awareness of local weather conditions, but proper installation is crucial for accurate data collection.
The location you choose for your weather station impacts its performance and reliability. It should be situated in an area that reflects true environmental conditions without obstruction by trees, buildings, or other structures that could affect readings. Siting your station requires careful consideration of height and exposure to provide the most representative measurements.
Once an appropriate location has been determined, selecting the right mounts and hardware is the next step. Various options are available to secure your personal weather station, including poles, brackets, or rooftop mounts. Each type has its advantages and is suitable for different scenarios. During installation, ensure the station is level and firmly attached to prevent any movement that could lead to inaccurate results.
Additionally, post-installation steps such as calibration and testing are critical to confirm that your weather station operates correctly and provides reliable data.
Mount your weather station away from obstructions, at least 6 feet above ground, using sturdy mounts for accurate data. Regular calibration and maintenance are crucial.
Choosing the Ideal Location
Selecting an optimal site for your weather station is crucial to obtaining the most accurate readings of ambient weather conditions. Your chosen location significantly influences the data quality, especially for parameters like wind, humidity, and temperature.
Assessing Your Environment
Before mounting your weather station, take a moment to survey your property. In suburban areas, you need to consider the presence of nearby structures that could affect readings. For wall or eave mounts, ensure there’s minimal heat transfer from your home. If you’re in a rural area, choose a spot away from tall trees or large buildings that could serve as obstructions.
Understanding Wind Patterns and Obstructions
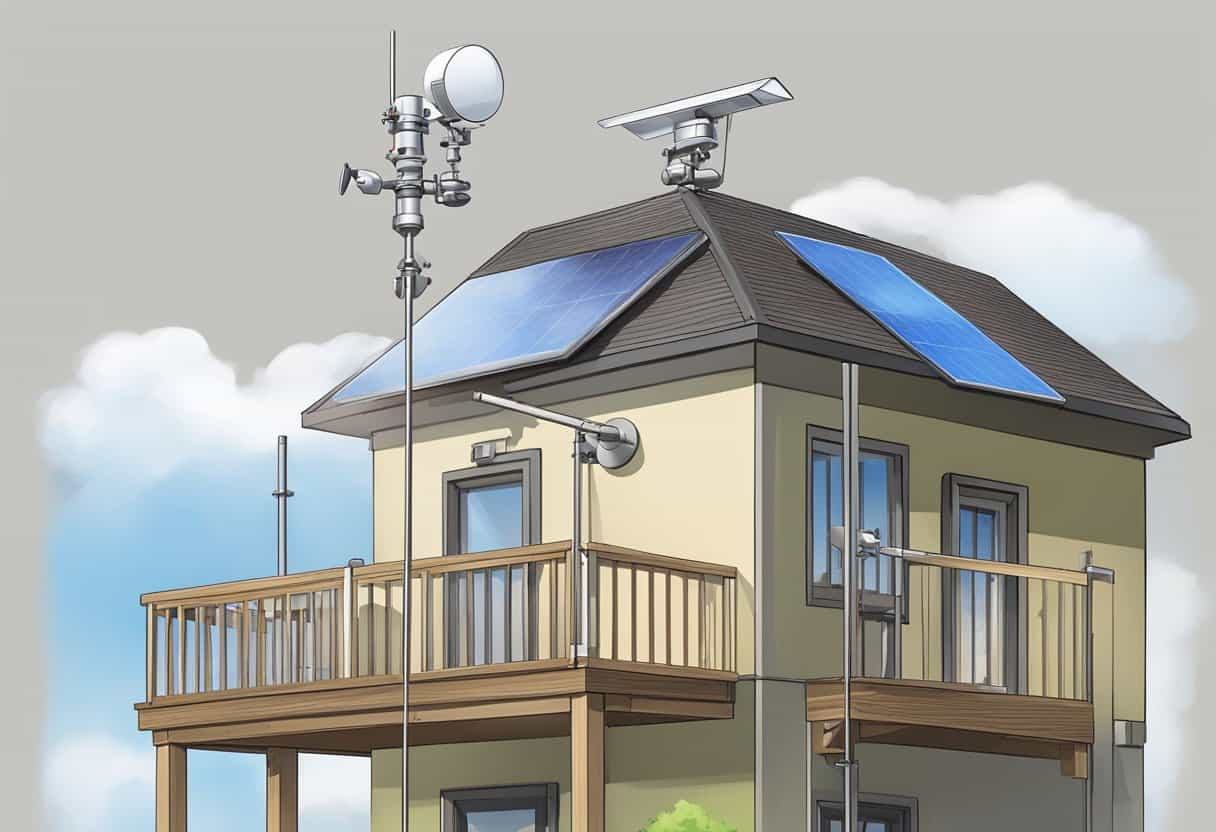
To capture the most accurate wind direction and speed, mount your anemometer at least 10 feet above the ground or any obstructions, such as a fence or wall. The roof often provides the clearest path for wind, but ensure it’s safely accessible for maintenance. Also, avoid placing the anemometer too close to the edge where the structure itself may cause turbulence.
Evaluating Sun Exposure and Shade
Your weather station’s sensors, including those for humidity and temperature, function best when sheltered from direct sunlight by a radiation shield. With this in mind, position your station where it can receive consistent ambient conditions throughout the day—neither full sun nor heavy shade. If mounting on the ground, a naturally shaded area that still allows for free air circulation can be ideal.
Types of Mounts and Hardware
Selecting the appropriate mounts and hardware is crucial for the accurate functioning of your weather station. The material and design of the mount can influence stability and overall data precision. Here, explore the different mounting options to ensure your weather station’s optimal performance.
Pole Mounts and Masts
For mounting at various heights, pole mounts and masts are versatile options. You can use a simple fence post, or select a specialized weather station mast made of materials like steel or PVC piping. To secure your pole mount, it’s important to stabilize it with guy wires, especially if the location is prone to strong winds.
Eave and Wall Mounts
Eave and wall mounts are great for attaching your weather station to the side of a structure. When using a wall mount, make sure it extends far enough out to avoid interference from the building. Wall mounts tend to be made of durable materials like steel or plastic and are often designed as universal mounts, fitting a variety of weather stations.
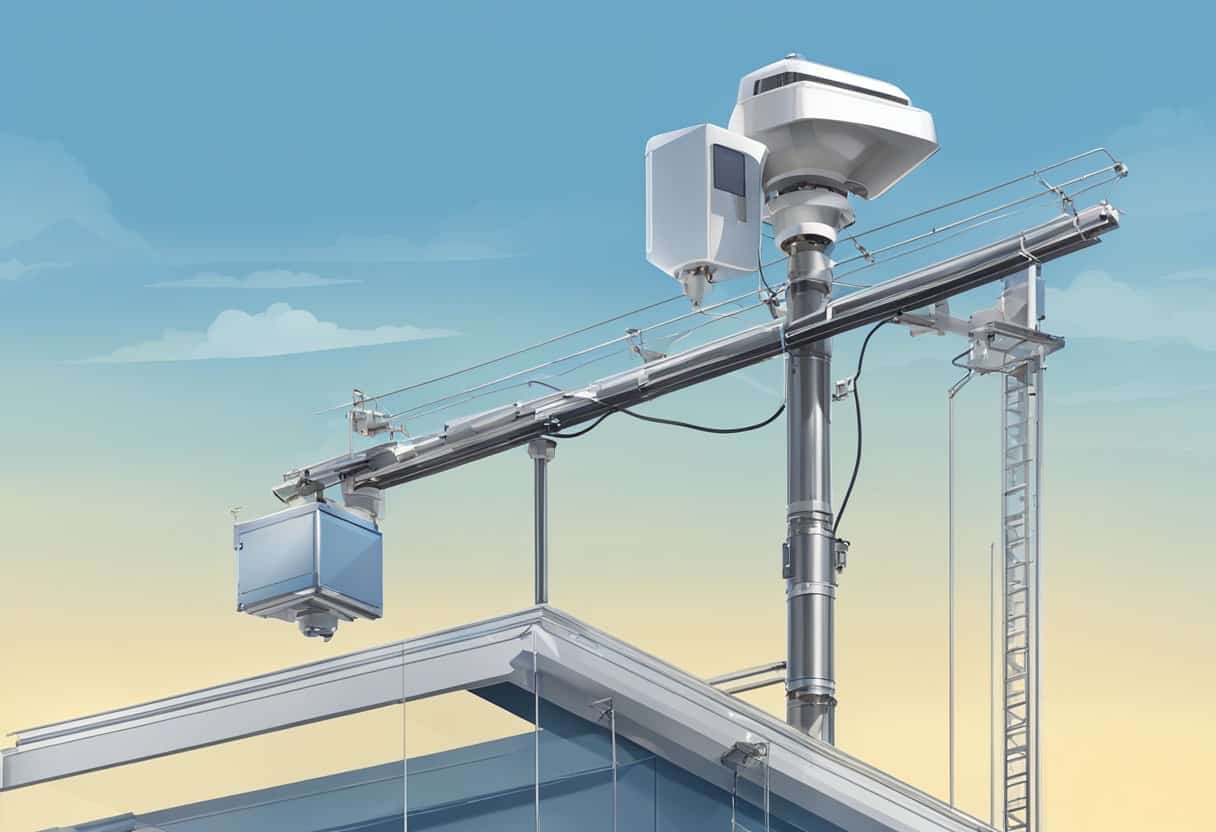
Roof and Chimney Mounts
Installing your weather station on a roof or chimney can provide an unobstructed position for wind and rain measurements. A roof mount typically uses a tar pad kit for waterproofing, while a chimney mount might clamp directly onto the chimney with a secure band.
Tripod and Specialty Mounts
Tripod mounts offer a portable and adjustable mounting solution that is suitable for ground-level installations or on flat roofs. Tripods often come with telescoping legs and can be equipped with guy wires for extra stability. For specialized mounts not covered by the standard options, you might find tripod and specialty mounts to cater to unique installation scenarios.
Preparing for Installation
Before you mount your weather station, it’s essential to gather the correct tools and consider safety to ensure a secure and accurate installation.
Gathering Necessary Tools
To begin, make sure you have the following equipment:
- Drill: A reliable drill is necessary for creating pilot holes for screws or bolts.
- Screwdriver Set: A varied set of screwdrivers ensures you can handle different types of screws.
- Adjustable Wrench: This tool is crucial for securing bolts and nuts.
- Bubble Level: A bubble level helps achieve a perfectly level installation, which is critical for accurate readings.
- Compass: Necessary for orienting your weather station correctly.
- Mounting Pole Kit: Often includes a pole and brackets.
- Straps or Guy Wires: These provide additional stability to your setup, especially in windy conditions.
- Hardware: Assorted screws, nuts, bolts, and washers suitable for your specific model of weather station.
Ensure that each tool is in good condition and familiarize yourself with their use before proceeding.
Safety Considerations
Adhering to safety guidelines while installing your weather station is paramount:
- Height Safety: If your installation involves climbing or working at height, use a sturdy ladder and safety harness.
- Tools Handling: Always use gloves when working with metal edges and sharp tools.
- Location: Choose a location for your weather station that is away from power lines and other obstructions.
- Antenna Safety: If your weather station includes an antenna, make sure it is securely attached and does not pose a risk of falling.
By gathering all necessary tools and carefully considering safety aspects, you are now prepared to mount your weather station accurately and securely.
Installing the Weather Station
Proper installation is crucial for your weather station to function accurately and reliably. You’ll need basic tools like a drill, screwdriver, and screws, along with your weather station’s tripod or mast assembly. Remember, a secure installation prevents damage and provides more precise data.
Mounting the Station
To mount your weather station, choose a location that meets the manufacturer’s guidelines for accuracy. An ideal site is flat, open, and away from obstructions. If you’re using a weather station tripod, secure it into the ground with the provided stakes. For a weather station mast, ensure it is vertical for optimal performance. With a drill and screws, or lag screws for more robust installations, attach the station firmly to the mounting surface.
Securing the Sensor Suite
Your sensor suite must be securely connected to prevent any weather-related damage. Align the sensor suite with the main unit of the weather station, ensuring there are no obstructions. Use screws or lag screws to affix the sensors to the mast or mounting platform, following the provided installation instructions closely. Periodic maintenance checks are recommended to ensure the suite stays secure over time.
Cabling and Connections
Cabling and connections establish data transfer between the sensors and the display. Route cables carefully, avoiding sharp bends or areas where they could be tripped over. Use cable ties or clamps as necessary to keep cables organized and secured. Consult your manual for proper connection points, and double-check that each cable is firmly installed with no loose ends. Regular inspections will help maintain reliable signal transmission.
Keep in mind that a careful installation using the correct tools and following these steps not only extends the life of your weather station but also ensures data accuracy.
Calibration and Testing
Before mounting your weather station, it’s paramount to ensure the accuracy of your readings through careful calibration and testing. This guarantees that the data you collect on temperature, wind speed, and humidity reflects the true ambient conditions.
Ensuring Accurate Readings
To achieve accurate readings, it’s essential to periodically calibrate your weather station’s sensors. For your temperature sensor, compare readings against a verified thermometer and adjust if discrepancies are found. Similarly, verify the humidity sensor by comparing it with a known source or using a humidity calibration kit.
- Wind Speed: Test your anemometer (wind speed sensor) by comparing its readings with a calibrated device. Ensure it’s free from obstructions.
- Compass Calibration: If your station includes a wind direction sensor, calibrate the compass to account for magnetic declination in your location.
Adjustment and Fine-Tuning
After the initial set up, meticulously test each sensor under various conditions:
Temperature Sensor:
- Place in a shaded area to avoid direct sunlight skewing results.
- Allow for sufficient airflow to prevent heat accumulation.
Wind Measurements:
- Confirm the anemometer is mounted at the recommended height.
- Check that it’s accurately aligned to the true north for precise readings.
Humidity Sensor:
- Prevent direct exposure to water sources that might affect the readings.
- Allow for adequate ventilation.
Remember that consistent testing and recalibration of your weather station are necessary to maintain accuracy over time. If your equipment includes an ambient weather facility, ensure it is adjusted to accurately reflect the ambient atmospheric conditions.
Weather Station Maintenance
Maintaining your weather station is crucial for ensuring accurate data collection. Regular attention will help you mitigate issues caused by weather conditions and prolong the lifespan of your weather equipment.
Routine Check-Ups
Conduct routine check-ups to ensure all components of your weather station function correctly. You should:
- Anemometer: Verify it spins freely and isn’t obstructed.
- Rain Gauge: Check for debris that might block rainfall entry.
- All-in-One Sensor Suites: Inspect for damage or wear due to weather exposure.
- Radiation Shield: Look for any discoloration or cracking that could affect temperature readings.
These check-ups are essential to guarantee that your weather station provides reliable data.
Cleaning and Replacing Components
Environmental exposure means that cleaning and sometimes replacing components is inevitable for optimal performance.
- Rain Gauge: Clean with warm water to remove any blockage.
- Anemometer: Gently wipe the cups with a damp cloth.
- Radiation Shield and All-in-One Sensor Suites: Dust regularly, and clean with a non-abrasive cleaner.
- Temperature Sensors: Ensure they’re free of cobwebs and insects that can affect temperature accuracy.
Replacement of components should be done as required, using compatible parts to maintain the integrity of your weather station.
Regulatory Compliance and Best Practices
When mounting a weather station, it’s not only about the technical aspects but also about adhering to established guidelines and understanding the zoning laws that may affect installation.
Following National Weather Service Guidelines
The National Weather Service (NWS) provides comprehensive guidelines that ensure the accuracy and safety of your weather station’s installation. Your setup should be at an optimal height and location to avoid obstructions that could skew data. Specifically, anemometers should be mounted at 10 meters above ground level and away from tall structures to accurately measure wind speed.
Neighborhood and Zoning Considerations
Zoning regulations often dictate what can be installed and where. It’s crucial that you confirm with your local zoning authority that your weather station structure complies with any height restrictions or property setbacks. For neighborhood compatibility, you should ensure that your installation does not infringe upon others’ property lines or create any form of obstruction or nuisance.
Additional Mounting Ideas and Custom Solutions
Crafting a secure and effective station setup involves innovative mounting strategies. Here, you’ll learn how to customize solutions for at-home or institutional use with readily available materials or specialized equipment.
Homemade and DIY Options
Homemade Mount: You can construct a sturdy weather station mount using materials such as PVC pipes, which are both affordable and versatile. Secure the pipes firmly into the ground or attach them to a fence for stability. Ensure that your DIY mount keeps the weather station at a proper height, away from obstructions to accurately capture environmental data.
Mounting on a Pole: For an elevated perspective, consider a pole mount. This ensures your weather data isn’t affected by immediate ground-level temperature variations or obstructions. Use a metal or wooden pole, and position it so that the weather station faces away from direct sunlight to prevent sensor warming that can skew your readings.
Innovative Mounting for Businesses and Schools
Mounting Options for Businesses: If you’re looking to install a weather station for your business, consider innovative mounting solutions that can integrate with existing structures or use custom services. The mount should be situated where it can provide valuable data to aid in business-related planning and activities.
Schools’ Installation: Schools can transform this installation into an educational experience by involving students in the mounting process. Use simple construction techniques to create a mount on school grounds, which not only collects data but also serves as a hands-on learning tool about weather patterns and the importance of environmental monitoring.
Frequently Asked Questions
When it comes to weather station placement, precision matters. Here we address some key queries to ensure you get reliable and accurate data from your home weather station.
What are effective strategies for mounting a weather station on the roof?
Roof mounting provides ample exposure for your weather station, but it requires careful positioning away from obstructions. Ensure it’s securely attached to avoid wind-induced vibrations that might skew data.
Can a mounting pole be used for installing an Ambient Weather station, and what are the guidelines?
Yes, a mounting pole is ideal for an Ambient Weather station. Aim for a smooth and level installation, keeping the station at least 6 feet above the roof to minimize heat radiations and disturbances.
What are some smart weather station installation tips for accurate data collection?
For accurate data, ensure your station is away from artificial heat sources and reflective surfaces. Stability is important; make sure the installation surface is firm to prevent swaying.
How crucial is the height of a weather station for accurate measurements, and what is the optimal height?
Height is critical for capturing unobstructed wind data. The World Meteorological Organization suggests mounting anemometers at a standard height of 10 meters above ground level.
Is it feasible to construct a DIY pole for a weather station, and what materials are recommended?
Constructing a DIY pole is feasible and can be cost-effective. Use durable materials like galvanized steel or aluminum that can withstand the elements and provide a steady support.
How should a weather station be positioned in relation to obstacles like chimneys or trees?
Your weather station should be positioned at a distance of at least four times the height of any nearby obstacle to prevent inaccurate readings caused by wind deflections or shading.