
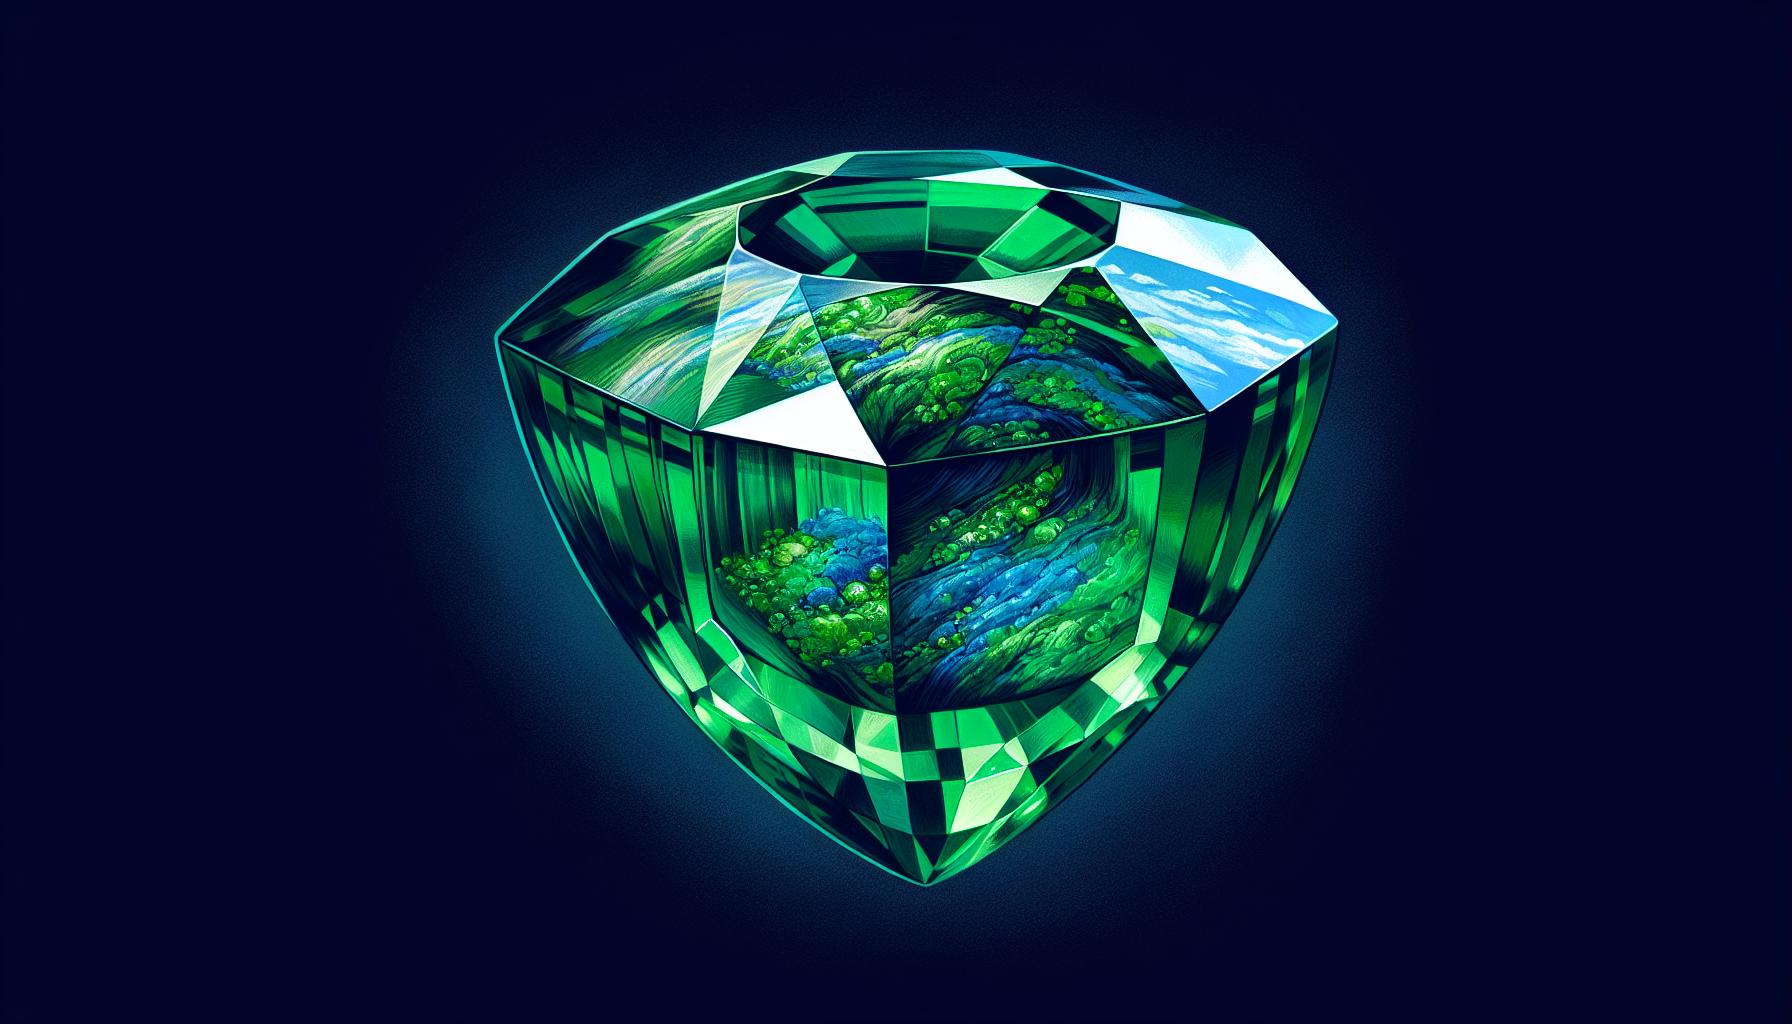
Emeralds are the gems of royalty, embodying lush green hues that captivate the eye.
But with so many imitations out there, knowing how to identify a real emerald is key. You don’t want to be fooled by a clever fake, do you?
Understanding the characteristics of genuine emeralds will empower you to make informed decisions when purchasing this precious gemstone.
Let’s dive into the world of emeralds and learn what sets them apart from the rest.
To identify a real emerald, check for its vibrant green color and natural inclusions, or “jardin.” Emeralds should leave no streak on unglazed porcelain, be non-magnetic, and have a Mohs hardness of 7.5-8. They exhibit birefringence, double refraction, a refractive index of 1.565-1.602, and a specific gravity of 2.67-2.78.
How to Identify Emerald Through Testing
Visual Inspection
Start your inspection by looking closely at the gem. Genuine emeralds are known for their vivid green color, which can range from bluish-green to yellowish-green. Inspect for natural inclusions or flaws, commonly referred to as jardin, which are often present in real emeralds. Be wary of stones that appear too perfect, as they could be synthetic or fake.
The Streak Test
Conduct the streak test by dragging the emerald across an unglazed porcelain tile. A genuine emerald won’t leave a streak, so if you notice a green line, it’s likely not a real emerald.
Magnet Test
Emeralds are not magnetic, so you can use a strong magnet to test the stone. If it’s attracted to the magnet, it’s likely mixed with other minerals or synthetic substances.
Hardness Test
Emeralds fall between 7.5 and 8 on the Mohs hardness scale. Performing a scratch test on a surface like glass can help you determine if your gemstone is as hard as an emerald should be. However, take care not to damage the stone or the surface you’re testing on.
Birefringence Test
Emeralds exhibit birefringence, which means they refract light into two different paths. By looking through the gemstone at a line or dot, you’ll see if the line appears doubled, indicating the presence of birefringence.
Checking The Diaphaneity
Examine how light passes through the emerald. Real emeralds can range from transparent to opaque, but most high-quality stones should allow light to pass through sufficiently to see their depth and color variance.
Single or Double Refraction
Emeralds usually show double refraction due to their crystal structure. Use a dichroscope to determine if the gem refracts light once or twice; two distinct colors or shades indicate double refraction.
Refractive Index Test
A refractometer can help you measure the refractive index (RI) of the emerald. Authentic emeralds typically have an RI between 1.565 and 1.602. If your measurements deviate significantly, you might be dealing with a different mineral or a synthetic stone.
Finding The Specific Gravity
The specific gravity (SG) of an emerald ranges from 2.67 to 2.78. You can find the SG by weighing the emerald in air and then submerged in water, using the hydrostatic method.
| Condition | Weight Measurement |
|---|---|
| In Air | Weight1 |
| Submerged | Weight2 |
Identifying Emeralds in the Field
When you’re in the field, look for the typical hexagonal crystal form of emeralds. They’re often found in mica or in rocks like shale and limestone. Pay attention to the geological formations; regions with high concentrations of beryllium are more likely to contain emeralds.
Recognizing Potential Emerald Rocks
Identify potential emerald-hosting rocks by their color and texture. Rocks that have a greenish tint or appear to have veins could indicate the presence of emeralds. The texture should also resemble that of the host rock, which can vary from smooth to rough.
Remember: expertise and consistent practice refine your gem-testing skills. As you apply these tests, you’ll become more adept at differentiating genuine emeralds from imitations without the need for a conclusive verification.
Physical Characteristics of Emerald
Emeralds are renowned for their captivating green hue, a color they owe to the presence of chromium and sometimes vanadium. Unlike other gemstones, emeralds are most sought after for their rich, saturated color rather than their clarity. When you’re evaluating an emerald, the primary characteristics you’ll want to focus on include color, tone, and saturation. The ideal emerald showcases a vivid, bright green without being too dark or overly light.
Clarity is another crucial factor in determining an emerald’s value. Due to their formation process, most natural emeralds contain inclusions, often referred to as “jardin,” which is French for garden, due to their resemblance to foliage. While these inclusions are common, an emerald with fewer visible inclusions is more valuable. Inclusions within emeralds fall on a spectrum, and you’ll need to consider how they affect the stone’s overall appearance.
Lastly, the cut of an emerald can greatly impact its beauty and brilliance. The most common cut for emeralds is the emerald cut, a rectangular or square shape with cropped corners that showcases the gemstone’s color and minimizes stress on the stone to prevent chipping. A well-executed cut ensures the balance between maximizing color and managing imperfections. Remember, a skilled cutter can make a significant difference in bringing out an emerald’s best features while hiding less desirable ones.
How Are Emerald Formed?
Emeralds are the green variety of beryl, a mineral that crystallizes over hundreds of millions of years. The formation process begins with beryl crystals growing within metamorphic rocks. Chromium, vanadium, and iron are the key elements that give emeralds their distinct green hue. It’s the presence of these elements in the rocks where beryl forms that determines whether you’ll find emeralds or a different variety of beryl.
Underground, the combination of high pressure and temperature conditions creates a perfect environment for emerald formation. Water containing the necessary elements infiltrates the rocks, prompting the growth of these precious crystals. The growth depends on the availability of space within the rocks, which is why emeralds are often found in layers or veins.
Mining emeralds requires knowledge of geology to identify the rocks that could host these valuable gemstones. You might find emerald-bearing rocks such as pegmatites, schists, or limestones that have been altered through geological processes. These stones typically show the characteristics of having been subjected to intense heat and pressure during their formation.
Remember, the crystal form of an emerald can also hint at its origins. Natural emeralds often have a distinct hexagonal shape, a feature resulting from the way beryl molecules stack during crystal growth. This characteristic shape, coupled with the emerald’s internal structures and inclusions, tells a unique story of its journey from the earth’s depths to your fingertips.
Preparation for Emerald Hunting
Gathering the Right Tools
When you’re gearing up for emerald hunting, having the right tools can make all the difference. Before you delve into the world of gemstones, create a checklist to ensure you’ve got everything you need.
- Jeweler’s loupe: A 10x magnification loupe is essential for close inspection.
- Tweezers: They’ll help you pick up and examine potential finds without causing any damage.
- Geologist’s hammer: Used for carefully breaking rocks for potential emerald-containing pockets.
- Chisel and gloves: To protect your hands and aid in prying loose rocks and minerals.
- Bucket and bags: For safely transporting your emeralds and other finds.
- Field guidebook: Carry a guide to help you identify rocks and mineral formations on the go.
Remember, each tool has its purpose and value, much like the emeralds you’re prospecting for. Don’t underestimate the need for quality gear—invest in tools that will withstand the rigors of your search.
Safety Considerations
As you embark on your emerald hunting adventure, your safety can’t be taken for granted. It’s imperative that you equip yourself with the appropriate safety gear:
- Helmet: Protect your head from falling rocks and debris.
- Protective eyewear: Keep your eyes safe from flying chips when breaking rocks.
- Durable footwear: Sturdy shoes with slip-resistant soles will prevent falls.
- Sun protection: A broad-spectrum sunscreen and a hat can shield you from harmful UV rays.
- First Aid kit: Always be prepared for minor injuries.
Besides personal gear, be aware of your surroundings. Know the terrain, potential hazards, and have a plan for emergency situations. Avoid hunting alone; it’s always safer to have a companion in case of accidents. Lastly, inform someone of your whereabouts and expected return time. Your wellbeing is paramount, and these precautions will help ensure a successful and safe expedition.
Handling and Care of Found Emerald

Cleaning and Storing Emeralds
After finding an emerald, proper care is crucial to maintain its luster and value. Clean your emeralds using a mild soap solution and a soft brush. Avoid ultrasonic cleaners or steamers, as they can cause fractures due to the emeralds’ inherent inclusions.
When drying, lightly pat your emerald with a soft, lint-free cloth. Always clean your stones gently to avoid any potential damage. It’s essential to note that emeralds should not be exposed to high heat or sudden temperature changes which can cause cracks.
Regarding storage, separate your emeralds from other gemstones to prevent scratches. Emeralds rank 7.5 to 8 on the Mohs hardness scale, making them relatively hard; however, other stones or materials could still scratch them. Ideally, keep each emerald in a soft pouch or inside a lined jewelry box.
Tips for storing emeralds include:
- Ensure each gemstone is wrapped in a soft cloth
- Use individual compartments in a jewelry box
- Avoid mixing with harder gemstones like diamonds or sapphires
Storing them in a cool, dark place away from direct sunlight is best since prolonged exposure to light can affect an emerald’s color. Remember, nurturing the condition of your gemstones plays a pivotal role in their longevity and aesthetic appeal.
Conclusion: Confirming a Real Emerald
Mastering the art of identifying emeralds is a valuable skill that’ll serve you well whether you’re a collector, a jeweler, or simply an enthusiast.
Remember, the key to confirming your find lies in a combination of tests and observations—from visual inspections to more scientific approaches like refractive index testing. Pay attention to the gem’s color, clarity, and cut, as these are critical indicators of an emerald’s authenticity and quality. When you’re out in the field, keep an eye out for the unique hexagonal crystal forms and familiarize yourself with the typical geological settings of emeralds. With the right tools, safety measures, and care techniques, you’ll not only find genuine emeralds but also maintain their beauty for years to come.
Trust in your newfound knowledge and enjoy the thrill of discovering these precious gems.