Discovering the rich, red allure of cuprite is like uncovering a hidden gemstone.
You might stumble upon it while rock hunting or inherit a mysterious mineral collection. Either way, you’re probably itching to confirm if that vibrant specimen is indeed cuprite.
Identification can be tricky, but don’t worry, you’re about to become a cuprite-spotting pro. This guide will walk you through the key characteristics that set cuprite apart from other minerals.
Get ready to delve into the world of lustrous crystals and learn how to identify cuprite with confidence.
To identify genuine cuprite, examine its deep red color, sub-metallic luster, and cubic or octahedral crystal form. Conduct a streak test for a reddish-brown mark, check for non-magnetic properties, and assess hardness around 3.5-4 on the Mohs scale. Cuprite’s high specific gravity, around 6.1 to 6.15, also distinguishes it.
How to Identify Cuprite Through Testing
Visual Inspection
Start with a thorough Visual Inspection of the mineral. Cuprite typically showcases a deep red to reddish-brown hue, a feature that sets it apart from other minerals. Look for a sub-metallic to adamantine luster that is a hallmark of high-quality specimens. Cuprite’s unique color and shine can often be enough to suggest its identity.
The Streak Test
Perform The Streak Test by rubbing the mineral across an unglazed porcelain tile. Cuprite leaves behind a streak that is commonly reddish brown. This streak color can help confirm the presence of cuprite, as it doesn’t match the streaks left by many other minerals.
Magnet Test
Though not heavily relied upon, the magnet test can sometimes be informative. Cuprite isn’t typically magnetic, but minerals associated with cuprite could show magnetic properties. If your sample is magnetic, it might contain other metals or minerals, warranting further investigation.
Hardness Test
Use the hardness test to check where cuprite falls on the Mohs scale. With a hardness rating between 3.5 and 4, you’ll find that cuprite can scratch materials like calcite but is scratched by harder substances like fluorite.
Birefringence Test
Cuprite’s birefringence is often negligible, but using this test can help rule out minerals with higher birefringence. Through a petrographic microscope, you should see minimal interference colors, which agrees with cuprite’s isotropic nature.
Checking the Diaphaneity
Examine the diaphaneity or transparency of your mineral. Cuprite is generally opaque, although thin fragments can be translucent. This characteristic can help differentiate cuprite from other red minerals that might be transparent or more commonly translucent.
Single or Double Refraction
Test for Single or Double Refraction. Cuprite, being an isometric crystal, exhibits single refraction, which means light does not split into two paths when passing through the mineral. This contradicts minerals with double refraction, where light splits upon entering, displaying doubled images.
Refractive Index Test
Conducting the refractive index test, using a refractometer, can provide valuable information. Cuprite’s refractive index is generally high, about 2.85, which is distinctive enough to be a key identifier.
Finding The Specific Gravity
Measure cuprite’s specific gravity, which is notably heavy for its size—around 6.1 to 6.15. You can compare it to an average rock’s specific gravity of 2.7 to identify if your sample has the significant heft characteristic of cuprite.
| Property | Value |
|---|---|
| Specific Gravity of Cuprite | 6.1 – 6.15 |
| Average Rock Specific Gravity | 2.7 |
Identifying Cuprites in the Field
When looking for cuprite in the field, be mindful of the environment. Cuprite is typically found in oxidation zones of copper sulfide ore bodies. Look for signs of oxidized copper minerals, including brilliant red and blue-green rocks which could indicate the presence of cuprite among other copper salts.
Recognizing Potential Cuprite Rocks
To potentially identify cuprite rocks, pay attention to the host rock. Cuprite often accompanies native copper in basalt and rhyolite matrices. Its association with malachite and azurite is also a strong indication that you might be handling a cuprite specimen. Look for the characteristic reddish color and heavy weight as quick identifiers.
Physical Characteristics of Cuprite
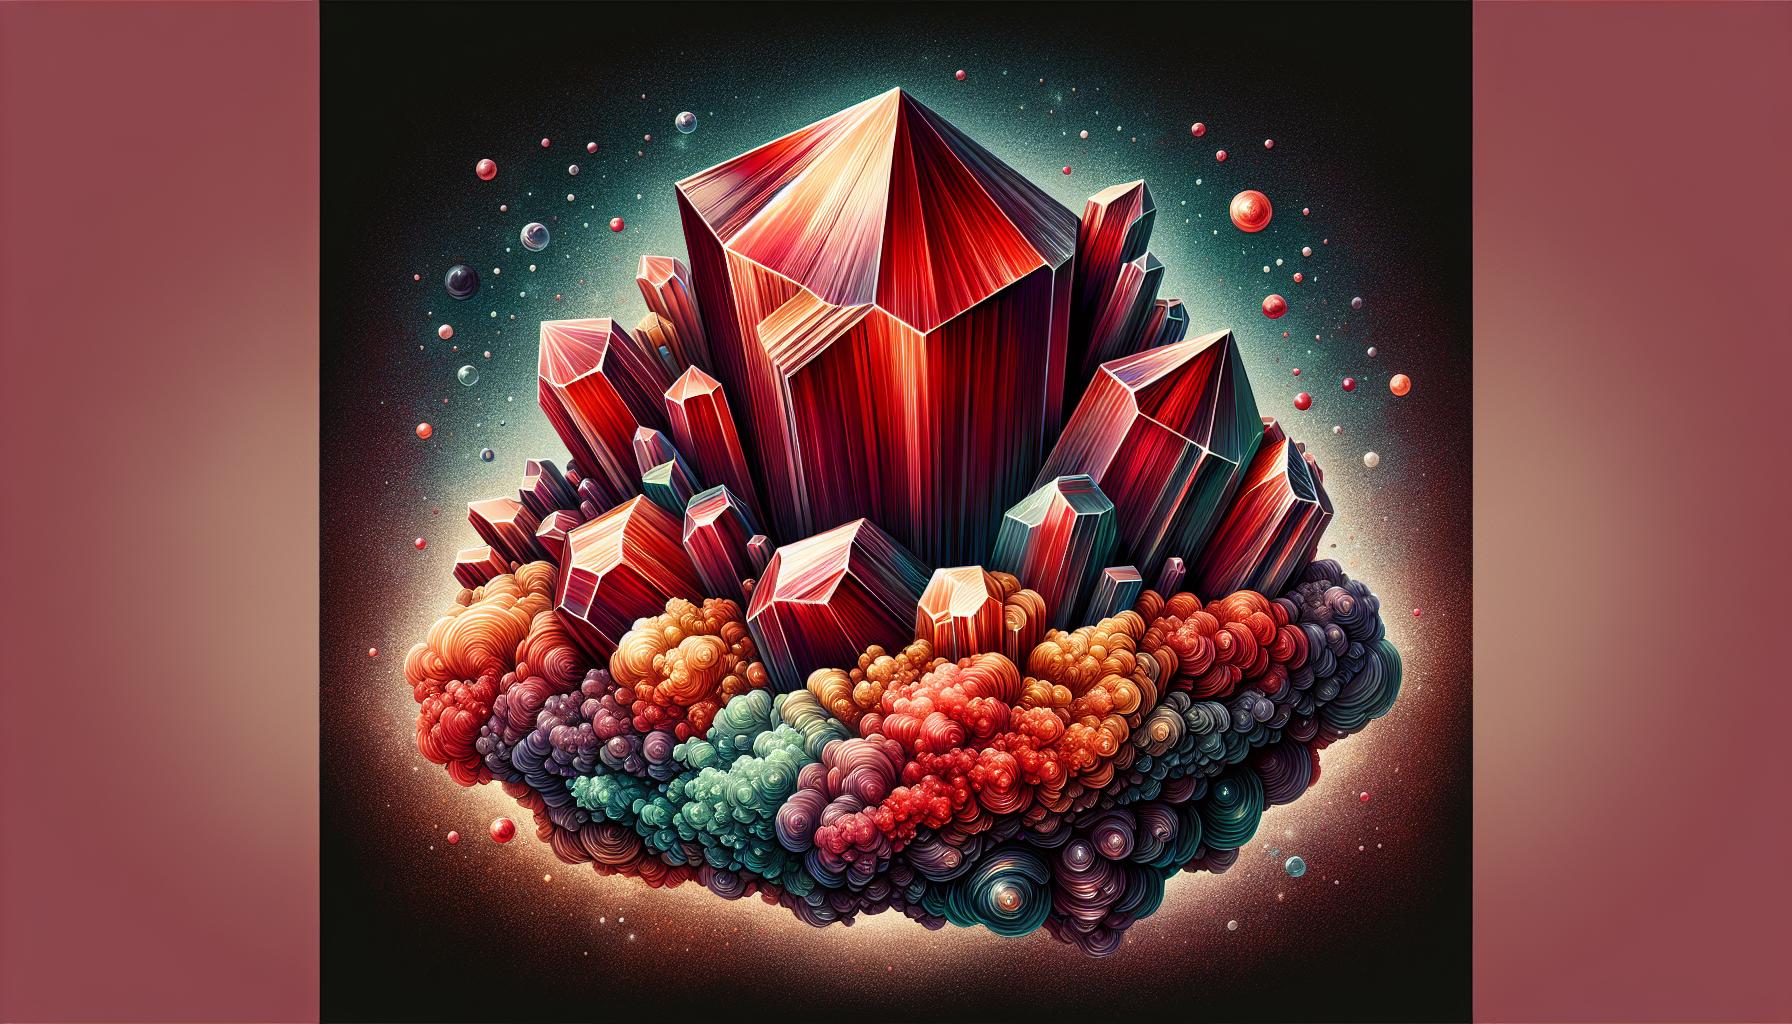
When you’re seeking to identify cuprite, pay close attention to its physical properties. Recognizable by its deep red to reddish-brown color, cuprite’s unique hue is a significant indicator. This mineral typically forms in cubic, octahedral, or dodecahedral crystals but can also appear in earthy masses.
Transparency and Luster
Cuprite can range from opaque to transparent. Its luster varies as well; it can be sub-metallic to adamantine, meaning it can resemble a metal surface or have the sparkle of a diamond in high quality specimens.
Crystal Structure
Cuprite crystallizes in the isometric system and it’s not uncommon for crystals to be well-formed, displaying their geometric beauty. If your sample has visible crystals, look for the common octahedral shape which is a strong clue you’re dealing with cuprite.
Cleavage and Fracture
Cuprite’s cleavage is generally poor, but on the rare occasion when it’s observable, be on the lookout for three directions at 90 degrees, typical of minerals in the isometric crystal system. Fractures, when present, tend to be conchoidal, producing smooth, curved surfaces similar to broken glass.
By familiarizing yourself with these physical characteristics, your ability to identify cuprite amidst other minerals will be significantly enhanced. Remember, cuprite’s density and the way it reflects light are key aspects that complement the tests and observations mentioned earlier in the article.
How Are Cuprite Formed?
Cuprite formation is an intriguing geological process. Copper ores typically form in hydrothermal veins, through the cooling and oxidation of copper-rich fluids. As these fluids ascend through cracks in the earth’s crust, temperature and chemical conditions encourage mineral deposition.
In environments rich in copper and oxygen, such as the oxidized zones of copper sulfide deposits, cuprite crystals are likely to form. These are areas where sulfide minerals are exposed to oxygen and water, leading to a chemical reaction that forms secondary mineral deposits, such as cuprite.
Additionally, cuprite can result from the weathering of copper ores. This natural process breaks down the minerals, where the presence of acid mine drainage may accelerate formation by removing elements that obstruct cuprite crystallization.
- Known environments for cuprite formation:
- Oxidized zones of copper deposits
- Secondary enrichment zones
- Exposed sulfide mineral areas undergoing weathering
Understanding the geological conditions that favor cuprite formation enhances your knowledge, helping to pinpoint regions where its identification becomes more probable. Remember, mining activities can artificially create conditions conducive to cuprite growth, further extending possible locations for this mineral’s discovery.
Preparation for Cuprite Hunting
Gathering the Right Tools
To set out on your cuprite hunting adventure, you’re going to need the right tools. Start with a geologist’s hammer—this is essential for extracting specimens. Don’t forget a hand lens or a magnifying glass which allows you to examine potential cuprite finds closely. Since cuprite can be small and its bright red color may not always be visible to the naked eye, a UV light can be handy for spotting fluorescence in some specimens.
Here’s a quick list of tools you should consider:
- Geologist’s hammer
- Hand lens or magnifying glass
- UV light
- Collection bags or containers
- GPS device or detailed map
- Notebook and pen for recording data
Make sure your collection bags or containers are sturdy enough to protect your finds. It’s also smart to have a GPS device or detailed map to help navigate unfamiliar areas. Lastly, a notebook and pen are crucial for keeping records of the exact locations and characteristics of your discoveries.
Safety Considerations
Prioritizing safety is crucial when hunting for cuprite or any minerals. Wear protective gear, including gloves, eye protection, and a sturdy pair of boots. Breathable but durable clothing will shield you from scrapes and cuts, while a hard hat might be necessary if you’re venturing into areas with a risk of falling rocks.
Here are some important safety measures to remember:
- Always let someone know where you’re going and when you expect to return.
- Bring sufficient water and snacks to keep hydrated and energized.
- A basic first aid kit can handle minor injuries until professional care is available.
- Keep a flashlight and spare batteries, even if you plan to return before dark.
Consider the local wildlife and weather patterns when planning your trip. Being aware of these factors can prevent unpleasant encounters and ensure that you’re prepared for sudden changes in the weather. Always check the legal aspects of collecting minerals in your chosen area—some sites may be protected or require permits for mineral collection.
Handling and Care of Found Cuprite

Once you’ve successfully located and collected cuprite specimens, proper handling and care are crucial to maintain their condition and value. Neglect can lead to damaged crystals, color fading, and the loss of the specimen’s natural luster. You’ll want to ensure you’re doing everything possible to preserve the beauty and integrity of your finds.
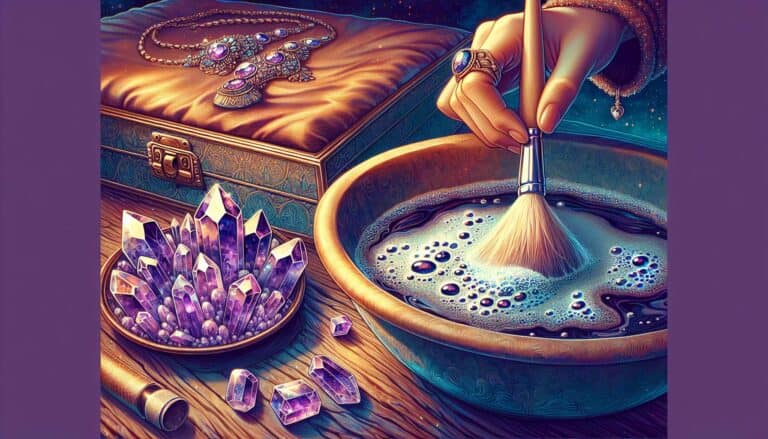
Cleaning Cuprites
Your cuprite samples may be coated in soil or other debris when you find them. It’s important to clean them gently to prevent scratching or damaging the delicate structures:
- Begin by using a soft brush to dust off loose dirt.
- Rinse the specimens in distilled water to avoid leaving mineral deposits.
- For stubborn grime, soak the cuprites in warm, soapy water and then rinse carefully.
- Dry them with a soft, lint-free cloth to prevent water spots.
Note: Cuprite is a relatively soft mineral, scoring 3.5 to 4 on the Mohs scale of hardness. Always handle with care during the cleaning process to avoid scratches.
Storing Cuprites
After cleaning, storing your cuprites correctly is vital to prevent damage. The following tips should help ensure long-term preservation:
- Wrap each specimen individually in acid-free tissue paper to protect them from scratching against each other.
- Place them in cushioned containers that restrict movement and offer protection from falls or blows.
- Control environmental factors by storing in cool, dry places away from direct sunlight, which can fade color over time.
- For display specimens, consider using a cabinet with glass doors that shield from dust while allowing visibility.
Maintaining the right conditions for your cuprite collection is a continuous process. You’ll need to check on them periodically, ensuring that no harmful elements are compromising the integrity of your specimens. This kind of diligence will ensure that your cuprites remain as dazzling as the day you found them, securing both their physical and aesthetic qualities.
Conclusion: Confirming Cuprite is Real
You’ve gained the knowledge to identify cuprite with confidence.
Remember, the distinct characteristics of cuprite, from its vibrant red color to its unique physical properties, make it a fascinating mineral to discover. It’s essential to handle your specimens with care to preserve their natural beauty and value. By following the straightforward cleaning and storage guidelines, you’ll ensure your cuprite remains in pristine condition for years to come. Embrace the journey of collecting and cherishing these remarkable gems of the earth.
Happy hunting!