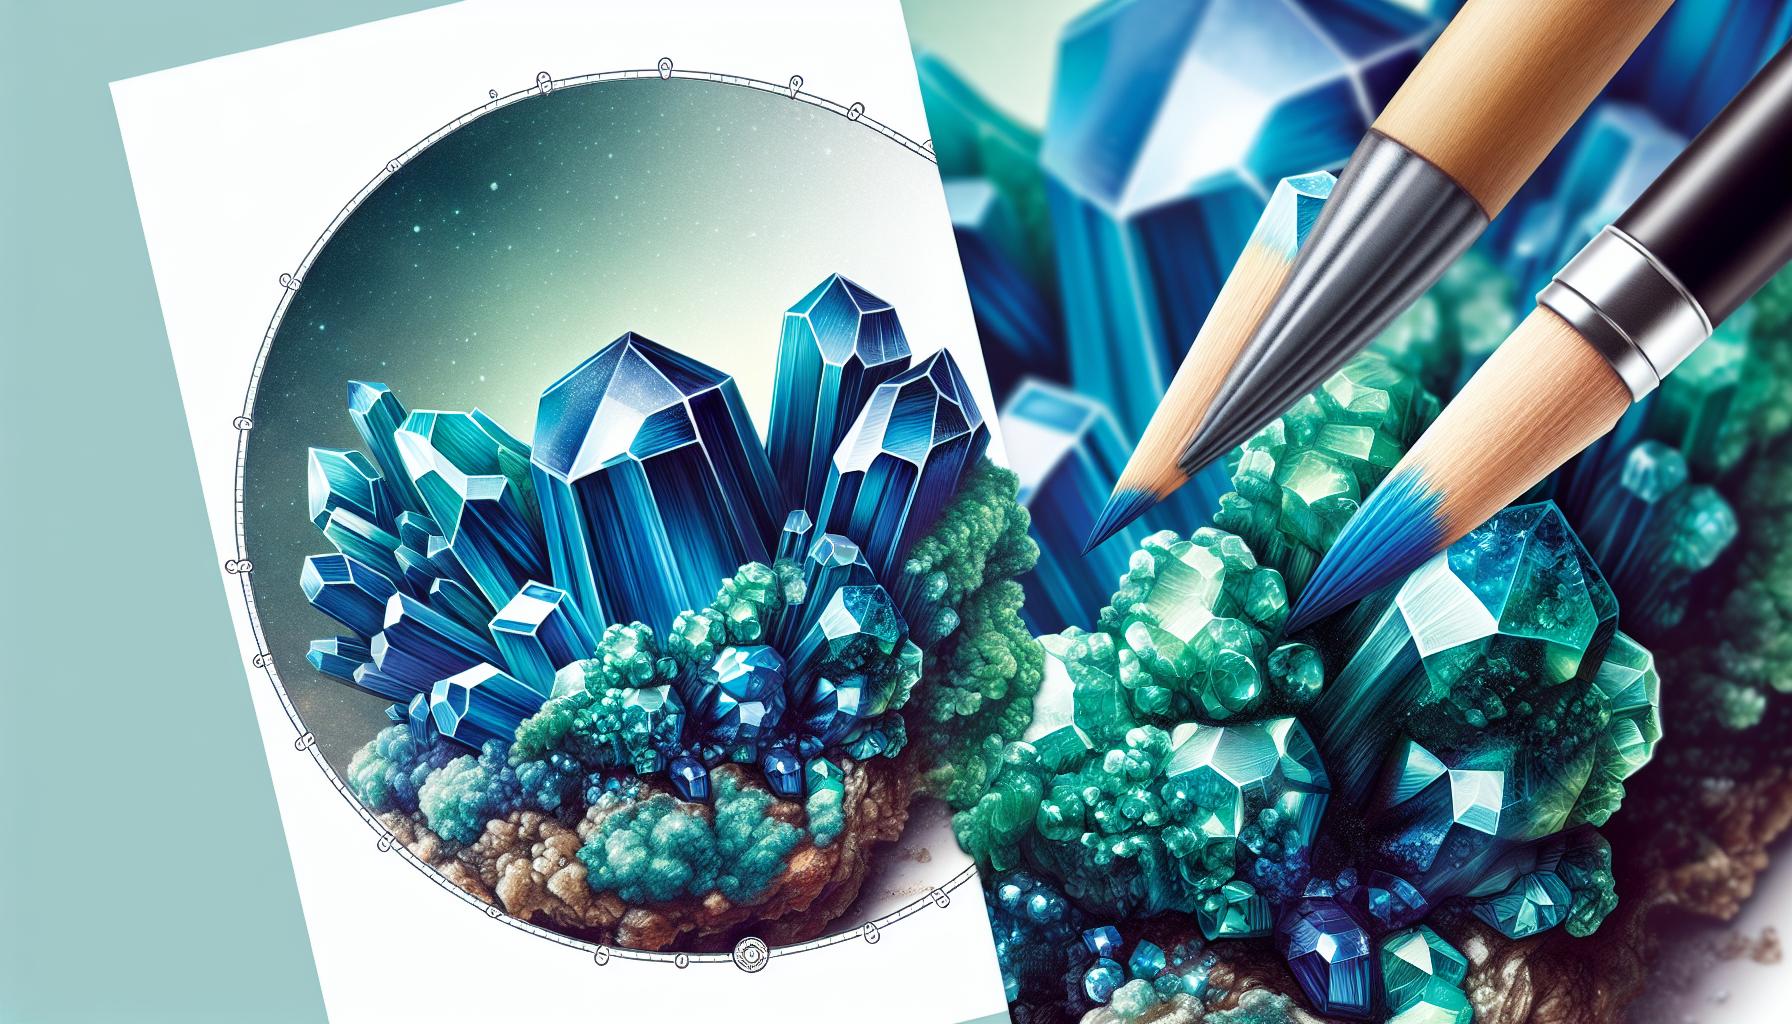
Discovering the rich, deep blues of azurite is like uncovering a gem from the earth’s secret palette. You’re about to learn how to identify this striking mineral, prized by collectors and jewelers alike.
Azurite’s unique characteristics make it stand out, but you’ll need a keen eye to differentiate it from look-alikes. With a few simple tips, you’ll be spotting true azurite with confidence.
Get ready to dive into the world of minerals and add azurite identification to your skill set.
Whether you’re a hobbyist or a seasoned collector, mastering this knowledge will enhance your appreciation for nature’s artistry.
To identify azurite, look for its distinctive vibrant blue color and characteristic green malachite presence. Perform a streak test for a blue streak, verify its non-magnetic nature, and test for a Mohs hardness of 3.5-4. Azurite should show single refraction and have a specific gravity of 3.7-3.9.
How to Identify Azurite Through Testing
When you’re determining whether you’ve found azurite, conducting several tests can be incredibly revealing. Here’s how you can analyze your specimen through various proven methods to ascertain if it’s truly azurite.
Visual Inspection
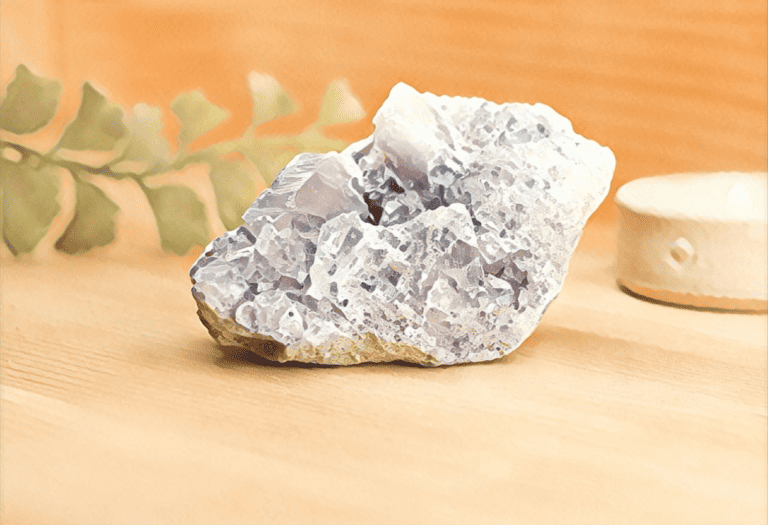
Start with a close visual inspection. Look for the vibrant blue color azurite is known for, which typically sets it apart from other minerals. Azurite often forms in the shape of masses or rosettes, and it can display a vitreous to dull luster. Also, watch for green malachite, which can indicate the presence of azurite as they frequently occur together.
The Streak Test
Drag your mineral across an unglazed porcelain plate – a streak plate – to observe the color of the powder it leaves. Azurite will leave a blue streak, whereas similar minerals might leave streaks of a different color, assisting you in identification.
Magnet Test
Azurite is not magnetic, so if your mineral is attracted to a magnet, you can rule out azurite. This simple test quickly eliminates some of the confusion in the identification process.
Hardness Test
Perform a scratch test to determine the Mohs hardness of your sample. Since azurite is typically between 3.5 and 4 on the Mohs scale, it can be scratched by materials of greater hardness. For example, a piece of copper wire can scratch azurite but not quartz.
Birefringence Test
Using a petrographic microscope, examine azurite for birefringence, an optical property where light splits into two rays. If your mineral doesn’t show birefringence, it’s likely not azurite, as azurite does not have this characteristic.
Checking The Diaphaneity
Azurite’s diaphaneity ranges from transparent to opaque. Hold your piece up to a light source to check if any light passes through. This can further confirm the likelihood of azurite.
Single or Double Refraction
Azurite has single refraction; when viewed through a refractometer, it should not show a double image. If you see double, you’re likely dealing with a different mineral.
Refractive Index Test
The refractive index of azurite varies but typically falls within 1.730 to 1.838. Determining this can be technical, so consider having it done by a professional to verify the accuracy.
Finding The Specific Gravity
Azurite’s specific gravity is distinct, usually around 3.7 to 3.9. To measure, you can weigh your sample in air and then suspended in water. The difference can help determine its specific gravity.
Identifying Azurites in the Field
When you’re exploring potential azurite sites, bring along tools for the tests we’ve outlined. Field identification can often be deductive, piecing together the mineral’s color, location, and geologic setting.
Recognizing Potential Azurite Rocks
Become familiar with the typical environments where azurite forms—commonly in copper-rich areas. Look for rocks that show the tell-tale blue color or are associated with malachite, copper, or other secondary copper minerals. This knowledge will improve your field recognition of potential azurite specimens.
By applying these testing techniques carefully, you’ll sharpen your skills and heighten your chances of accurately identifying azurite in various scenarios. Remember that while some tests are straightforward, others may require specialized tools and expertise. With each specimen you examine, you’re not just expanding your mineral collection, but also deepening your understanding of earth’s natural treasures.
Physical Characteristics of Azurite
When you’re out in the field or assessing a mineral collection, recognizing the physical characteristics of azurite is crucial. Azurite is known for its deep, striking blue color, which makes it a favorite among collectors and practitioners of gemstone therapy. This vibrant blue hue is often accompanied by a light blue streak when scratched on a porcelain streak plate.
The crystal habit of azurite can vary significantly; it can form tabular, prismatic crystals, or sometimes massive formations in the presence of copper-bearing solutions. The surfaces typically boast a glassy luster that catches the light, enhancing the mineral’s visual appeal. In some instances, azurite crystals may also exhibit a unique property called chatoyancy, which appears as a mesmerizing ‘cat’s eye’ effect.
Its hardness on the Mohs scale is around 3.5 to 4, which makes azurite relatively soft compared to many other minerals. That’s why handling with care is essential to prevent scratching or damage. Additionally, azurite’s cleavage is perfect in one direction, which means that it breaks along very smooth planes. This can be another tell-tale sign when identifying samples.
Azurite often occurs in conjunction with other minerals, particularly malachite, which provides a green counterbalance to azurite’s blue. This combination creates striking specimens that are highly prized.
Keep in mind that while color and luster provide immediate clues, confirmatory tests should always follow to ensure accurate identification.
How Are Azurite Formed?
Azurite forms through a chemical reaction between copper-rich water, often from nearby copper ore deposits, and carbonate rocks or shells. Over time, this reaction leads to the crystallization of azurite. The process typically occurs in arid, desert regions where copper is prevalent. Understanding azurite’s genesis helps in identifying the mineral in the field.
In geological terms, azurite’s formation is commonly linked to the oxidation zone of copper ore bodies. The presence of water accelerates the oxidation process, which results in distinct layers of minerals including azurite. These zones offer clues when you’re on the lookout for azurite specimens.
Additionally, azurite’s birth can occur as a secondary mineral, meaning it forms by alteration of a primary mineral, in this case, bornite or chalcopyrite. Its relationship with malachite is crucial; often, azurite weathers to form malachite.
- Consider the terrain: Dry, copper-rich zones are hotspots.
To spot potential azurite formations, you can:
- Scan for visible signs of copper oxidation, which may appear as green or blue streaks in the rocks.
- Observe rock types; limestone or dolomite are often associated beds for azurite crystals.
Remember, successful azurite identification often involves recognizing the specific environmental conditions it arises from. Keep these details in mind as they’re significant indicators of azurite presence.
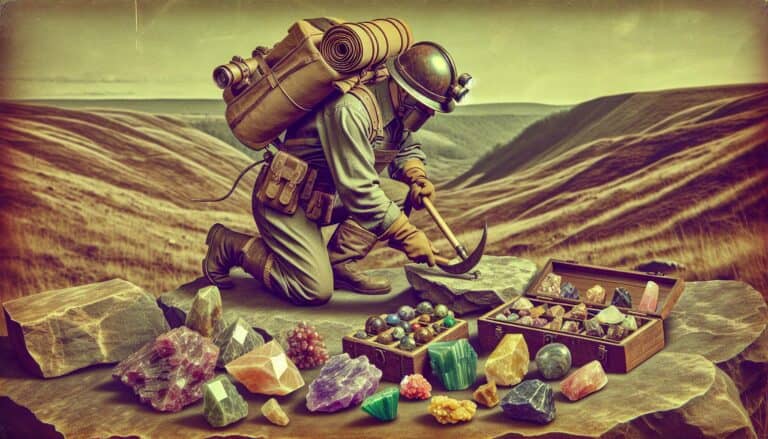
Preparation for Azurite Hunting
Before setting out on your azurite hunting adventure, ensuring you’re well-prepared can make all the difference. Azurite, with its stunning deep blue hue, requires particular attention to detail both in its identification and its extraction. This section will guide you through what you need to gather and how to stay safe while on your quest for this exquisite mineral.
Gathering the Right Tools
The success of your azurite hunting hinges on the tools you bring along. You’ll need a few key items to help you identify and collect azurite safely and efficiently:
- Geologist’s hammer: Essential for chipping away rock and prising out mineral samples.
- Hand lens or magnifier: Crucial for close examination of rock textures and mineral grains.
- Streak plate: To test the color streak of suspected azurite samples.
- Safety glasses: To protect your eyes from flying debris.
- Mapping tools or GPS device: For navigating and recording the locations of your finds.
- Field notebook and pen: To jot down observations and data which could confirm azurite presence.
- Acid bottle with dilute hydrochloric acid: For verifying carbonate minerals.
Pair these tools with the knowledge from earlier sections to heighten your chances of discovering genuine azurite specimens.
Safety Considerations
When out in the field, it’s imperative to prioritize your safety. Here are some important tips to ensure a safe azurite hunting excursion:
- Wear appropriate clothing: Long sleeves, gloves, durable boots, and a hat can protect you from the elements and abrasions.
- Always have a first aid kit on hand for emergencies.
- Keep plenty of water and food supplies: Stay hydrated and energized throughout your hunt.
- Inform someone of your itinerary and expected return time.
- Be aware of your surroundings; watch out for wildlife and hazardous terrain.
By meticulously preparing for your azurite hunting trip, you’re setting yourself up for a rewarding and potentially fruitful experience. Familiarize yourself with azurite’s specific requirements and remember to respect the environments you’re exploring.
Handling and Care of Found Azurite
Cleaning Azurites
Once you’ve successfully identified and collected azurite, proper cleaning is crucial to maintain its vibrant blue color and luster. Begin by rinsing your azurites in lukewarm water to remove any loose dirt. Avoid harsh chemicals and high-pressure water streams, as azurite is relatively soft and could be damaged. For tougher grime, use a soft-bristled brush, but exercise caution to prevent scratching.
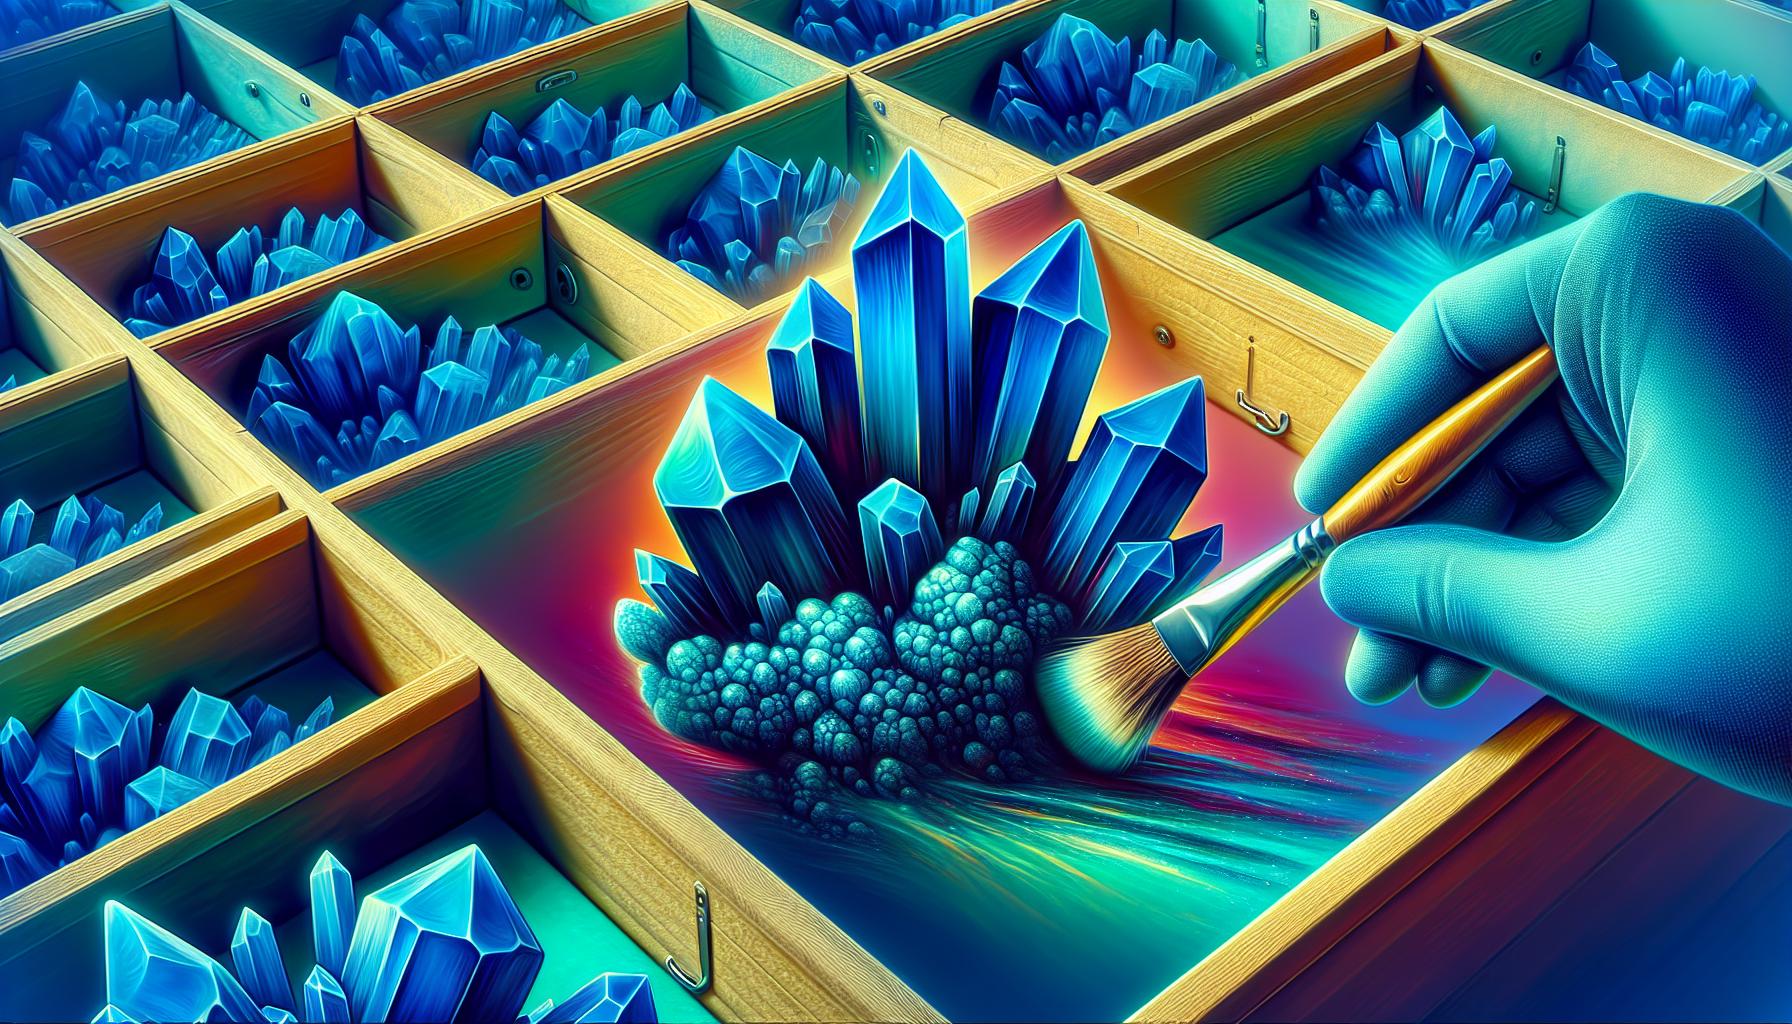
Storing Azurites
Storing azurite specimens requires a bit of know-how to prevent damage over time. Humidity and temperature fluctuations can cause azurite to lose color or form unwanted alterations. Here’s what you should consider for optimal storage:
- Assign individual compartments or boxes to each specimen.
- Use a climate-controlled environment if possible, to stabilize temperature and humidity levels.
- Lining the storage area with a soft material, like cotton, can help cushion the stones and absorb excess moisture.
- Keep azurite away from harder minerals that could cause scratches.
For added security, especially if you’re an avid collector, consider getting insurance for your minerals or storing them in a safe. Fostering good storage practices ensures your azurite findings remain pristine and vibrant for years to come. With each specimen well-preserved, your collection can continue to grow, reflecting the fruits of your exploration endeavors.
Conclusion: Confirming Azurite is Real
Armed with the right techniques you’re now well-equipped to identify azurite with confidence.
Remember the key is in the details—meticulous observation and precise tests are your best allies. From the streak test to specific gravity measurements each method you’ve learned plays a crucial role in confirming your find. And once you’ve got your azurite treasure don’t forget the importance of proper care. Clean gently store safely and consider security measures to keep your mineral’s brilliance as stunning as the day you found it. Whether you’re a seasoned collector or a budding geology enthusiast your newfound knowledge will serve you well in the fascinating world of mineral identification.
Happy hunting!