Discovering the secret to identifying genuine amber could be your gateway to uncovering hidden treasures.
Whether you’re a collector, a jewelry enthusiast, or simply curious, knowing how to pinpoint real amber is a skill that’s both fascinating and practical.
You’ve likely come across amber in various forms, from antique market finds to contemporary jewelry pieces. But how can you tell if what you’ve got is the real deal?
In this guide, we’ll walk you through the essential steps to confidently identify authentic amber, ensuring you’re equipped with the knowledge to make informed decisions.
Identifying genuine amber includes visual inspection for natural inclusions, a non-magnetic response, and a softness of 2-3 on the Mohs scale. Amber is known for its electrostatic properties, and it typically leaves a light white streak. True amber also floats in salt water, aiding in identification.
How to Identify amber Through Testing
Identifying authentic amber involves a series of tests you can perform to ensure you’re dealing with the real thing. Here’s how to use these methods effectively.
Visual Inspection
First, consider a visual inspection of the amber’s appearance. Look for small imperfections, like insects or plant material, which could indicate natural inclusions. True amber often shows a warm, honey-like color but can range from yellow to brown or even green and blue. Check for a smooth texture; genuine amber is not overly glossy without polish.
The Streak Test
The streak test involves running the amber across a piece of unglazed ceramic to see what color streak it leaves. Real amber will typically leave a light white or no streak at all. If you notice a colorful streak, it may be a sign the amber is fake.
Magnet Test
Amber is known to have electrostatic properties. By rubbing the amber vigorously with a soft cloth, you can generate static electricity. Bring a small piece of paper close to the amber; if it’s authentic, the paper should cling to it due to the static charge.
Hardness Test
Authentic amber registers approximately 2-3 on the Mohs scale of hardness, which means it’s relatively soft. You can perform a simple scratch test using a metal object – amber should show a scratch, whereas imitations like copal or plastic will be resistant.
Birefringence Test
Amber has birefringent properties, meaning it splits light into two separate rays. Using a polariscope, you can observe this effect in genuine amber by seeing a double image when viewing a light source through the stone.
Checking The Diaphaneity
Examine the transparency or diaphaneity of the specimen. Natural amber varies from completely transparent to opaque, depending on its type and the conditions it was subjected to. Copal and other synthetics often lack the variability of genuine amber.
Single or Double Refraction
Using a refraction tool, you can check if the light passing through amber is singly or doubly refracted. Real amber is anisotropic, showing double refraction, unlike glass or plastic imitations that are singly refracting.
Refractive Index Test
Amber’s refractive index measures between 1.539 and 1.545. Gem refractometers can help you determine this index, indicating whether the amber is authentic or not.
Finding The Specific Gravity
Genuine amber possesses a specific gravity of roughly 1.05 to 1.10, making it much lighter than many imitations. You can test this by creating a saltwater solution and observing if the amber floats.
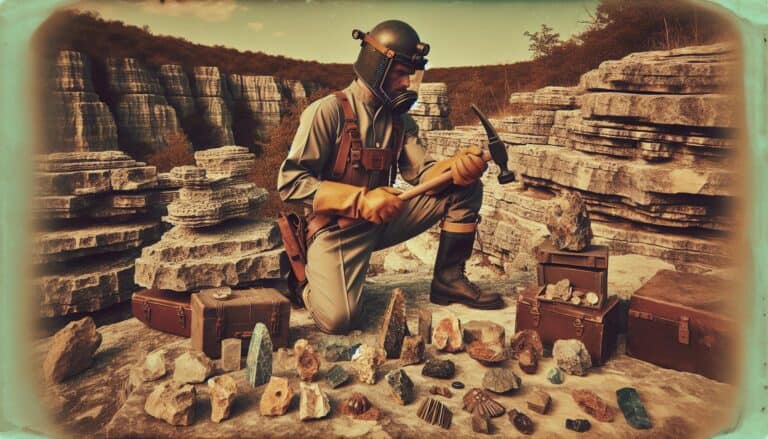
Identifying Ambers in the Field
When looking for amber in natural settings, keep an eye out for rocks with a resinous luster. They’re typically found in coastal areas or places known to have had ancient forests.
Recognizing Potential Amber Rocks
Potential amber rocks usually have a rough exterior with a waxy feel upon touch. Typically, they are found within sediments or coal seams. Look for pieces that have a characteristically warm hue and feel lighter than typical stones of the same size.
Physical Characteristics of ambers
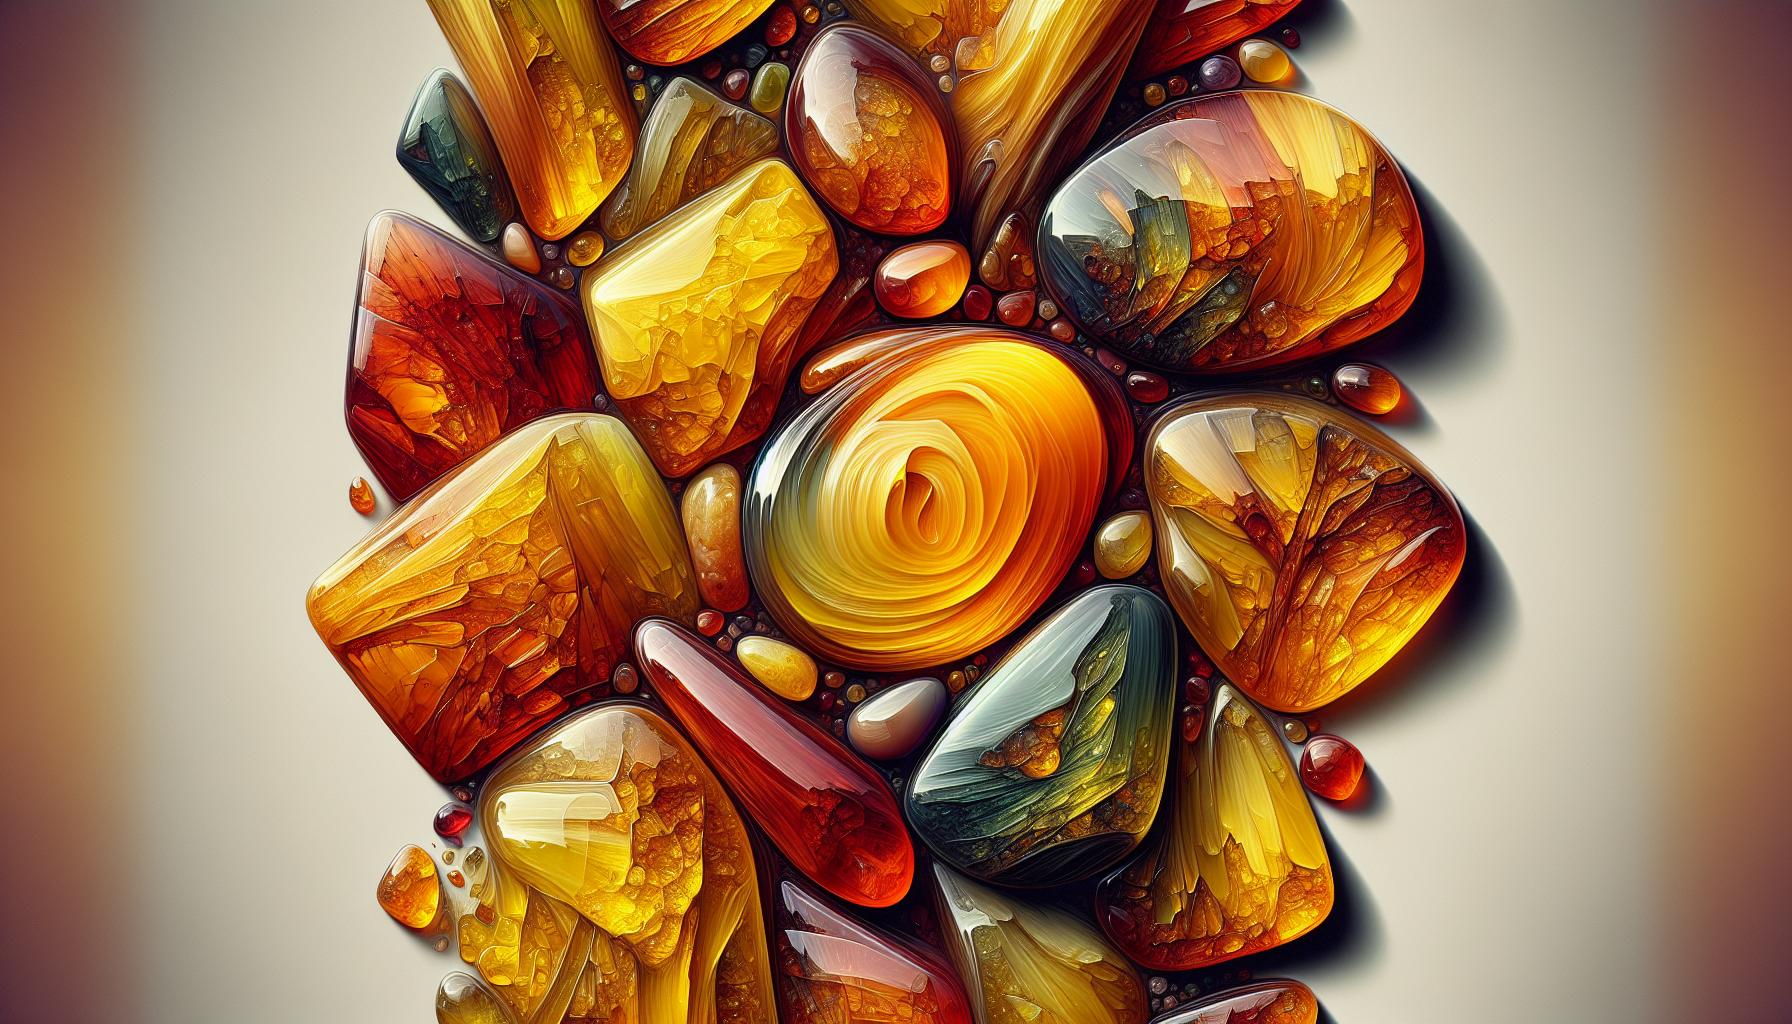
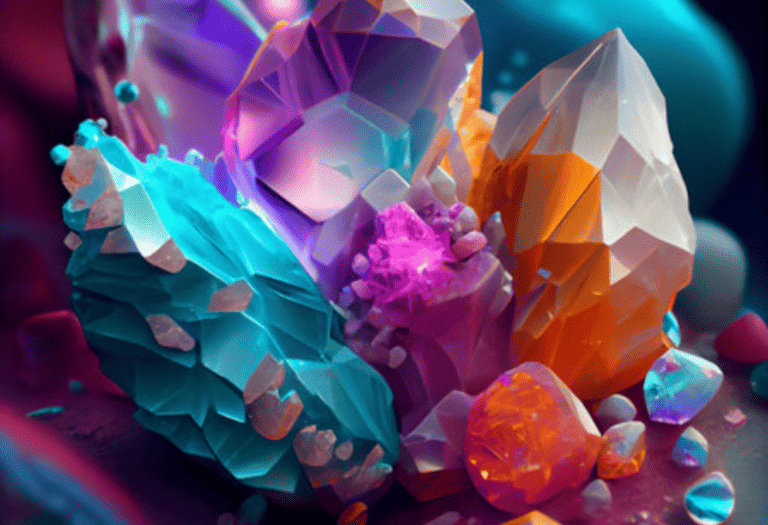
As you delve into the world of ambers, understanding their physical characteristics becomes pivotal. Amber, a fossilized tree resin, boasts a unique set of properties that can help you distinguish it from imitators.
Color is one of the most noticeable features. Typically, amber hues range from yellow to brown but can also appear in reds or even green and blue. Be mindful that genuine amber’s color distribution is often uneven, giving it a natural, organic appearance.
The texture of amber should feel warm and smooth to the touch, unlike synthetics that might feel cold or too glass-like. When it comes to hardness, amber sits at a 2-2.5 on the Mohs scale, making it relatively soft and easy to scratch. This is important to consider, as harder materials claiming to be amber might be counterfeit.
Weighing amber can be telling too. Its density is usually about 0.96-1.05 g/cm³ which is slightly less dense than the classic “saltwater test” threshold, meaning it will float in saltwater. Here’s how amber measures up:
| Property | Typical Value |
|---|---|
| Color | Yellow to Brown (also Reds, Greens, Blues) |
| Texture | Warm, Smooth |
| Hardness (Mohs scale) | 2-2.5 |
| Density (g/cm³) | 0.96-1.05 |
Remember, the luster of amber can best be described as resinous, as it should glow slightly under light—a stark contrast to glass. When exposed to UV light, genuine amber often fluoresces a blue or green color, adding another layer of authenticity.
When it comes to inclusions, true amber may contain remnants of the ancient world, such as plant material or insects. These inclusions are not just fascinating—they’re proof of amber’s natural origin and age. However, be cautious as contemporary fakes might include artificial inclusions to mimic this effect.
Understanding these properties arms you with the knowledge to recognize genuine amber in its raw form. As you proceed, keep these characteristics in mind to effectively navigate the world of ambers.
How Are amber Formed?
Amber, the golden gem from the past, is the fossilized resin of ancient trees. You might find it fascinating that this process takes millions of years—resins ooze out as a protective mechanism against diseases and pests, and over time, they harden and become preserved in the earth’s crust. The journey from resin to amber is a marvel of nature.
Conditions are Crucial for the formation of amber. It requires the absence of air and most times, the presence of pressure and heat. This can occur through burial by sediments or submersion in water. Oxygen-deprived environments are perfect because they prevent decay and allow the resin to remain intact.
The age of amber you might come across can vary widely. Most of the commercially available amber is Jurassic or Cretaceous in origin, ranging from 65 to 210 million years old. Through this immense timespan, the once sticky resin transforms, its volatile components evaporate, and it becomes the hard, lustrous gem you know today.
Understanding amber’s formation gives insight into why it can vary in color and clarity. These differences stem from the original tree species, the environment of fossilization, and the length of time the resin was undergoing changes. When you’re assessing a potential amber specimen, remembering these formation processes can aid in identifying authentic pieces.
Preparation for amber Hunting
Gathering the Right Tools
Before you embark on your amber hunt, it’s crucial to arm yourself with the right tools. A good pair of eyes is your best asset, but enhance your search with helpful gadgets and gear. Here’s a brief list of essentials:
- UV flashlight: Amber fluoresces under UV light, making it easier to spot.
- Magnifying glass: To closely inspect potential amber for inclusions or unique features.
- Hardness test kit: Differentiates amber from look-alike resins or plastics.
- Plastic bag or container: To safeguard your finds from scratches or damage.
- Soft cloth: Handy for cleaning and removing debris without scratching the amber.
Remember, while these tools can significantly boost your chances of identifying genuine amber, knowledge of its physical properties remains paramount.
Safety Considerations
Amber hunting can lead you to various environments, each with its own hazards. Prioritizing safety ensures that your treasure hunt doesn’t turn into a misadventure. Wear appropriate protective gear such as:
- Sturdy footwear: To navigate rough terrains safely.
- Gloves: Essential for digging and handling potential amber pieces, especially when you’re using the hardness test kit.
- Sunscreen and hats: Protect against harmful UV rays if you’re searching in sunny, open areas.
- Insect repellent: Especially important when hunting near forested areas or water bodies.
Always check weather conditions and accessibility of the areas you plan to explore. Inform someone of your whereabouts, and if possible, don’t go alone. Safety in numbers is more than just a saying; it’s a precaution.
Handling and Care of Found ambers
Once you’ve successfully identified and collected amber specimens during your hunt, proper handling and care become paramount. Not only do these practices ensure that you preserve the natural beauty and quality of your finds, but they also allow you to cherish these ancient treasures for a longer time.
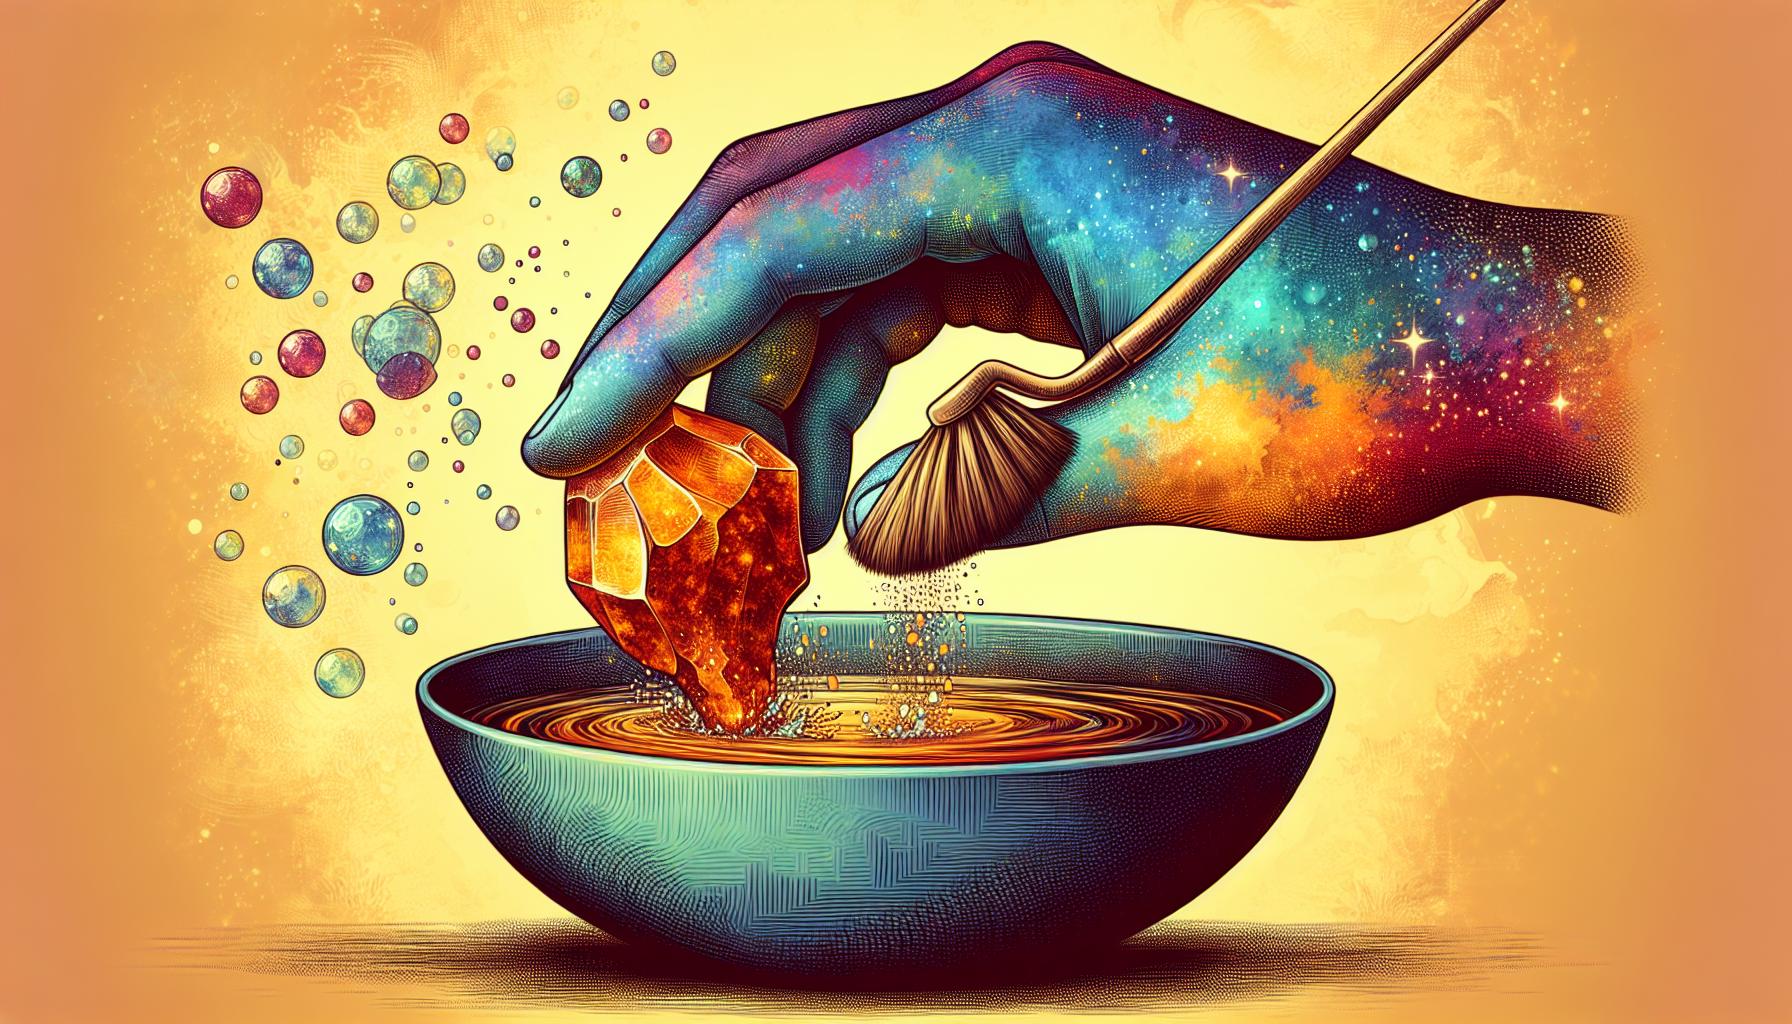
Cleaning Ambers
Cleaning amber is a delicate process that requires a gentle touch. First, you should remove any dirt or debris from the surface using a soft brush or a piece of silk cloth. It’s critical to avoid harsh chemicals or ultrasonic cleaners, as these can damage the amber’s structure or mar its shine. For the best results, use the following steps:
- Rinse the amber under lukewarm water to loosen any particles. Hot water can cause fractures or warping, so ensure the temperature is mild.
- Prepare a solution of mild soap and water and immerse the amber for a short period.
- With a soft toothbrush or cotton swab, gently clean the surface.
- Rinse the amber thoroughly to remove soap residue.
- Pat dry with a lint-free cloth and let it air dry completely before storage or use.
Amber is light-sensitive and can darken over time with excessive exposure to sunlight, so it’s vital to clean it periodically and keep it out of direct light when not in use.
Storing Ambers
Proper storage is essential for maintaining the integrity of amber. Because of its organic nature and relative softness, amber can be easily scratched or damaged if not stored correctly. Here’s how you can safely store your amber finds:
- Individually wrap each piece in a soft cloth or place it in a fabric-lined jewelry box to prevent scratches.
- Keep amber away from heat sources and high temperatures, which can cause brittleness.
- Avoid storing amber with other gems, especially harder stones that might scratch its surface.
Additionally, maintain a consistent environment to prevent the amber from drying out or cracking. A stable humidity level is crucial, so consider using a humidity-controlled display case if you’re planning to showcase your collection.
By respecting these careful cleaning and storage protocols, your amber specimens will remain as lustrous and captivating as the day you found them. Remember, each piece of amber is a link to the past, so handle them with the care they deserve.
Conclusion: Confirming Amber Is Real
You’ve now got the know-how to distinguish genuine amber from imitations and understand the importance of proper care.
Remember, cleaning your amber finds with a gentle touch will ensure they retain their ancient allure. Storing them correctly is just as crucial to prevent any damage. By following these guidelines, you’ll keep your amber treasures looking as captivating as the day you found them.
Treasure hunting is as much about the journey as it is about the discovery—so enjoy every step, from the thrill of the hunt to the satisfaction of preserving your piece of history.