
Crafting beautiful lapidary projects like cabochons at home doesn’t require a sprawling workshop.
If you’re tight on space but big on ambition, a DIY lapidary workbench is within your reach. You’ll be amazed at how a compact 4’x3.5’x2′ workbench can transform a small corner of your home into a complete lapidary studio.
With a Workshop-in-a-Box (WIAB), you can easily accommodate all your essential tools and supplies, from a Diamond Pacific Genie to a trim saw, without cluttering your living area. Whether it’s a cozy basement nook or a snug spot in your garage, your lapidary haven awaits.
Let’s dive into how you can create this space-saving solution and ensure your lapidary artistry flourishes.
To build a compact DIY lapidary workbench, allocate a 4’x3.5’x2′ area. Construct a sturdy frame with a dual-layer plywood top, incorporate shelves and a pegboard for tool storage, install lapidary equipment with a water system for dust management, and set up a dopping station for gemstone handling.
Selecting the location for your DIY lapidary workbench
When you’re preparing to create your DIY lapidary workbench, picking the right spot is critical. You’ll want to consider factors like space, lighting, and ventilation. Ideally, a quiet corner with low foot traffic is best to minimize disruptions and ensure safety while you work.
First, measure the available area to ensure your Workshop-in-a-Box (WIAB) fits. Remember, it only needs to be 4 feet wide, 3.5 feet high, and 2 feet deep. The compact design means you can easily integrate it into small spaces such as a basement nook, snug garage spot, or a corner of your home. In areas with mild weather, an outdoor wall might work, provided it offers shelter and access to power for your tools.
Lighting plays a huge role in precision crafts like lapidary. Choose a location with ample natural light or the possibility to add strong artificial lighting. You’ll need to see intricate details clearly to achieve the desired results in your lapidary projects.
Ventilation should also be on your checklist. Lapidary work can create dust, which isn’t just messy—it can be a health hazard if inhaled. An area with good airflow will help keep you safe. If natural ventilation isn’t sufficient, consider adding a fan or an air filtration system to your setup.
Lastly, think about convenience. Your lapidary workbench should be near an electrical outlet to avoid the need for extension cords, which can be a tripping hazard. Plus, you might want to store your WIAB away when not in use; choosing a location with easy access will make setting up and packing down much simpler.
Versatility is key. You may be working on projects that vary in size and complexity, so your chosen spot should have room for adaptability. With a little forethought and ingenuity, you can create a space that not only allows for functionality but also inspires creativity in your lapidary endeavors.
Measuring and planning the dimensions of your workbench
Before diving into the construction of your DIY lapidary workbench, it’s crucial to measure and plan effectively. Accurate measuring is key to ensure that your Workshop-in-a-Box (WIAB) fits like a glove in your chosen spot. Remember, your workbench needs to not only accommodate equipment but also provide room for maneuvering and comfort while working.
When you’re ready to measure, consider the dimensions of your lapidary machinery. A standard WIAB is 4 feet wide, which snugly houses a Diamond Pacific Genie grinding and polishing unit, along with a 6-inch trim saw. However, if you’re planning to use the new wider Genie model, you’ll want to increase the width to 45 feet. Here’s a simple breakdown of the standard dimensions for reference:
| Width | Height | Depth |
|---|---|---|
| 4 ft | 3.5 ft | 2 ft |
Do note these dimensions should serve merely as a starting point. Based on the specifics of your equipment and the available materials you have, these dimensions may vary. Lumber, for instance, often deviates from its nominal size – a piece marked as 2×2 might actually measure slightly less. Hence, you’ll need to adjust the dimensions of your workbench accordingly.
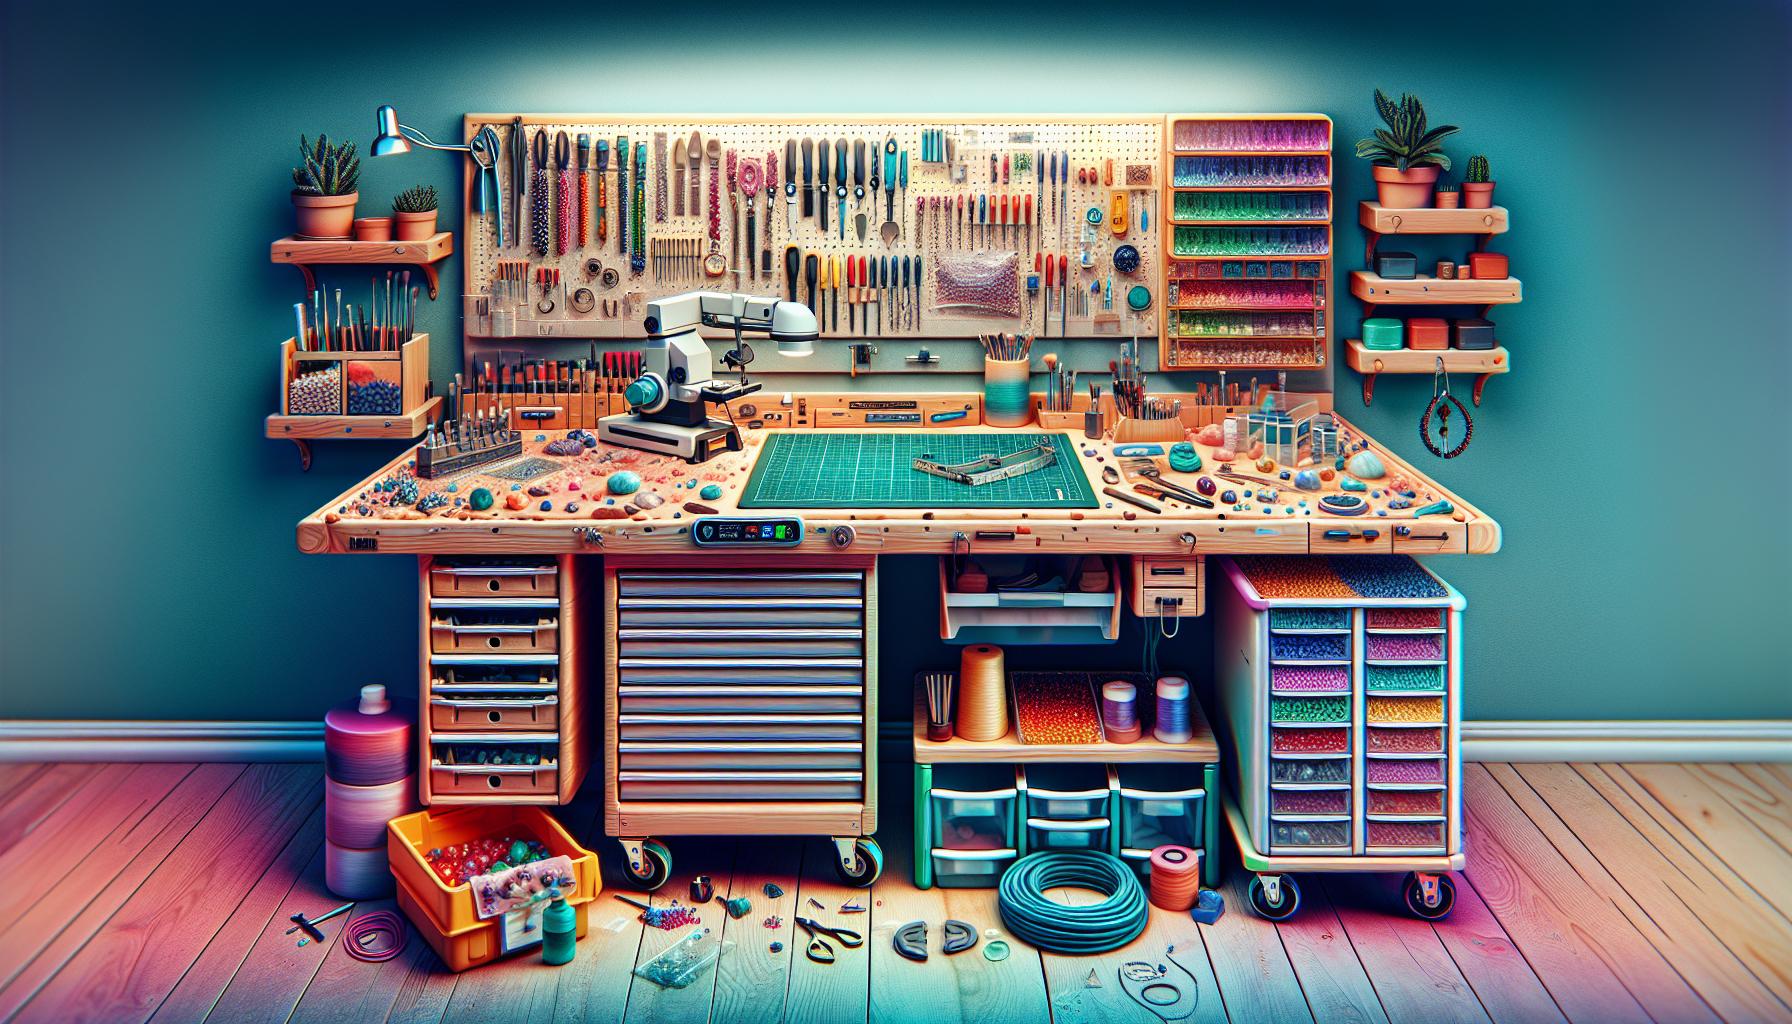
Keep in mind the space for storage – shelves and pegboards are essential to keep your tools and supplies organized. You’ll need room for safety glasses, a dop pot, wax, and various other lapidary necessities. Make sure the pegboard and shelving are planned to maximize space without cluttering your work area.
Lastly, factor in clearance space around the workbench. You should have enough room to move freely and work from different angles without feeling cramped. A well-measured and planned workbench not only boosts productivity but also ensures a safer and more enjoyable crafting experience.
Building the frame of your lapidary workbench
When starting your lapidary workbench project, the frame is your skeleton; it’s the foundation that’ll support all your creative endeavors. First off, consider the materials you’re using. While hardwood is durable and long-lasting, metal frames offer industrial strength and often come with adjustable options for height and angles, which can be a real back-saver.
Here’s a quick guide to building the frame:
- Choose Your Material: Opt for a hardwood like maple or oak for sturdiness, or metal for flexibility and strength.
- Cut to Size: You’ll need four legs at 35 inches high and additional pieces for the perimeter of the benchtop, typically measuring 4 feet by 2 feet.
- Assemble the Frame: Start by attaching the legs to the longer sides of your top frame using screws or bolts. Ensure it’s squared up to prevent wobbling in the future.
- Supports and Crossbars: Add horizontal supports between the legs to add stability. Consider additional crossbars depending on the weight of your machinery.
When securing components together, it’s essential to use the right fasteners. Screws are good for wood, but if you’re working with metal, welding or specialized brackets are necessary to handle the vibrations from the equipment. Additionally, adjustable feet can help level the workbench on uneven floors which is common in garages and basements.
Remember, your lapidary bench must support not just the weight of the Diamond Pacific Genie, but also the dynamic forces it creates. A good frame minimizes vibration, allowing for precision work.
If you’re integrating shelves and pegboard, it’s critical to secure them firmly to the frame. They should be able to hold all your tools and lapidary supplies without sagging or shaking. Here’s an ideal setup:
- Above Benchtop: Install a pegboard for easy access to frequently used tools.
- Below Benchtop: Place a shelf for your heavier machinery and bulky items.
Building the frame is an investment in quality and safety. Make sure to measure twice, cut once, and build a frame that’ll last as long as your passion for lapidary arts.
Constructing the table top and shelving for storage
Creating a functional table top for your lapidary workbench is essential for handling all the cutting, grinding, and polishing you’ll be doing. Start with two pieces of half-inch thick plywood, each 48×24 inches, for the top and bottom portions of your workbench. The use of half-inch plywood ensures a strong and durable surface that can withstand the pressure and vibrations of your lapidary tools.
When securing these pieces, it’s imperative to use woodworking glue and nails or screws to fasten them securely to the frame. This will prevent any movement that could interfere with delicate work. By doing so, you’ll achieve a stable and level working area. For additional stability, consider using an L-shaped bracket on each corner underneath the table top.
Integrating storage into your workbench is not just a space-saving measure, it’s crucial for efficiency and maintaining a tidy work environment. Utilize 0.75-inch thick wood slats, ranging in width from 3 to 5 inches, to construct shelves. These shelves should be designed to provide easy access to your most commonly used tools and supplies.
Shelving Placement and Corner Braces:
- For the back, attach six metal 4-inch corner braces to the 2×2 lumber.
- Place two shelves, each 46.5 inches long and 5 inches wide, along the back.
- Install one shelf 22 inches long and 2.75 inches wide on the left side, supported by a 1-inch corner brace.
- On the right, two similarly sized shelves, effectively notched to fit around the 2×2 frame.
The clever use of a pegboard measuring 14×19.25 inches on the left side further expands your organization possibilities. Affix it with two wood strips sized 0.75×0.75 inches to hang additional supplies that won’t fit on the shelves.
Remember to keep flexibility in mind and measure as you go, as modifications might be needed based on the materials available. Utilizing the space effectively will enhance your lapidary experience, providing easy access and organization for all your tools and equipment.
Installing the necessary lapidary tools and equipment

Once you’ve constructed a sturdy table top and arranged your shelves and storage, it’s time to outfit your workbench with the necessary lapidary tools and equipment. Space might be tight, but with smart planning, you can have a functional setup that allows you to craft beautiful pieces without a hitch.
You’ll need to anchor your rock saw, grinding, and sanding units firmly. Start by fastening C-clamps or vice grips to secure these units. It’s vital that they don’t move while operating. For your grinding/sanding units, alignment with the table edge ensures comfortable access. If water is necessary for your equipment, as it often is, set up a simple water circuit with a tubing system that runs from a water container to your tools and back. This will help in controlling dust and cooling your stones during the grinding process.
The next piece of the puzzle is your slant cabbing lap. If you’ve gone the DIY route, make sure it’s calibrated for precise angles essential for shaping your gemstones. DIY enthusiasts often use repurposed parts like motors from old machines and diamond-plated grinding wheels to save on cost. Ensure that all DIY tools are as stable and accurate as possible to produce quality work.
Lastly, organize your dopping station. A dopping station includes your adhesives, heat source, and dopping sticks, which hold the stones while you work on them. Ensure that you have a heat-resistant surface and sufficient lighting for detailed work.
Remember, your focus is on safety, stability, and precision. Every tool and piece of equipment should be in its rightful place and be easily accessible without overcrowding your workspace. Here’s a quick checklist for your tool installation:
- Secure rock saw and grinding units with C-clamps or vice grips
- Align power tools for easy access and control
- Install a water circuit for dust management and tool cooling
- Calibrate DIY tools for precision work
- Set up a heat-resistant dopping station with good lighting
Optimizing your workspace for ease of use will not only ensure safety but also enhance your lapidary artistry. With a little creativity and some elbow grease, you’re well-equipped to turn those rough stones into polished gems.
Conclusion
You’ve just taken a significant step towards creating your own customized lapidary workbench.
With your tools securely anchored and your grinding/sanding units strategically placed, you’re set for efficient operation. Remember, precision is key in lapidary work, so take the time to calibrate your DIY tools.
Your dopping station is organized, and your water circuit is in place to manage dust and keep your tools cool. Now, you’re ready to tackle any lapidary project with confidence.
Enjoy the fruits of your labor and the beautiful stones you’ll shape on this sturdy foundation you’ve built with your own hands.
Frequently Asked Questions
What do I need to set up a DIY lapidary workbench in a small space?
With careful planning, a DIY lapidary workbench can be made to fit in a small space. You’ll need essential lapidary tools like a rock saw, grinding/sanding units, proper anchoring materials to secure the equipment, a water system for dust control and tool cooling, plus organization for your dopping station.
How can I secure my lapidary equipment on the workbench?
Secure your lapidary equipment by anchoring the rock saw and grinding/sanding units to the workbench. This prevents any movement that could impact the precision of your work or safety during operation.
Why is it important to align grinding/sanding units with the table edge?
Aligning grinding/sanding units with the table edge provides easier access to the equipment and helps in maintaining a proper working posture. This arrangement contributes to an efficient and safer working environment.
Can I set up an effective water circuit for my home lapidary workbench?
Yes, setting up a water circuit is crucial for dust management and cooling your lapidary tools. The circuit will minimize airborne dust and help maintain the longevity of your tools by reducing heat during operation.
Should DIY lapidary tools be calibrated?
Calibrating DIY lapidary tools is essential for precision work. Proper calibration ensures that your finished products attain the desired shape and size, and enhances the quality of your lapidary projects.
How do I organize my dopping station?
Organize your dopping station by keeping adhesives, dop sticks, and gemstones systematically arranged for easy access. This helps in maintaining a clutter-free workspace and enhances your overall efficiency.
Why is optimizing the workspace important for lapidary work?
Optimizing your workspace enhances safety and ease of use. It involves organizing tools and materials, ensuring proper lighting, and maintaining a clean environment which is essential for precise and secure lapidary operations.