Unlock the mesmerizing beauty of labradorite with your own hands!
This striking gemstone, known for its dazzling play of colors, is a favorite among jewelry makers and hobbyists alike. But to truly bring out its magical iridescence, you’ll need to master the art of cutting and polishing.
Don’t worry if you’re new to lapidary work; with the right tools and techniques, you’ll transform rough labradorite into a shimmering masterpiece. Ready to dive into the process and see that labradorescence come to life?
Let’s get started on your journey to creating your very own labradorite treasure.
Transform rough labradorite into a dazzling gem with the right tools and techniques. Start by cutting the stone to reveal its color play, using a lapidary saw and diamond blade for precision. Then, polish with graded pads to enhance its iridescent glow. Remember, patience and careful handling will unveil labradorite’s magical beauty.
Gathering the necessary tools and materials
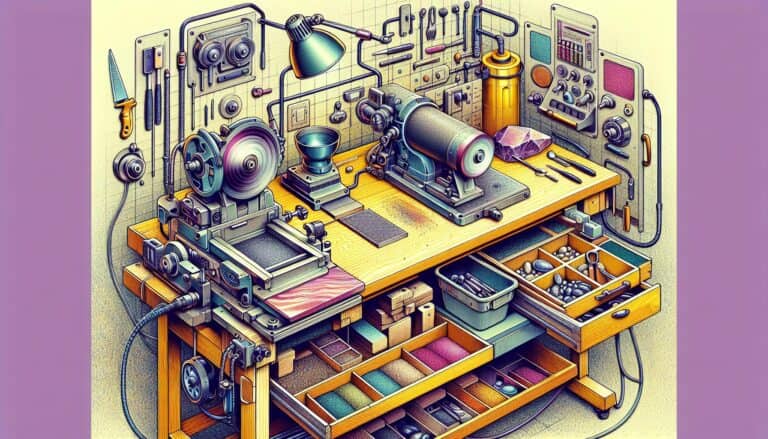
Before you dive into cutting and polishing your labradorite, it’s crucial to have all the necessary tools and materials at hand. The right equipment will not only make the process smoother but also ensure the safety of both you and the gemstone.
For Cutting Labradorite:
You’ll need a lapidary saw equipped with a diamond blade. A powerful saw ensures precise cuts without damaging the structure of the gemstone. Remember to secure the stone with a clamp or vice to prevent slippage as well as to wear eye protection to protect against flying debris.
For Polishing Labradorite:
Polishing requires a set of diamond polishing pads with varying grit levels. Starting with a coarse grit, you’ll progressively move to finer grades to achieve a lustrous finish. A flat lap grinder is perfect for this stage, allowing you to achieve an even polish over the surface of the stone.
Ensure you have a water source nearby — either a drip or a sponge, to keep the stone wet. This reduces dust and the risk of overheating which can crack the gemstone.
Additional Materials:
- Polishing compound for the final shine
- Safety glasses to protect your eyes
- Dust mask to prevent inhalation of stone particles
- Apron to keep your clothes clean
Setting up Your Workspace
A well-organized workspace is just as important as the tools themselves. Make sure you have:
- A stable workbench or table
- Adequate lighting to spot any imperfections
- Non-slip mats to prevent tools from sliding
- A dedicated area for your water supply
By preparing your workspace and gathering all your tools and materials, you’re now well on your way to transforming a piece of labradorite into a polished jewel. In the next section, we’ll dive into the step-by-step process of cutting the labradorite to prepare it for polishing.
Understanding the characteristics of labradorite
When you’re getting ready to cut and polish labradorite, you need to be aware of its unique properties. Labradorite is a feldspar mineral known for its remarkable play of color, often referred to as labradorescence. This phenomenon is the result of light refracting within the lamellar intergrowths inside the stone. Labradorescence creates a spectrum of colors that can change as the stone is viewed from different angles.
One of the first things to note about labradorite is its hardness. On the Mohs scale, labradorite sits between a 6 and a 6.5, which means it’s relatively hard but can still be scratched by substances with a higher rating. Knowing this, you’ll understand that cutting the stone requires tools that are harder than the mineral itself, typically those made with diamond edges.
The cleavage and fracture of labradorite also play a big role in how you work with it. This mineral has a quality of cleavage that can either help or hinder your efforts. The planes along which the stone naturally splits are inherent to its structure and may dictate the final shape you can achieve. When cutting labradorite, align your cuts with these cleavage planes to reduce the risk of breaking the stone.
Tackling the transparency of labradorite is another step. While you might come across varieties that are transparent, most labradorite is translucent to opaque. This characteristic should guide the thickness of your cuts. Thinner slices will enhance the stone’s translucency and may heighten the labradorescent effect, but they also risk becoming too fragile.
Here’s a quick rundown of labradorite’s physical characteristics:
- Hardness: 6 – 6.5 (Mohs scale)
- Cleavage: Perfect in two directions
- Fracture: Uneven to conchoidal
- Transparency: Translucent to opaque
Understanding these characteristics helps you determine how to approach the cutting process, as they impact both techniques and the visual outcome of your work. Remember to factor in these elements along with safety and precision to optimize the aesthetics and structure of your finished piece.
Preparing and shaping the rough labradorite
Before diving into the cutting process, it’s essential to properly prepare the labradorite rough. Your initial examination of the stone will guide you in maximizing the labradorescence. Look for the angle that shows the most color play and mark it with a grease pencil. This spot will be your focus for orienting the gem before shaping.
Identify Potential Fractures to avoid any surprises during the cutting phase. Labradorite can have natural fractures that may not be visible to the naked eye. A magnifying glass or a jeweler’s loupe can be crucial in spotting these. If fractures are found, you’ll need to work around them or risk the stone breaking apart.
Measure and Mark Your Cuts carefully. Given labradorite’s perfect cleavage, accuracy is paramount to prevent cleaving the stone in an unintended direction. Use a ruler and a fine-tip marker to lay out the initial cuts that will shape your labradorite. Remember that your cuts should enhance the stone’s natural beauty and maximize its unique color properties.
When you’re ready to start cutting, Secure the Stone in a small vise or holder with padding to prevent any scratching or unnecessary pressure that could cause it to crack. Adjust your grip on the stone regularly to ensure precision and control during the shaping process.
Saw or Grind the rough into the basic desired shape, keeping in mind that labradorite’s hardness demands a careful approach. Diamond-impregnated saws and grinding wheels are best; they provide the right balance of toughness and delicacy required for labradorite.
Remember, throughout the shaping process, Continually Wet the Stone to minimize dust and heat buildup, which could damage the integrity of the labradorite. This will also give you a clearer view of how the stone’s color is changing and developing as you work.
Choosing the right cutting technique
Finding the best cutting technique for labradorite is essential for preserving its unique characteristics. You’ll want to focus on methods that enhance its play of color while maintaining the stone’s integrity.
When planning your cuts, it’s advisable to utilize the faceting approach or the cabochon cut. Faceting labradorite can maximize light reflection, especially when angles are optimized for labradorescence. However, this requires precision and a deep understanding of gem cutting. In contrast, the cabochon cut, with its smooth, rounded surface, is more forgiving and often used to highlight the stone’s natural beauty.
Keep in mind that the angle at which you cut can greatly influence the appearance of labradorescence. Proper orientation is key, and it may take several attempts to find the perfect angle that displays the most vibrant color play. Use a dop stick to hold your stone securely during the cutting process. This allows for better control and precision.
With labradorite’s Mohs hardness of 6-6.5, diamond-edged tools are your best choice for cutting. These tools provide the durability and sharpness required to handle the stone’s cleavage planes, preventing unwanted breakage.
| Tool Type | Purpose |
|---|---|
| Diamond saws | Cutting through raw labradorite |
| Diamond burrs | Shaping and refining edges |
| Polishing wheels | Smoothing the surface post-cut |
Maintain a steady hand and don’t rush the process. Gradual progress ensures fewer mistakes and a higher-quality finish. Keep the stone wet to reduce the risk of overheating, which can lead to cracks or fractures.
As you become familiar with the stone’s response to various techniques, you’ll develop a personal cutting style that brings out the best in labradorite. Continuous learning and adaptation are the hallmarks of a skilled lapidary artist. Remember that practice is pivotal; your skill in choosing the right technique will grow with each stone you cut and polish.
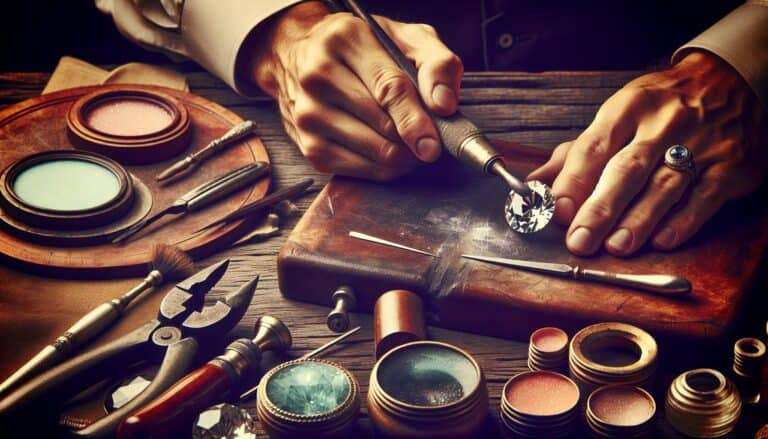
Polishing the labradorite to reveal its full beauty
Once you’ve meticulously cut your labradorite, it’s time to polish it to a high shine that showcases the stone’s magical labradorescence. Polishing labradorite is a step that you can’t afford to rush; it’s the vital stage that brings out the vivid colors and enchanting luster hidden within.
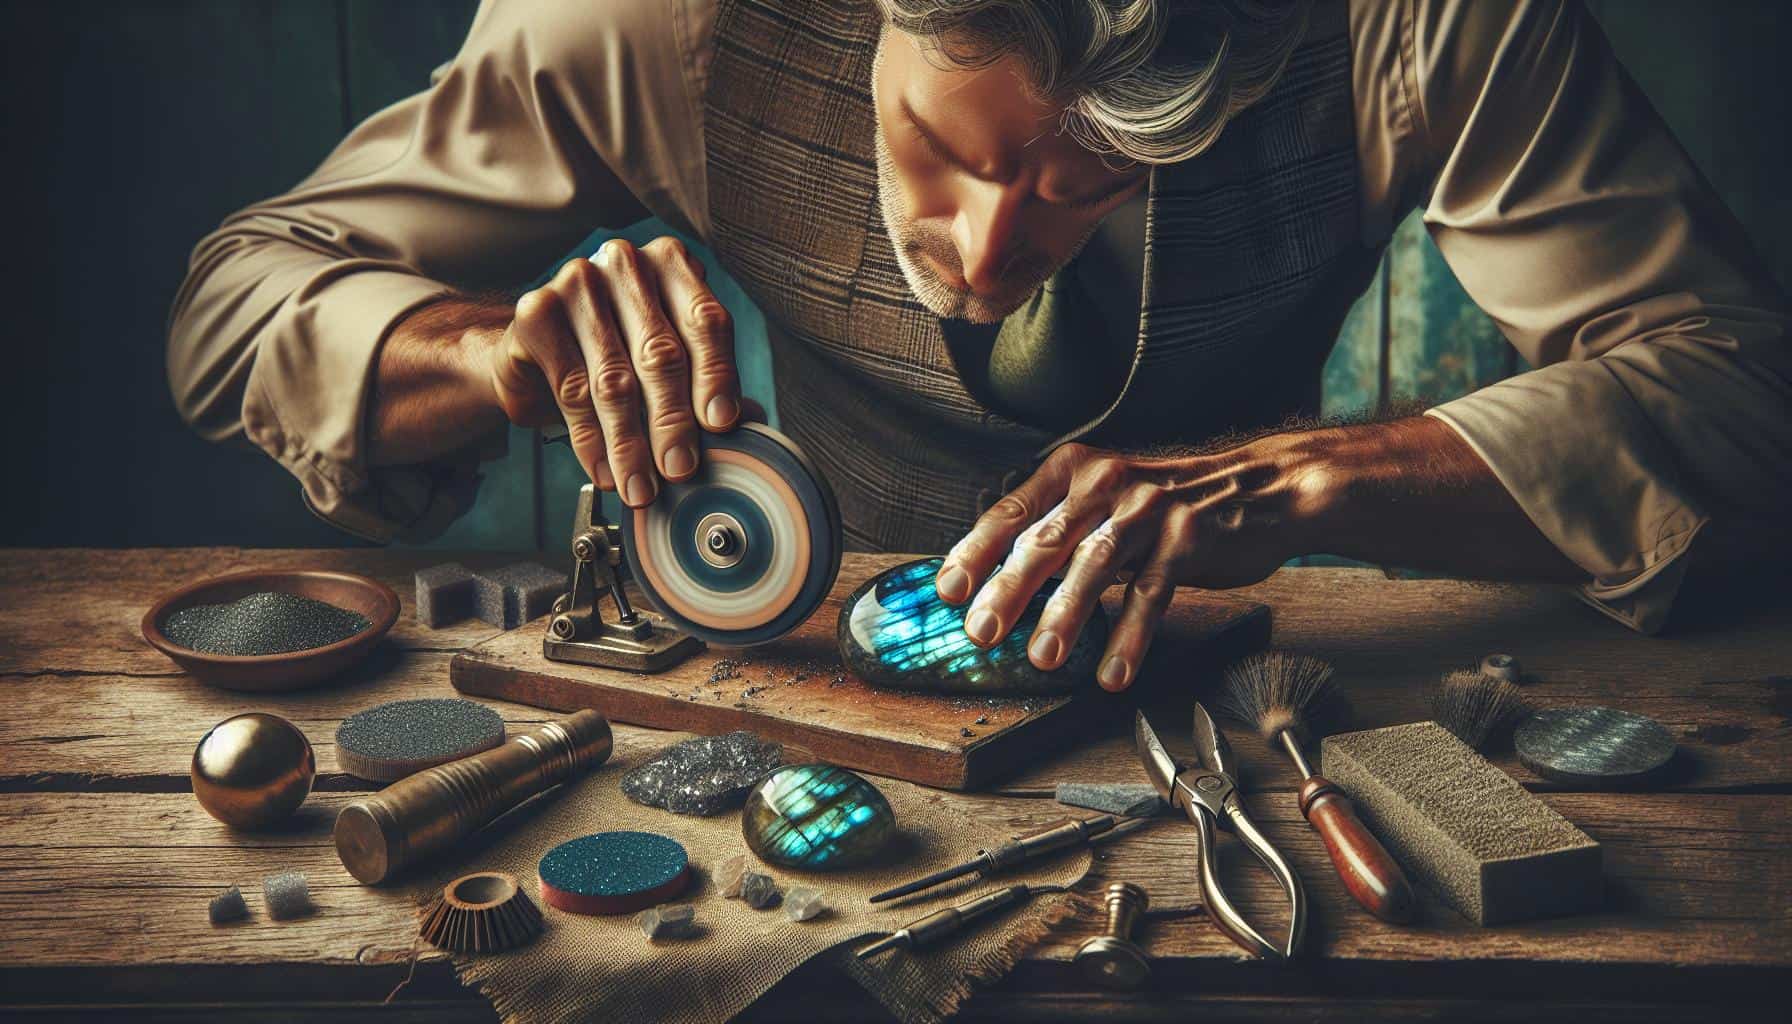
Start with a coarse grit polishing wheel or pad to smooth out any scratches or rough areas from the cutting process. As you polish, remember to keep the stone wet to avoid heat build-up, which can potentially cause cracks and ruin the finish you’ve worked so hard to achieve.
Gradually move to finer grit polishing wheels as you progress your work. The sequence of using different grits is crucial, as it ensures a smooth transition to the mirror finish you’re aiming for. Typically, you’ll transition through polishing grits in increasing fineness, usually ending with a 3000 grit pad for labradorites.
During polishing, the angle at which you hold the stone against the wheel makes a difference. By altering the angle subtly, you’ll enhance the display of colors that labradorite is known for. It’s a skill that improves with experience, so be patient as you find the best technique that works for you.
High-quality polishing compounds are the final touch needed to truly bring out the colors and shine of the labradorite. Cerium oxide or diamond paste are preferred choices, often used in the final polish. Apply the compound to a soft cloth or leather pad and rub onto the stone in a circular motion until the desired glow is achieved.
While polishing, periodically wipe the stone clean and inspect it under different lighting conditions. This will help you catch any missed spots or remaining imperfections, ensuring a uniformly polished piece that’s ready to mesmerize any onlooker with its deep celestial blues, vivid greens, and fiery oranges.
Remember, the goal of polishing labradorite is not just to create a shiny surface but to unlock the stone’s full potential. With a combination of precision, patience, and the right polishing techniques, you’ll be able to maximize the mesmerizing optical effects of your labradorite. Keep refining your method, and your labradorite pieces will come to life in full spectral glory.
Conclusion
Unlocking the full potential of labradorite’s mesmerizing beauty is a rewarding journey. You’ve learned that the key lies in respecting its unique properties during the cutting and polishing processes.
Remember, your goal extends beyond achieving a mere shine—it’s about enhancing the stone’s inherent labradorescence and ensuring its structure is showcased to perfection. With the right approach and attention to detail, you’ll turn a piece of labradorite into a stunning work of art that captures light and imagination in equal measure.
Keep these insights in hand and you’re set to create a masterpiece that truly sparkles.