Discovering a shell fossil can be like finding a hidden treasure, a tangible piece of history in your hands.
But if it’s covered in centuries of grime, you’ll want to reveal its true beauty. Cleaning shell fossils isn’t just about aesthetics; it’s about preserving a piece of the past for future generations.
You might think that fossil cleaning requires specialized tools or chemicals, but you’ll be surprised at how much you can achieve with items you’ve probably got lying around at home. Ready to transform your fossil from dull to dazzling?
Let’s dive into the simple yet effective ways to clean and care for your ancient finds.
Cleaning shell fossils reveals history, enhancing aesthetics and preserving ancient life. Simple home tools can effectively clean these treasures, maintaining their integrity for future appreciation. Proper techniques ensure fossils’ beauty and historical value are showcased, connecting us with the Earth’s past.
Why Clean Shell Fossils?
When you discover a shell fossil, it’s often covered with sediment and debris. Cleaning these fossils not only reveals their true beauty but also allows for a better study of their features. Fossils play a crucial role in understanding the Earth’s history, and clean specimens are essential for educational and research purposes.
Cleaning also helps in preserving the integrity of the fossil. Over time, dirt and other materials can contribute to the deterioration of the shell fossil. By carefully removing these substances, you’re actively working to preserve the fossil for much longer than if it was left in its found state.
Moreover, collectors and museums often value shell fossils for their aesthetic value and historical significance. A well-preserved and clean fossil is generally more appealing to collectors and can be displayed more effectively in museum exhibits. This appeal can greatly increase the personal value of your find.
In addition, cleaning your shell fossils can be a satisfying part of the hobby of collecting. As you clean, you’ll gain a deeper appreciation and understanding of the fossil’s history and the creatures that once lived within them. It’s a hands-on way to connect with the past and contribute to its legacy.
Through your care, you ensure that these remnants of ancient life continue to captivate and educate for years to come. By maintaining the condition of your shell fossils, you’re not just preserving a piece of history – you’re also contributing to the ongoing story of our planet.
It’s worth mentioning that while cleaning is important, knowing how to clean your fossils without damaging them is just as critical. That’s why it’s essential to follow a thorough and careful cleaning process that protects these treasures for future observation and study.
Supplies You’ll Need
Before diving into the nitty-gritty of fossil cleaning, it’s crucial to gather the right tools for the job. Adequate supplies are paramount not only for your safety but also to ensure that you don’t inadvertently damage your precious finds.
First on your list should be protective gear. This includes:
- Safety goggles
- Gloves (nitrile or rubber)
- Dust mask or respirator
Next, you’ll need a range of cleaning implements to dislodge dirt and sediment. These may vary depending on the fossil’s condition and the type of debris you’re dealing with. Here are the basics:
- Soft brushes (paintbrushes or toothbrushes)
- Dental picks
- Wooden skewers
- Small chisels
- Plastic scrapers
For more persistent grime, you might require chemicals to get the job done. Always prioritize mild solutions to minimize potential harm to the fossil. Some standard options include:
- White vinegar
- Hydrogen peroxide (3% solution)
- Deionized water
- Mild soap or detergent
Should you encounter tougher concretions, you might consider using mechanical cleaning gadgets. However, these should be used with caution and generally by more experienced individuals. Such equipment includes:
- Air scribes
- Small sandblasters
- Ultrasonic cleaners
Remember, the goal isn’t just to clean but to preserve. You’ll also need proper storage materials to keep your fossils safe after the cleaning process. Opt for acid-free containers or display cases that will not degrade over time and can shield the fossils from environmental damage.
Lastly, it’s wise to keep a cleaning log. Document your methods, materials used, and any observations during the cleaning process. This can prove invaluable for future reference, especially if you’re looking to perfect your technique or need to recall specific details about a particular fossil.
With your supplies in order, you’ll be well-equipped to tend to your shell fossils with confidence and care.
Preparing the Fossil for Cleaning
Before diving into the actual cleaning of your shell fossils, it’s critical to properly prepare them to ensure a safe and effective cleaning process.
Inspect the Fossil
First and foremost, you’ll need to thoroughly inspect the fossil. Check for any visible cracks or weak spots that could be further damaged during cleaning. Delicate areas may require special attention or even professional handling, so it’s essential to identify these vulnerabilities early on.
Dry Brushing
Start with a gentle dry brushing to remove loose particles. A soft-bristled brush is perfect for this preliminary step. This action often reveals more of the fossil’s surface and may help you spot any hidden areas that require careful cleaning.
Stabilizing Fragile Areas
If you find any fragile sections, it’s crucial to stabilize them before proceeding. You can do this by applying a consolidant such as Paraloid B-72. This will reinforce weak spots and prevent further deterioration during the cleaning process.
Removing Larger Debris
For fossils with larger debris, like clumps of sediment or concretions, you may need to use dental picks or wooden skewers. These tools allow for precision when chipping away at the hard-packed material without exerting too much force on the fossil itself.
Remember, the key to successful fossil cleaning lies in your preparation. Taking the time to carefully inspect and prep your fossils will not only protect them but also make the subsequent cleaning steps more manageable. As you transition from preparation to the actual cleaning of your shell fossils, maintain a steady hand and a keen eye for detail to achieve the best results.
Removing Loose Dirt and Debris
Once you’ve inspected and stabilized your shell fossils, you’ll need to tackle the first stage of the cleaning process: Removing Loose Dirt and Debris. This is a critical step to ensure that your fossils emerge not just clean, but also unharmed.
Start with a soft brush to gently sweep away the finest particles that cling to the surface. You’ll find that using brushes with different bristle stiffness can be beneficial. For the exterior curves and crevices of the shell, a medium-bristle brush is your best pick, as it’s strong enough to dislodge tiny particles without damaging delicate features.
Next, address the more stubborn debris. A dental pick can be your go-to tool here. Its precision allows you to work away dirt from the nooks without exerting undue pressure that might crack the fossil. Remember, patience is your ally; work slowly and diligently. Here’s what to keep in mind:
- Keep the pick’s point away from the fossil surface to avoid scratches.
- Lever out the dirt by directing the pick away from the fossil.
- For larger debris, a wooden skewer can be effective—its softness relative to the fossil means less risk of scratching.
After the initial removal of loose dirt and debris, you might find some particles are more ingrained in the fossil’s texture. For these, submersion in water might be necessary. Opt for distilled water to avoid introducing any new minerals or chemicals that tap water may contain. Submerge the fossil slowly and allow it to soak for a brief period, loosening the dirt’s grip.
As you proceed, periodically inspect your fossil to ensure no new vulnerabilities have arisen, adapting your technique as needed. With a bit of time and the right approach, you’ll see your fossil slowly revealing the natural beauty that lay hidden beneath the accumulated layers of grime and time.
Soaking the Fossil
Submerging your shell fossils in water is the next critical step in the cleaning process. Distilled water proves to be the best choice as it lacks the minerals found in tap water that could potentially adhere to or damage the fossils. Fill a shallow container with enough distilled water to cover the fossils completely and allow them to soak.
The duration of the soak can greatly impact the effectiveness of the cleaning process. For general cleaning, a 24-hour soak is adequate to loosen most of the ingrained dirt and debris. However, for fossils that are extremely dirty or those that have been in storage for a long time, an extended soak may be necessary.
Throughout the soaking period, you’ll want to change the water periodically to remove the dirt that has been dislodged from the fossils. As you change the water, take a moment to gently brush the surfaces of the fossils with a soft toothbrush to aid in the removal of loosened particles. Here’s a simplified timeline for your reference:
| Soak Duration | Purpose | Water Change Frequency |
|---|---|---|
| Up to 24 hours | General Cleaning | Not Required |
| 24-48 hours | Moderate Debris Removal | Every 12 Hours |
| 48+ hours | Heavy Cleaning | Every 24 Hours |
If you notice any areas where debris is still clinging after the initial soak, you may need to apply a soft brush more vigorously or use a dental pick to remove the remaining debris. Ensure you’re cautious not to apply too much force, which could damage the shell fossil.
After the soaking, it is important to rinse the fossils thoroughly under running room-temperature distilled water. This helps to wash away any remaining sediment. Following this, blot the fossils gently with a lint-free cloth to absorb excess moisture before moving on to the drying stage.
Remember, the fossil’s condition should guide your actions—if you’re ever unsure, it’s best to err on the side of caution and soak for shorter periods, checking frequently. Cleaning ancient treasures like shell fossils requires a delicate balance of patience and precision, ensuring the preservation of their natural beauty for generations to admire.
Cleaning with a Soft Brush
Once your shell fossils emerge from their soaking stage sparklingly clean, it’s critical to turn your attention to any remaining stubborn particles. Using a soft-bristled brush can usually handle this task well. Opt for brushes with nylon or natural fibers as they’re less likely to scratch the delicate surfaces of your fossil finds.
Here’s how you should approach the brushing stage:
- Begin by positioning the fossil on a stable, flat surface.
- Dip your brush in distilled water to keep the brushing process gentle.
- Apply minimal pressure and use short, light strokes to target the areas where dirt persists.
Remember that repeated strokes over the same spot can result in damage, so it’s better to work systematically across the fossil’s surface and reassess after each pass.
During the brushing process, it’s beneficial to hold the fossil under a strong light source. This visual aid helps you spot any hidden crevices that may still harbor grime. If some dirt seems ingrained, you can perform a secondary soak or use a toothpick to dislodge it – just be sure the toothpick is wooden to mitigate scratch risks.
As you’re brushing, regularly rinse the brush to remove dislodged particles. This prevents them from being redistributed onto the fossil’s surface, ensuring a thoroughly clean result.
Frequent Rinsing Is Key
As you make progress, you’ll want to rinse the fossil under running distilled water frequently. This step is crucial as it washes away loosened particles that could otherwise act as abrasive agents if left on the shell. Furthermore, gentle rinsing helps you assess the fossil’s cleanliness as you work, guiding your brushing efforts effectively.
After working through the brushing process, your shell fossils should begin to reveal the detailed textures and patterns that make them truly unique. While brushing may seem like a simple step, it’s a pivotal moment in the cleaning process that brings out the intricate beauty of your fossil without the use of harsh chemicals or tools.
Using Vinegar or Lemon Juice
While brushes play a crucial role, calcified deposits and stains can demand a more potent solution. Enter the use of weak acids like vinegar or lemon juice, which can be highly effective for tougher cleaning challenges. But before you start, remember that fossils are delicate, and these acids can also dissolve calcium carbonate-based shells if used inappropriately.
Start with a diluted solution — one part vinegar or lemon juice to four parts water. You’re aiming to create a gentle bath that can help dissolve stubborn deposits without harming the shell fossil.
Here are a few steps to follow:
- Test the solution on a small inconspicuous area of the fossil first
- Soak for 5 to 10 minutes, keeping a vigilant eye on any changes in the fossil’s texture
- If there are no adverse effects, gently place the entire fossil in the solution
- Use a timer to ensure you don’t leave the fossil in for too long
The weak acid should work to loosen hard mineral deposits, making them easier to wipe or brush away after the soaking period. Be sure to rinse the fossil thoroughly under running distilled water once you remove it from the acidic solution. This step is crucial to halt the acid’s effect on the fossil.
After soaking, it might be tempting to use a metal pick or tool to remove any remaining deposits. However, it’s best to stick with the wooden toothpick technique you’ve learned, to minimize the risk of scratches or damage.
Remember, whether it’s vinegar or lemon juice, your key to success is patience and attention. Take your time and continually monitor the fossil, ensuring that the natural beauty is preserved without compromising the structural integrity. When soaked and brushed properly, these natural acids can reveal the finer details and textures that make shell fossils unique, providing a window into the past that is clean, clear, and historically significant.
Drying and Storing the Fossil
After carefully rinsing your shell fossil, drying is your next critical step. You’ll want to avoid any build-up of moisture that could lead to damage over time. Start by gently patting the fossil dry with a soft, lint-free cloth, taking care not to press too hard on delicate formations. Let it air dry completely in a shaded area, ensuring that it’s not exposed to direct sunlight which can cause the fossil to overheat and potentially crack.
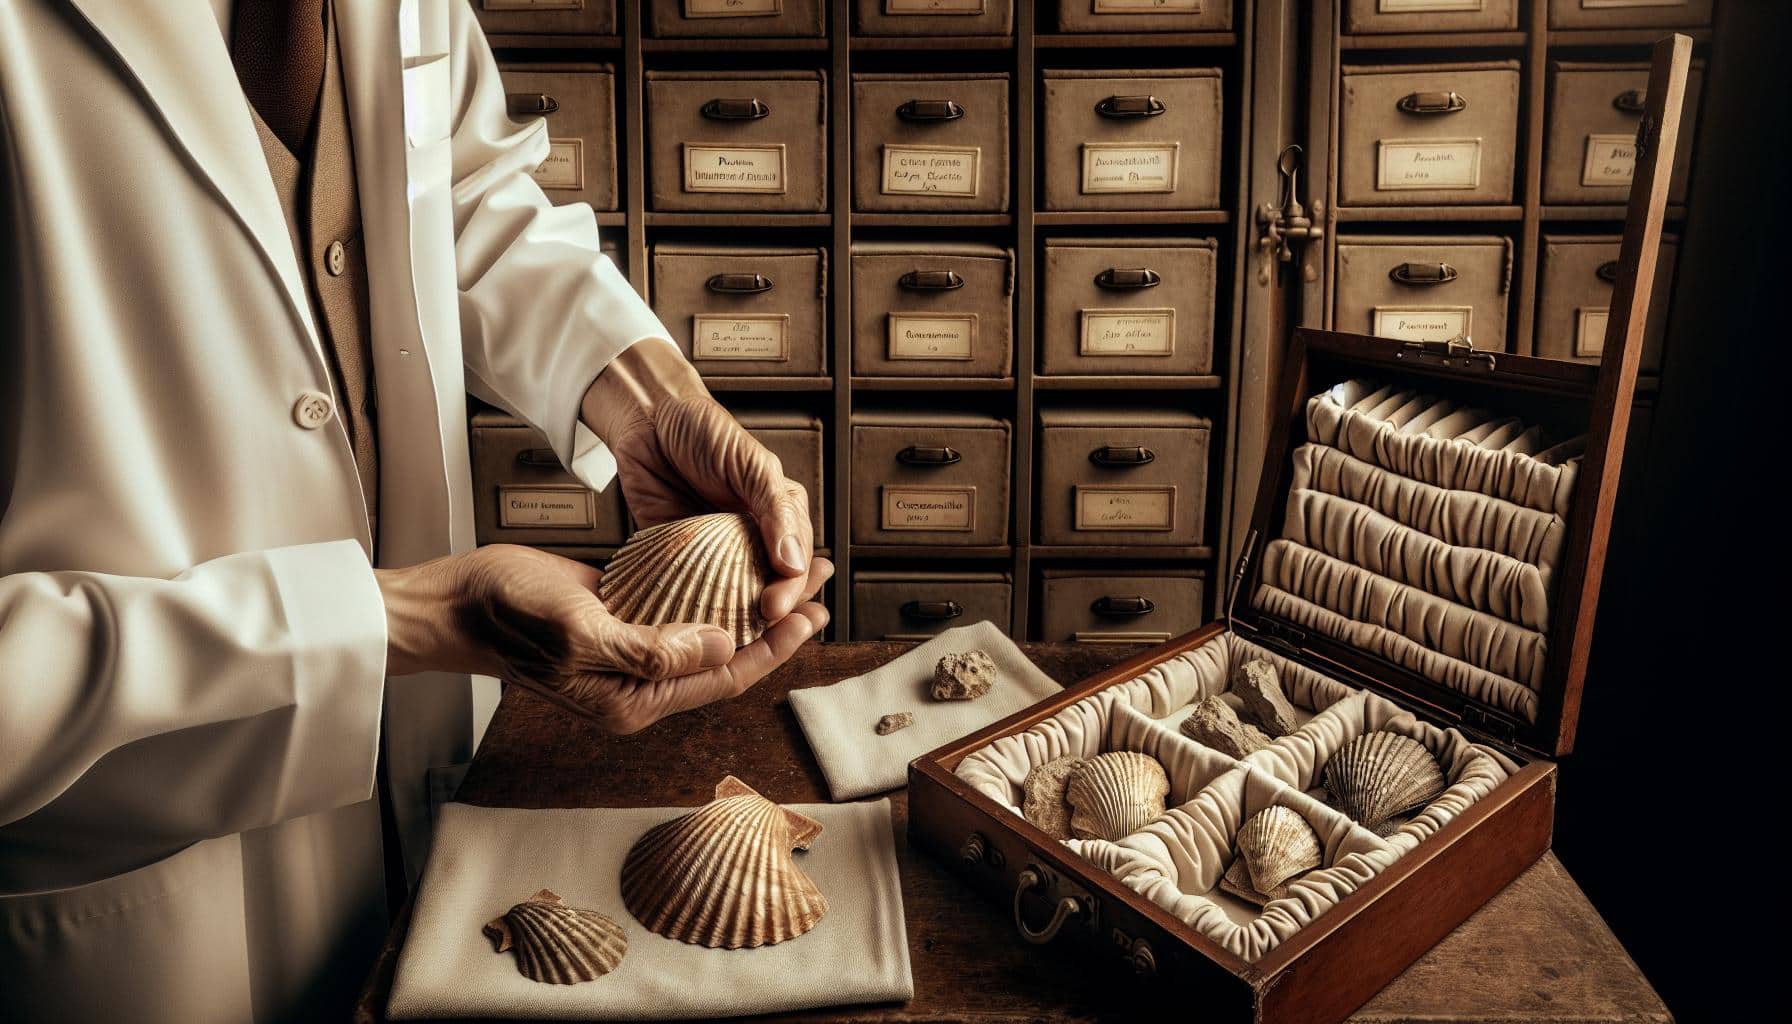
Once the fossil is dry, it’s essential to store it properly to maintain its integrity. Ideally, wrap the fossil in acid-free tissue paper which will offer a protective layer against scratches and other physical damage. If you’re dealing with a particularly fragile piece, consider placing it in an individual container with padding to provide additional support and isolation from environmental stresses.
When selecting a storage space, keep these factors in mind:
- Consistent temperature: Fluctuations can cause expansion and contraction, leading to cracks.
- Low humidity: Moist environments invite mold and mildew.
- Minimal handling: The more you touch the fossil, the more oil and dirt from your fingers can transfer to it.
For long-term storage or display, it may be worthwhile to invest in a cabinet or display case that provides a controlled climate. Many collectors use desiccants like silica gel packets to maintain a moisture-free environment, especially in areas where humidity levels are naturally high. Keep records of your fossils, noting where they were found and their age, to accompany them in storage. This practice not only preserves the context and scientific value of the fossil but also enhances its story for future display or study.
Conclusion: On Fossils Cleaning
With your shell fossils now meticulously cleaned, you’re well on your way to ensuring their longevity and beauty.
Remember, the key to preserving these ancient treasures lies not just in the cleaning but also in the careful drying, storage, and documentation. By following the steps outlined, you’ll protect your fossils from damage and keep them in pristine condition for years to come. Whether you’re an avid collector or a curious enthusiast, your attention to detail will serve you well in showcasing and cherishing these pieces of natural history.
Now go ahead, give your fossils the care they deserve, and enjoy the timeless connection to Earth’s past that they provide.