Discover the art of annealing silver, a crucial process for any jewelry maker or metalworking enthusiast.
Annealing softens silver, making it easier to shape and mold into your desired form. Whether you’re crafting intricate jewelry or custom silverware, mastering this technique can elevate your work from amateur to artisan.
You’ll learn how to heat and cool silver properly to achieve the perfect temper. With the right tools and a bit of practice, you’ll soon be annealing silver with confidence, ensuring your creations are both beautiful and durable.
Let’s dive into the world of metalwork and transform your silver projects with the power of annealing.
Annealing silver involves heating it to 1110°F – 1200°F, then quenching in water to soften and make it more workable for jewelry making. It’s crucial to heat evenly and avoid over-annealing. Practice on scrap silver to perfect the technique.
Benefits of Annealing Silver
When you’re delving into the intricacies of metalwork, understanding the perks of annealing silver can be a game-changer. Increased Malleability is one of the most striking benefits. Annealing alters the internal structure of the metal, which results in a more pliable and ductile state. This is essential when you’re aiming to transform a piece of silver into an intricate design, as it allows for the shaping and bending necessary without the metal breaking or cracking.
Stress Relief in the metal is another significant advantage. Repetitive hammering and bending during the making of jewelry or silver articles induce stress into the material. Annealing relieves this stress, preventing the occurrence of cracks and fatigue that might otherwise ruin your work.
Additionally, annealing paves the way for Enhanced Workability. As you anneal silver, the ease with which you can engrave, emboss, or press designs into the material improves, allowing for finer details that make your creations stand out. This is particularly beneficial for artisanal work where customization and precision are paramount.
Here’s a quick glance at the core benefits of annealing silver:
- Increased malleability
- Stress relief
- Enhanced workability
Furthermore, annealing is essential for Error Correction. If you notice a mishap or defect during the formative stages of your work, annealing allows you to soften the metal to correct the issue without starting over. This not only saves time but also conserves the materials you’re working with.
Bear in mind that while annealing is beneficial, it requires a balance. Over-annealing can lead to Oversoftening, where the silver becomes too soft to hold its shape well. It’s crucial to heat treat your silver pieces the correct number of times at optimal temperatures to harness the advantages fully.
As you master the art of annealing, you’ll find that these benefits are just the beginning. The intricate details and superior craftsmanship possible with well-annealed silver can truly set your work apart.
Understanding the Science behind Annealing
When you heat silver during the annealing process, you’re altering its physical properties at the atomic level. To understand why annealing is so effective, it’s crucial to grasp the science of metal crystals. Silver, like other metals, has a crystalline structure consisting of atoms arranged in a regular pattern. As you work with silver, the manipulation distorts this arrangement, creating dislocations and stresses within the crystal lattice.
By heating the metal, you allow atoms to move more freely. This movement lets the metal realign its crystalline structure, reducing the built-up stress. The temperature to which you heat the silver is also vital. If the temperature is too low, the atoms won’t have enough energy to rearrange themselves sufficiently. Too high, and you risk reducing the silver’s quality.
So, what’s the ideal temperature for annealing silver? Between 1110°F and 1200°F (600°C – 650°C), substantial atomic realignment occurs without negatively affecting the metal’s integrity. By maintaining this controlled heat, you encourage the silver to reach its recrystallization temperature. Here’s a breakdown of the ideal temperature range:
| Annealing Temperature for Silver | Fahrenheit | Celsius |
|---|---|---|
| Low End | 1110°F | 600°C |
| High End | 1200°F | 650°C |
Once you remove the silver from the heat source and let it cool, a process known as quenching often follows. Quenching rapidly cools the metal, locking the atoms in place within the newly aligned structure. Some prefer to air cool silver, which takes longer but can minimize the potential of thermal shock that might occur during quenching.
Annealing also results in grain growth—the metal’s crystals grow larger, making the silver softer and more malleable. There’s a delicate balance between the time you maintain the heat and the size of the grains. Overly large grains can make the silver too soft, while insufficient heat may not relieve all the internal stresses.
Remember, mastering annealing doesn’t happen overnight. It takes practice to recognize the subtle color changes indicating the silver’s readiness and to judge the right cooling method for your project. By understanding and controlling these elements, you ensure the physical properties of the silver are optimally adjusted for your craftwork endeavors.
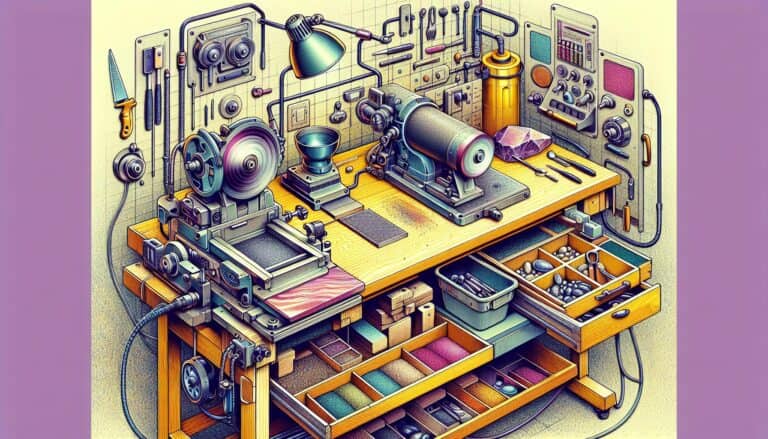
Tools and Materials Needed for Annealing Silver
Before you start the annealing process, it’s essential to gather the right tools and materials. Proper preparation ensures not only successful annealing but also your safety during the process. Here’s what you’ll need:
- Torch: A butane torch or a propane torch is necessary to achieve the high temperatures required for annealing silver. The size of your torch should match the scale of work you’re planning.
- Heat-resistant surface: This could be a soldering block or a firebrick. It’s crucial to protect your work area from the extreme heat generated during annealing.
- Silver piece: Whether it’s wire, sheet, or a formed piece of silver jewelry, this is the material you’ll be annealing.
- Tweezers or tongs: These are used for handling hot silver. They should be made of stainless steel to withstand the heat.
- Quenching bowl: Fill this with water or pickle solution to cool down the silver after annealing.
- Pickle solution: A chemical bath that cleans oxidation and scaling from the silver once quenched.
When selecting these tools, ensure they’re of high quality to avoid potential hazards and to achieve the best results in your work. Now here’s a quick rundown on how to use these materials to anneal your silver:
- Place your silver piece on the heat-resistant surface.
- Light your torch aiming the flame evenly across the silver.
- Heat the silver until it glows a dull red, keeping it within the annealing temperature range.
- Once at the correct temperature, remove the heat immediately.
Remember that maintaining an even temperature is key to preventing faults in the metal’s structure. After heating, use your tweezers or tongs to move the red-hot silver into the quenching bowl. It’s a sharp transition from extreme heat to cool water, but this sudden change fixes the crystalline structure, enhancing the malleability of the silver without causing brittleness.
Practice makes perfect in annealing. The feel for the right temperature and handling of the materials comes with experience. Ensure you’re well-versed in safety protocols, as handling torches and hot metal can be dangerous if not done correctly. With time, you’ll find a rhythm that works best for your metalwork projects.
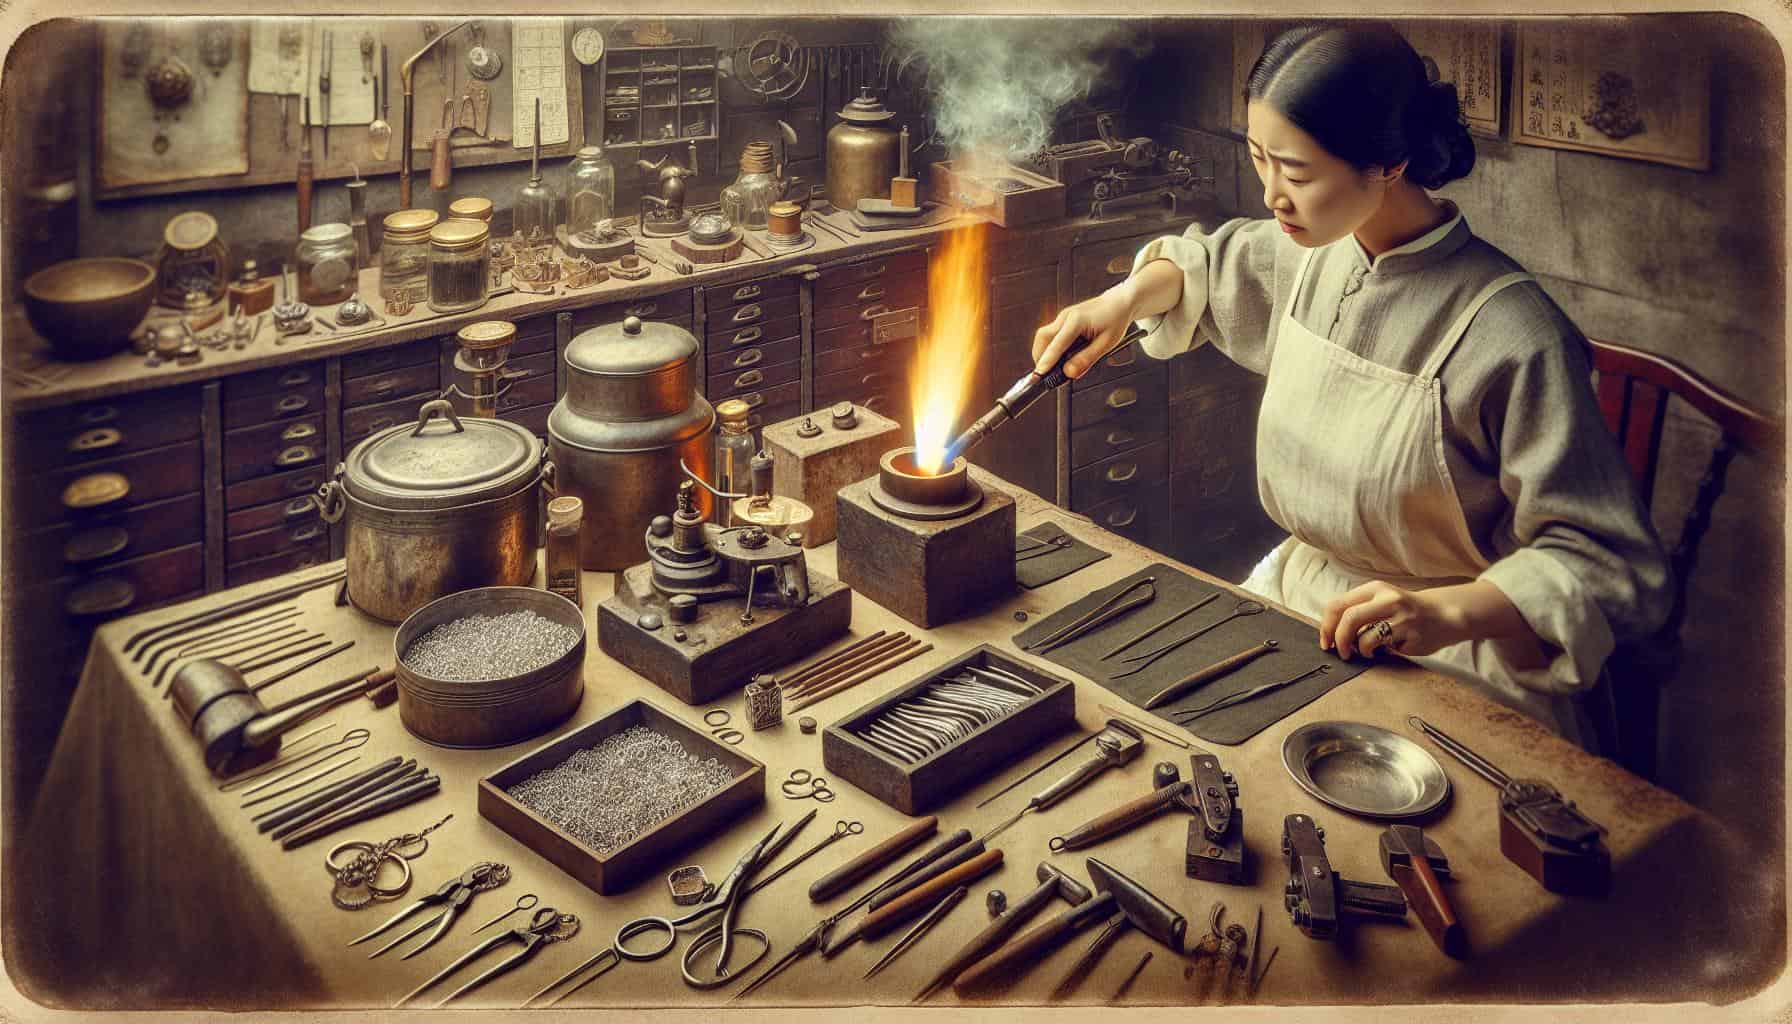
Step-by-Step Guide to Annealing Silver
Before you start annealing, you’ll need to ensure your workspace is ready. You should have a heat-resistant surface, such as a soldering block or annealing pan, to work on. Your torch should be filled with fuel, and all safety equipment, including goggles and heat-resistant gloves, must be within reach.
Prepare Your Silver
First, clean your silver thoroughly. Any dirt or grease can affect the annealing process. Once clean, lay your piece of silver on the heat-resistant surface.
Applying Heat
Ignite your torch and adjust it to a soft flame. Slowly move the flame over the silver in an even pattern. Watch for the silver’s color to change to a dull red glow, which indicates it’s reaching the necessary annealing temperature. It’s essential to keep the torch moving to avoid melting the metal. If you’re new to this, practice on scrap pieces first to get a feel for the heat.
Quenching and Pickling
After heating, grab your silver with the tweezers or tongs, carefully, and immediately quench it in the bowl of water. This halts the annealing process and cools the metal quickly. Next, move the quenched piece to the pickle solution to clean off any fire scale, which is a layer of oxides that forms on the surface during heating.
Checking and Drying
Once your silver is thoroughly cleaned in the pickle, rinse it under running water. Dry the metal completely before moving on to the next steps of your project, like shaping or polishing. It’s important to ensure that the silver is fully annealed and clean for the best results in your final piece.
Successfully annealing silver enhances its ductility, making it easier for you to manipulate without breaking. Remember, achieving the perfect anneal comes down to practice and careful attention to the color and behavior of the metal as you’re heating it. Keep experimenting with different pieces, and you’ll soon develop a knack for spot-on annealing.
Tips and Tricks for Successful Silver Annealing
Mastering the art of silver annealing isn’t just about sticking to the basics; it’s also about adopting some insider tips and tricks that can take your metalwork to the next level. Here’s what seasoned silversmiths recommend:
Even Heat Distribution
- Rotate your piece: To ensure even heat distribution, you should constantly move the torch over the silver piece. This avoids hotspots and ensures that the entire piece reaches the correct annealing temperature.
- Use a reflective surface: Place your silver on a charcoal block or a soldering pad. These surfaces reflect heat, helping to anneal the piece evenly.
Patience Is Key
- Take it slow: Don’t rush the heating process. Slow and steady wins the race when it comes to achieving a uniform anneal. Heating too quickly can lead to uneven softness and potential warping.
Temperature Monitoring
- Watch for color changes: Silver will exhibit a warm, dull red glow when it reaches the annealing temperature – typically around 1,100°F (593°C). Upon seeing this, you’ll know it’s time to remove the heat.
- Use an annealing indicator: Applying an annealing indicator such as liquid flux can help you determine when the silver has reached the desired temperature, as it will change appearance or burn off at specific temperatures.
Quenching Timing
- Wait for the right moment: Allow the silver to cool slightly before quenching. Don’t dunk it immediately after heating; the thermal shock could crack or distort the metal.
- Experiment with scrap: Before you work on an important project, practice your annealing technique on scrap pieces to get a feel for the heat and timing required.
By incorporating these tips and maintaining a vigilant eye during the process, you’ll refine your silver annealing technique for flawless results every time. Remember, the nuances in the process make all the difference in metalwork and jewelry making. Keep pushing your skills forward, and don’t hesitate to seek advice from more experienced metalsmiths in your journey to perfect your craft.
Common Mistakes to Avoid when Annealing Silver
As you further hone your skills in silver annealing, being aware of common pitfalls can save you both time and materials. One typical mistake is uneven heating. Silver must be heated uniformly; otherwise, it leads to stress within the metal that can cause warping or cracking. To prevent this, keep the torch moving in a steady, sweeping motion across the surface.
Another error to watch out for is improper quenching. Dunking silver too soon after heating may result in shock to the metal, while waiting too long can allow it to become too brittle. It’s crucial to understand the visual cues, like the dull red glow fading, which indicate the right quenching moment.
Also, don’t underestimate the importance of a clean work surface. Residual particles on your metal can be driven into the surface while annealing, leading to unwanted textures or weak spots. Make sure to thoroughly clean the silver before you apply heat.
A further mistake is neglecting to use a properly diluted pickle solution for cleaning the annealed metal. Too strong a solution can overly etch the surface, whereas a weak one may not remove all fire scale. Check the manufacturer’s instructions for the correct dilution.
Lastly, many novices fail to consider the ambient temperature and humidity of their workspace. These factors can affect how quickly your silver heats and cools. A controlled environment ensures consistency in your annealing process.
By recognizing and avoiding these common errors, you’ll be on your way to mastering the art of silver annealing. Remember, attention to detail and a thorough understanding of the process are your best tools for getting it right. Keep practicing on scrap metal to build confidence and precision in your technique.
Annealing Dos and Don’ts
As you dive deeper into the art of silver annealing, it’s crucial to engrain certain dos and don’ts into your practice to ensure consistent, high-quality results. These guidelines serve as your navigational beacons in the meticulous process of metalwork.
Do ensure that your workspace is well-ventilated. Adequate airflow is essential not only for your safety but to prevent any build-up of gases that could affect the heating process. Additionally, a clean and organized workspace can significantly reduce the risk of accidents and improve your efficiency.
Don’t skip the pre-cleaning stage. Any contaminants on the surface of the silver can lead to imperfect annealing results. Debris, oils, or residues can alter the metal’s properties during heating, resulting in an uneven temper and surface blemishes.
Do evenly distribute the heat when applying the torch. Keep the flame moving in a controlled manner to cover all areas of the silver. This ensures a uniform anneal and reduces the likelihood of hot spots that could cause weaknesses.
Don’t quench the metal too soon or too late. Timing is critical in this step. Quenching when the silver is the correct dull red glow allows the metal to cool rapidly without inducing stresses or hard spots.
Do use the correct pickle solution concentration. A pickle that’s too strong or too weak can affect the cleanliness of the annealed silver. Follow the recommended mixing ratios and adjust as necessary based on your observations and experience.
Don’t regard practice as an optional step. The more you practice annealing, the better you’ll understand the nuances of the silver and its behavior under heat. Use scrap pieces to hone your skills before advancing to more critical pieces in your collection.
Ingraining these dos and don’ts in your workflow will elevate your silver annealing skills to new heights. Remember that every piece of metal behaves differently, and being adaptable will allow you to tackle any annealing challenge with confidence.
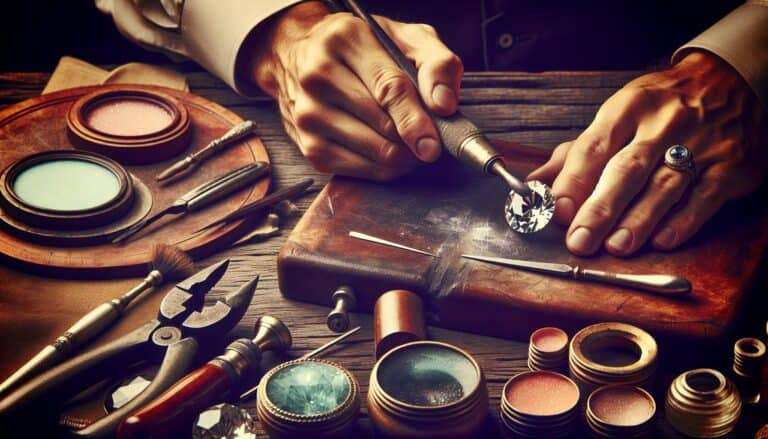
Annealing Silver for Different Jewelry Making Techniques
When delving into the diverse world of jewelry making, you’ll quickly realize that annealing silver is not a one-size-fits-all task. Techniques such as soldering, forming, and engraving require silver to possess specific properties for optimal results.
Before you begin, understand the project requirements. Soldering, for example, often needs a softer state of the silver to ensure the solder flows correctly and creates a strong bond. In contrast, if you’re forming the silver into intricate shapes, it’s crucial to anneal the metal to a point where it’s malleable yet retains enough rigidity to avoid warping.
Time your annealing process with precision; for projects involving delicate patterns or textures, be extra cautious as overheating can lead to a loss of detail. To maintain texture during annealing, consider using a lower temperature for a shorter duration. This gentle approach can help preserve the intricate work you’ve poured hours into.
When engraving, the silver needs to be soft enough to leave a mark but firm enough that the tool doesn’t slip. If the silver is too hard, it won’t just make engraving difficult but can also damage your tools. Remember to frequently anneal your silver during long engraving sessions to keep a consistent working hardness.
| Jewelry Making Technique | Desired Silver Hardness | Annealing Temperature (Approx.) |
|---|---|---|
| Soldering | Soft | 650°F – 1200°F |
| Forming | Medium to Soft | 1000°F – 1200°F |
| Engraving | Medium to Hard | 750°F – 1100°F |
The pickle solution plays a vital role post annealing, cleaning any oxidation formed during the process. Match the solution’s strength to your technique. A stronger solution may be needed for soldering-related firescale, while a milder mixture can be suitable for general cleaning after forming or engraving.
Regular practice will help you gauge the right balance for each technique, improving your annealing skills for a variety of jewelry-making projects. Stay attentive to how different shapes, sizes, and designs influence the heating and cooling cycles. Successful annealing means adjusting your approach based on the unique demands of each piece, ensuring the silver responds in just the right way for your artistic vision.
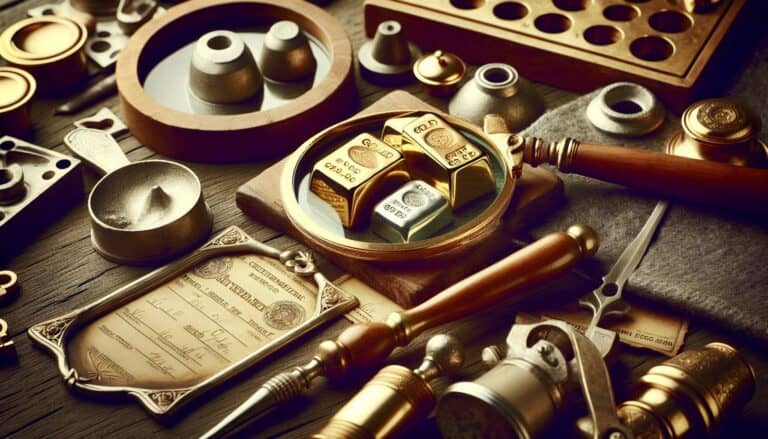
Annealing Silver vs. other Metal Annealing Techniques
When annealing silver, your approach will differ compared to working with other metals such as gold, copper, or brass. Each metal has its specific ideal annealing temperature and cooling method required to optimize its ductility and workability. While silver requires heating until it’s cherry red, approximately 1110°F to 1200°F, other metals have varying temperature thresholds.
- Gold: Anneals at a slightly higher temperature than silver, often between 1200°F and 1300°F.
- Copper: Needs to be heated to a bright cherry-red color or approximately 1000°F and is then air-cooled.
- Brass: Requires heating to a dull red, about 900°F to 940°F, and can be either water-quenched or air-cooled.
| Metal | Annealing Temperature (°F) | Quenching Method |
|---|---|---|
| Silver | 1110 – 1200 | Water or air |
| Gold | 1200 – 1300 | Water |
| Copper | 1000 | Air |
| Brass | 900 – 940 | Water or air |
The cooling process impacts the metal’s final properties significantly. Quenching silver in water after it’s annealed softens the metal, preparing it for further work. However, this abrupt change in temperature can sometimes lead to cracking in other metals if not executed correctly.
Your technique must also account for the metal’s thickness and size. Larger and thicker pieces of any metal will require more time to reach the proper annealing temperature and might need slower cooling to avoid stress in the material.
The pickle solution used to clean silver post-annealing is universal for most metals; however, the timing in the solution might vary. Silver can be left in the pickle until the oxidation is removed, but other metals might require shorter or longer periods depending on their susceptibility to oxidation.
With consistent practice and accumulation of knowledge on metal properties, you’ll be able to tailor your annealing process to the specific piece you’re working on. Remember that mastery comes from not only understanding the broad strokes but also the nuanced differences between various metals and techniques.
Conclusion on Annealing Silver
Mastering the art of annealing silver is a game-changer in metalworking and jewelry design.
You’ve got the tools and the know-how to ensure your silver is pliable yet strong enough for the most intricate work. Remember, patience and attention to detail are your best friends as you apply even heat and wait for that perfect moment to quench. Embrace the learning curve and don’t shy away from experimenting with scrap pieces to hone your technique.
As you continue to practice, you’ll find your skills in soldering, forming, and engraving reaching new heights. Keep in mind the unique properties of silver compared to other metals and adjust your approach accordingly. With consistent practice, you’ll be able to customize the annealing process for each project, ensuring your creations are not only beautiful but structurally sound.
Now go ahead, apply what you’ve learned, and watch your metalwork transform.