Diving into the world of stone cutting can be both exhilarating and daunting. Whether you’re looking to craft a unique piece of jewelry, create stunning sculptures, or even embark on a DIY home project, understanding the basics of stone cutting is your first step. It’s an art form that combines precision, patience, and a bit of creativity, transforming rough stones into beautiful masterpieces.
As you embark on this journey, you’ll discover the tools and techniques that have been refined over centuries. From selecting the right stone to mastering the cut, each step is crucial in achieving the desired outcome. So, if you’ve ever marveled at the beauty of expertly cut stones and wondered how it’s done, you’re in the right place to start unraveling the mysteries of stone cutting.
Stone cutting transforms rough stones into masterpieces, requiring precision and creativity. It involves selecting stones based on hardness and aesthetics, using tools like chisels and grinders, and mastering cuts for professional finishes. Key techniques include straight, curved, and internal cuts, alongside patient, precise work and protective measures.
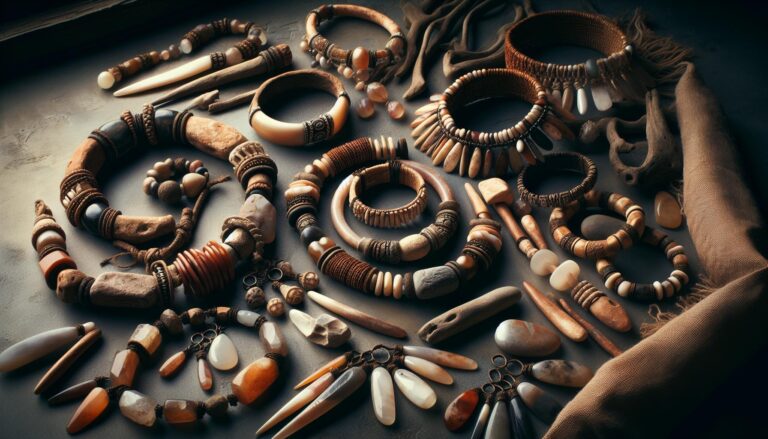
Selecting the Right Stone
Choosing the right stone is a pivotal step in the stone cutting journey. The type of stone you select not only impacts the final aesthetic of your project but also dictates the techniques and tools you’ll need. When picking a stone, consider its hardness, color, and transparency to ensure it aligns with your envisioned outcome.
Stones are rated on the Mohs scale of hardness, which ranges from 1 to 10, with 10 being the hardest. This scale helps you understand how easy or challenging cutting and polishing the stone will be. For beginners, starting with softer stones like soapstone (Mohs scale 1-2) or alabaster (Mohs scale 3) might be advisable, as they require less specialized equipment.
- Hardness: Influences the cutting equipment needed.
- Color and Pattern: Determines the aesthetic appeal.
- Transparency and Clarity: Affects how light interacts with the stone.
Exploring local stone suppliers or online marketplaces can uncover a variety of stones, each with unique characteristics. However, it’s essential to inspect the stone for any cracks or inclusions that could impact its integrity during cutting. A clean, flawless stone ensures a smoother cutting process and minimizes potential waste.
Lastly, understand the history and origin of the stone. Some stones may have cultural or historical significance, adding value to your project. Knowing the story behind your stone can also enhance the overall satisfaction of working with it, making the finished piece not just visually appealing but also rich in narrative.
In sum, selecting the right stone is about balancing practical considerations with your creative vision. Whether you’re aiming for a bold statement piece or a subtle addition to your collection, the right choice can elevate your stone cutting project from ordinary to extraordinary.
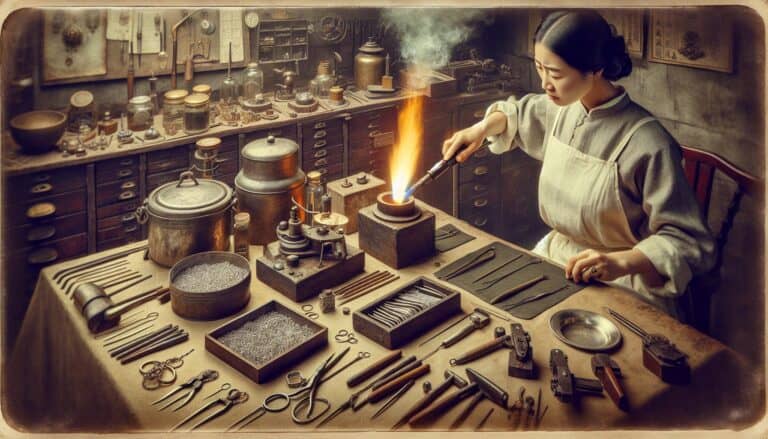
Essential Tools for Stone Cutting
When you’re gearing up for a stone cutting project, understanding the essential tools you’ll need is paramount. Stone cutting is an art that requires precision, patience, and the right equipment. Whether you’re a hobbyist or planning a professional project, here’s a run-down of the must-have tools to make your endeavor a success.
First up, safety gear can’t be overlooked. Eye protection, gloves, and dust masks are non-negotiables. Stone cutting generates a lot of dust and flying chips, so prioritize your health and safety.
Hand Tools
For finer, more detailed work, you can’t go wrong with traditional hand tools. Chisels, hammers, and files allow for a hands-on approach. Here’s a quick look:
- Chisels: Ideal for carving and shaping. You’ll want a variety of sizes.
- Hammers: Pair with chisels for precise cuts.
- Files and Rasps: Perfect for smoothing and finishing touches.
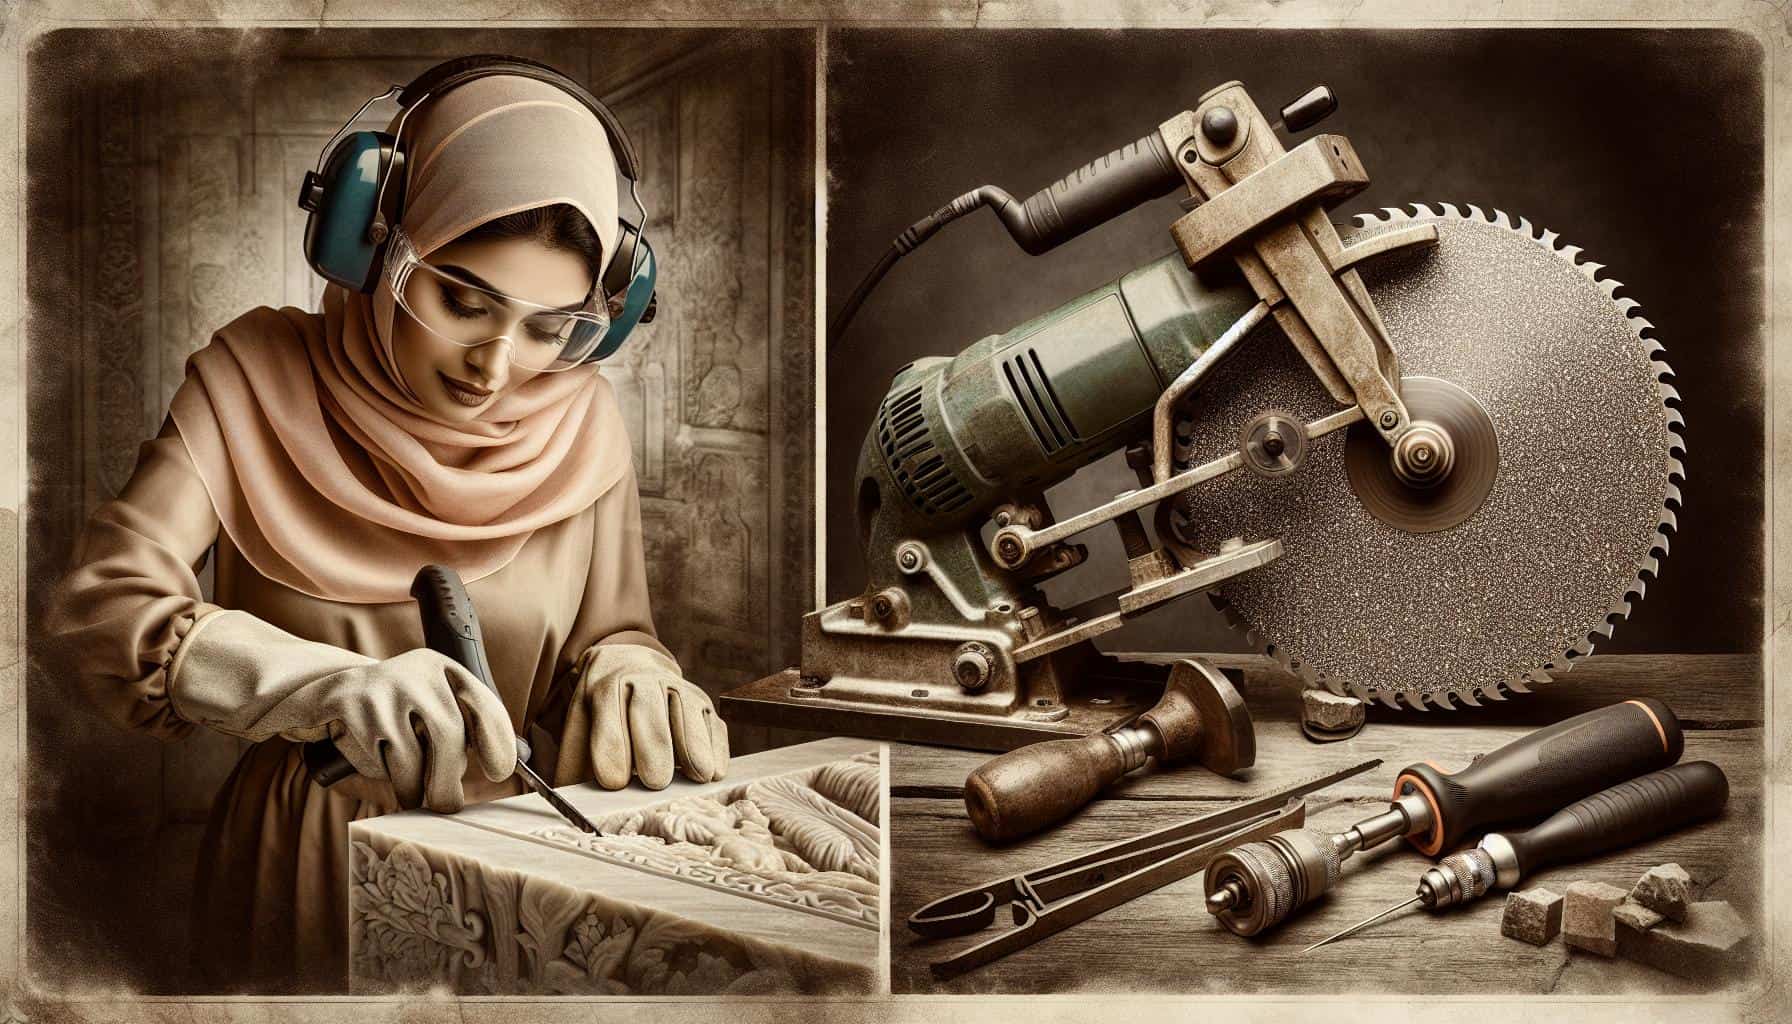
Power Tools
For larger cuts or when working with harder stones, power tools are your allies. They make the job quicker and require less physical effort.
- Angle Grinders: Versatile and powerful, angle grinders can cut, grind, and polish.
- Wet Saws: Essential for cutting thicker stone slabs. The water reduces dust and cools the blade.
- Drill Bits: Diamond-tipped drill bits are crucial for boring holes without cracking the stone.
Specialized Equipment
As you delve deeper into stone cutting, specialized equipment like diamond wire saws and polishing machines might become necessary. These tools offer precision and finish that hand and basic power tools can’t match.
Remember, the right tools not only make the work feasible but also protect the integrity of the stone, allowing for a more beautiful and lasting result. Investing in quality tools and familiarizing yourself with their proper use will elevate your stone cutting projects to new heights.
Understanding Different Stone Cutting Techniques
When diving into the art of stone cutting, it’s crucial to understand that various techniques can be applied depending on the type of stone you’re working with and the desired outcome. Each method has its own set of tools and procedures, which can significantly affect the final product’s quality and appearance.
Hand Tools Method
Starting with the basics, the hand tools method is one of the most traditional approaches to stone cutting. This technique primarily involves the use of:
- Chisels
- Hammers
- Files
These tools allow for intricate work and fine detailing, making them ideal for smaller projects or when precision is paramount. Although this method may be more time-consuming, the ability to control each cut precisely is unmatched.
Power Tools Method
For larger projects or harder stones, power tools are often the go-to option. These include:
- Angle grinders
- Wet saws
- Diamond-tipped drill bits
Power tools enable you to make quick and efficient cuts, significantly reducing the time and effort required compared to hand tools. However, it’s vital to operate these tools with care and proper safety gear to avoid accidents.
Advanced Equipment
For those looking to take their stone cutting to the next level, advanced equipment such as diamond wire saws and polishing machines offer the capability to handle complex cuts and finishes. These machines are designed for precision and efficiency, allowing for intricate designs and smooth finishes that are difficult to achieve with more basic tools.
By familiarizing yourself with these different stone cutting techniques and the tools associated with each, you’ll be better equipped to choose the most appropriate method for your project. Remember, the right technique not only makes the job easier but also ensures a higher quality outcome.
Mastering the Basic Cuts
Before diving into the vast world of stone cutting, it’s crucial to understand the basic cuts that serve as the foundation for more complex projects. Knowing how to execute these cuts accurately and safely can elevate your craftsmanship from novice to expert.
Straight Cuts
Straight cuts are the most common and are essential for most stone projects. For this type of cut, you’ll often use a wet saw. The wet saw keeps the stone and the blade cool, reducing the chances of the stone cracking or breaking during the cut. Precision is key, so always measure and mark your cutting line before you begin.
Curved Cuts
Curved cuts add elegance and complexity to your stone project. You can achieve these cuts using an angle grinder or a circular saw with a diamond-tipped blade. The key here is to go slow and steady, allowing the tool to do the work. Frequent stops to cool the stone with water will help prevent overheating and potential damage.
Holes and Internal Cuts
Creating holes and internal cuts require a more delicate approach. Using a diamond-tipped drill bit is your best bet for creating clean, circular holes. To make internal cuts without cutting through the entire stone, start by drilling a series of small holes along your marked line and then gently chisel out the unwanted stone. Patience and a steady hand are vital for this intricate work.
With practice, mastering these basic cuts will significantly improve your stone cutting skills. Each technique has its nuances and requires a specific set of tools to achieve the best results. Whether you’re working on a small personal project or a large construction task, understanding how to properly execute these fundamental cuts is the first step toward achieving outstanding outcomes in your stone cutting endeavors.
Tips for Achieving a Professional Finish
When diving into the world of stone cutting, achieving a professional finish is paramount. Whether you’re working on a small-scale project for your home or tackling larger construction tasks, the quality of the finish can significantly impact the overall aesthetics and durability of the end product. Here are some expert tips to ensure your stone cutting projects look polished and professional.
Choose the Right Tools: Your success greatly depends on having the right tools for the job. Invest in a high-quality wet saw for straight cuts, and don’t skimp on a durable angle grinder or circular saw with a diamond-tipped blade for curved cuts. Remember, the sharper the blade, the cleaner the cut.
Maintain Consistent Water Flow: If using a wet saw, maintaining a consistent water flow is crucial. Water not only keeps the blade cool but also reduces dust and debris, leading to a smoother cut. Check water levels frequently and adjust the flow as necessary to ensure optimal performance.
Measure Twice, Cut Once: This old adage holds true in stone cutting. Accurate measurements are key to professional results. Always double-check your dimensions before making any cuts to minimize mistakes and material wastage.
Sand for Smoothness: After cutting, the edges of the stone may feel rough and uneven. Use a series of sanding pads with different grits to smooth out the edges gradually. Start with a coarse grit and work your way to a finer grit for a seamless finish.
Practice Patience: Stone cutting requires patience and precision. Don’t rush the process. Take your time to ensure each cut is meticulous, and avoid forcing the blade through the stone. Allow the tool to do the work for you.
Wear Protective Gear: Safety cannot be overstated. Always wear appropriate protective gear, including gloves, eye protection, and a dust mask, to safeguard against potential hazards.
Conclusion
Embarking on your stone cutting journey can be both exciting and rewarding. With the right tools in hand and a focus on precision, you’re well on your way to achieving professional-grade finishes on your projects. Remember, patience and safety should always be your top priorities. By following the tips outlined, you’ll not only refine your craftsmanship but also enjoy the process from start to finish. So, gear up, measure twice, cut once, and let the beauty of your work shine through.