Star trails time-lapse videos capture the earth’s rotation relative to the stars in the sky, presenting a stunning visual of celestial motion.
To create a star trail time-lapse, you need to take a series of long-exposure photographs of the stars as they move across the sky and then combine these images into a video. Understanding the process is foundational for anyone looking to venture into astrophotography or expand their nighttime photography skills.
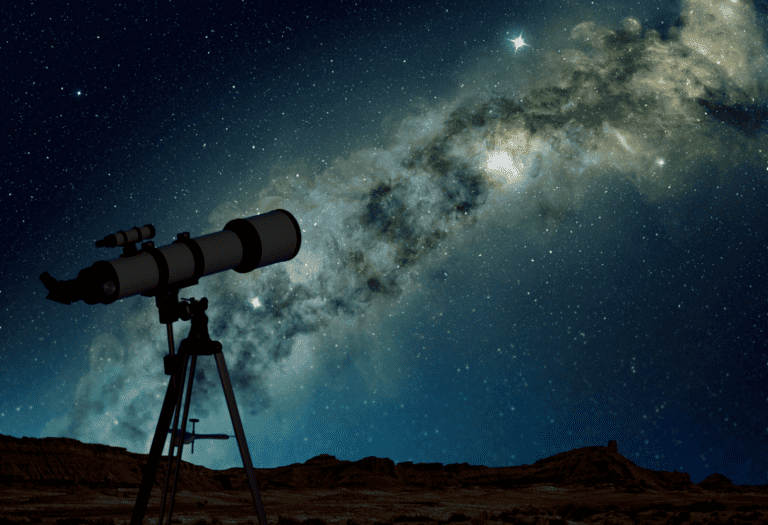
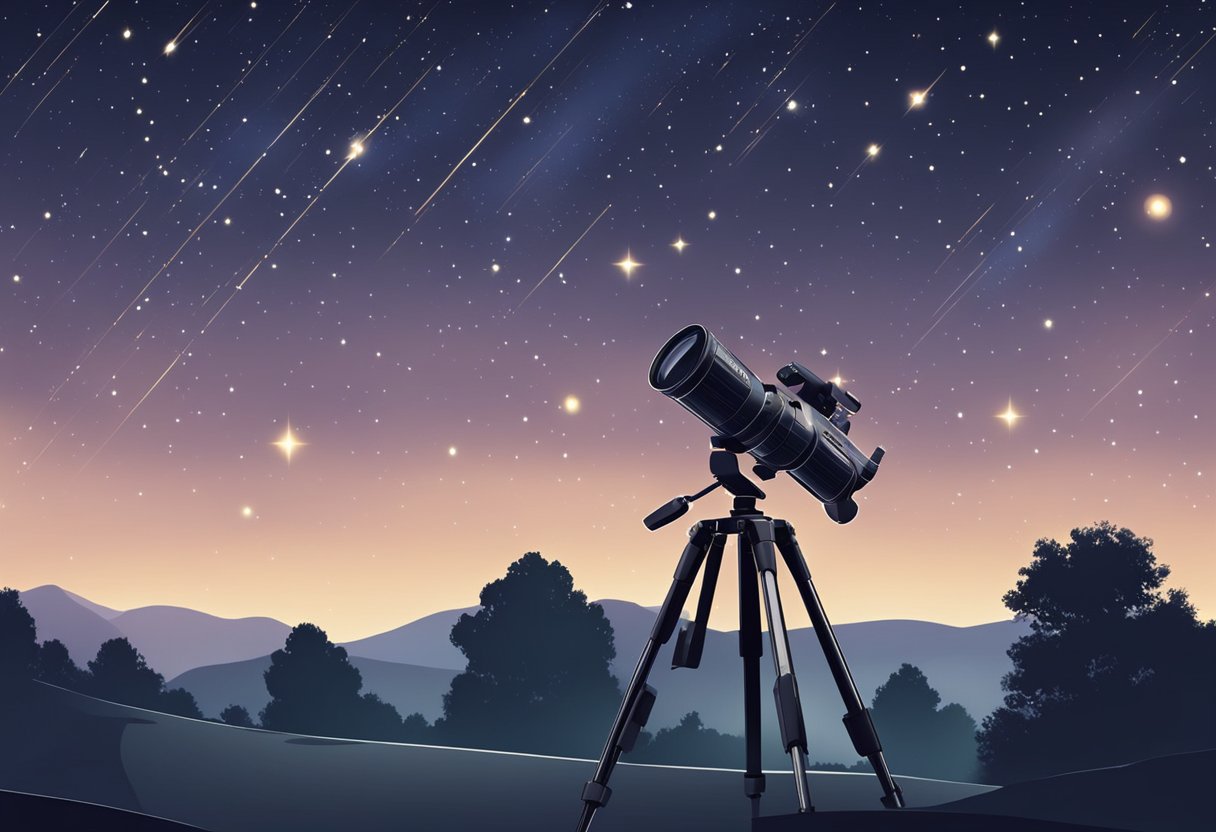
Getting the right equipment is the first step in creating a successful star trail time-lapse. You will need a camera capable of taking long exposures, a sturdy tripod to avoid camera shake, and an intervalometer for automating the shot sequence. Planning is crucial, and that involves scouting for a dark location away from light pollution, checking weather conditions, and knowing the celestial events conducive for capturing star trails.
Mastering your camera settings will ensure that you capture sharp images with minimal noise, and post-processing these images appropriately will produce that seamless trail effect showcasing the paths that stars paint across the celestial sphere.
To make a star trails time-lapse video, use a camera with long exposure capability, a tripod, and an intervalometer. Capture a series of long-exposure shots of the stars and combine them into a video, ensuring clarity and minimal noise.
Equipment and Setup
To create mesmerizing star trails time-lapse videos, the crux of your setup revolves around a reliable camera, a sturdy tripod, and an intervalometer for precise shot intervals.
Choosing the Right Camera and Lens
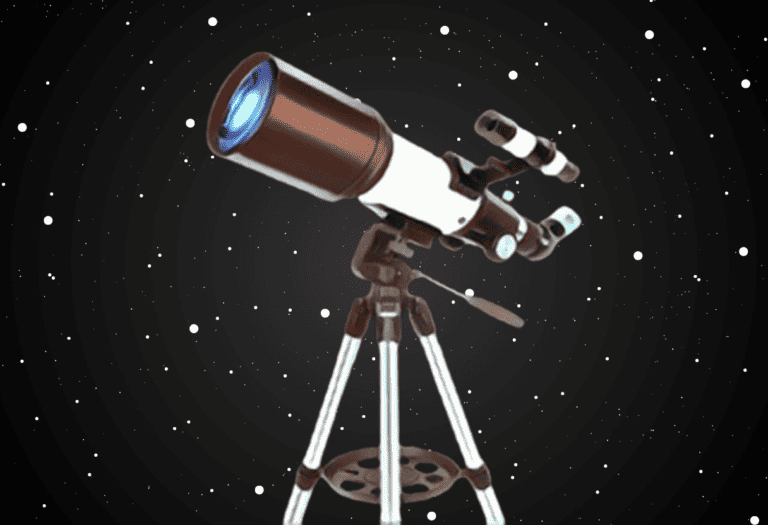
Select a camera capable of manual mode shooting, as you’ll need full control over exposure settings. A full-frame DSLR or mirrorless camera with a high ISO performance is preferable to capture the stars with minimal noise. Pair your camera with a wide-angle lens, specifically a fast lens with a wide aperture, such as f/2.8, to allow enough light for capturing clear star movements.
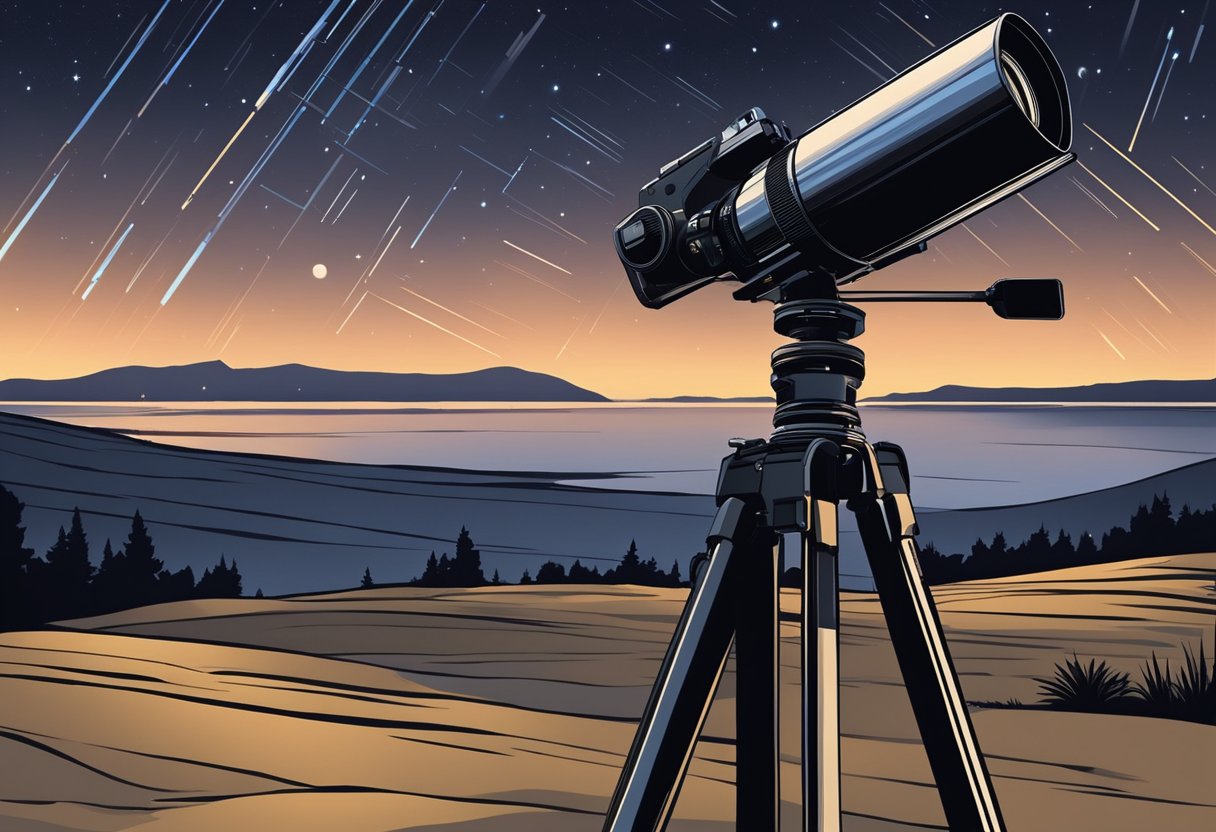
Tripod and Mount Setup
Your camera needs to be absolutely stable to avoid blurring during the long exposures required for star trails. Use a heavy-duty tripod with a smooth and reliable head to prevent any movement. For added stability against wind, hang a weight from the tripod’s center hook if available.
Intervalometer for Controlled Shooting
An intervalometer is essential for timing the sequence of shots needed for a time-lapse. This tool allows you to program the exposure length, interval between exposures, and the total number of shots. Setting the intervals correctly prevents gaps in the star trails. If your camera doesn’t have a built-in intervalometer, an external one is necessary for controlled shooting.
Planning Your Shoot
When preparing to create a star trails time-lapse video, the key points include thoughtful location scouting, a solid grasp of the night sky’s movements, and consideration of both weather and the moon’s phase. Each plays a crucial role in the success of your shoot.
Location Scouting
To capture the perfect star trails, selecting an optimal location with minimal light pollution is essential. Utilize light pollution maps to find dark sky locations, and perform an on-site visit during daylight to ensure safe, accessible shooting conditions and to pre-visualize compositions.
Understanding the Night Sky
Familiarize yourself with the night sky using astronomical apps to track star movements and constellations. Architect your shoot timing based on when key celestial bodies or the Galactic Core of the Milky Way are visible.
Weather and Moon Phase Considerations
The clarity of the sky is pivotal for star trail photography. Check weather forecasts for clear, cloudless skies, and plan around the new moon phase to avoid the moon’s brightness washing out the stars. Accurate weather apps and moon phase calendars are vital tools in this planning stage.
Camera Settings
Setting your camera correctly is pivotal to capturing stunning star trail time lapses. You’ll need to control exposure, maintain sharp focus, and ideally shoot in RAW for the best post-processing flexibility.
Exposure Settings
To render the motion of stars as trails across the night sky, your camera’s exposure settings will need to balance light sensitivity with shutter speed. Aim for an ISO setting that’s high enough to capture starlight but low enough to minimize noise – a range between 800 to 3200 ISO is common. Utilize a wide aperture, such as f/2.8 or f/4, to let in enough light. Your shutter speed can range from 15 seconds to several minutes, depending on desired trail length and ambient light conditions. Experiment with settings to find a balance that prevents overexposure while providing a sufficient length of trails.
Focus and Composition
For sharp star trails, set your lens to manual focus and adjust it to the infinite setting. Be sure to check your focus by reviewing test shots at maximum zoom on your camera’s display. Compose your shot by positioning the horizon and other elements to create a compelling frame. Remember that the North or South celestial pole will create a circular trail pattern, while stars at the equator will form straight lines.
Shooting in RAW Format
Always shoot in RAW format to capture the most image data. This format preserves all the data from your camera sensor, which is crucial when editing your time-lapse in post-production to adjust exposure, white balance, and color grading with no loss in image quality. Make sure your camera’s memory card has ample space, as RAW files are significantly larger than JPEGs.
Capturing the Time Lapse
Creating a star trails time lapse video requires precision and patience. You’ll set the foundation for a successful shoot by meticulously adjusting the interval between shots and the total shooting time to capture the celestial motion.
Setting the Interval Between Shots
Choose an interval that allows the stars to move appreciably between exposures, typically between 15 to 30 seconds. Use an intervalometer or your camera’s built-in timer function to automate the shots. The interval you select will affect the smoothness of the star trails and how they appear in your final time lapse video.
Determining the Total Shooting Time
Calculate the total shooting time based on the desired length of your final time lapse video and the frame rate. If you want a 10-second video at 24 frames per second, you’ll need 240 individual shots. Ensure your battery lasts the duration and consider external power sources for longer shoots.
Post-Processing
After capturing your time-lapse sequences, the post-processing stage is crucial for enhancing the final output and achieving that mesmerizing star trail effect. Proper techniques will bring clarity and vibrance to your night sky images.
Stacking Star Trail Images
Begin by stacking your images—a technique to overlay multiple photos taken in sequence to create one image showing the paths of stars as they move across the sky. For this, use software designed for astrophotography, which will align your shots using the stars as reference points and blend them to illustrate the perceived motion of the celestial bodies.
- Select all images: Ensure they are from the same sequence and have consistent exposure.
- Align and blend: Use the software to align the stars and blend the images.
Keep in mind: The process may vary slightly depending on the software, but the principle remains the same.
Editing Techniques for Time Lapse Video
After stacking, focus on editing your time-lapse video to correct colors, brightness, and contrast. This will make your stars stand out against the night sky and present a more visually appealing video.
- Color correction: Balance the whites and colors so that the night sky appears natural.
- Contrast adjustment: Heighten the contrast to make the stars more pronounced.
These steps can be completed with standard video editing software that allows frame-by-frame manipulation. Remember, subtle changes can make a significant difference to the overall aesthetic.
Frequently Asked Questions
When venturing into the creation of a star trail timelapse video, you may have several queries. Below are clear, concise answers to common questions that will assist you in producing stunning celestial captures.
What equipment is needed to record a star trail timelapse?
To record a star trail timelapse, you’ll need a digital SLR camera or a camera that allows manual control of exposure settings. Additionally, a sturdy tripod is essential for stability, and an intervalometer to control the frequency and duration of your photographs is highly recommended. Exploring the niche of astrophotography could also motivate you to consider advanced equipment options for capturing star trails.
Which apps or software are recommended for creating star trail videos?
There are numerous software options available for creating star trail videos. For stacking images to create star trails, StarStaX is a popular choice. For post-processing and editing the timelapse sequence, software like Adobe After Effects or LRTimelapse can be beneficial.
What are the optimal camera settings for capturing a star trail timelapse?
The optimal settings for a star trail timelapse include a wide aperture (ideally f/2.8 or lower), a shutter speed of at least 30 seconds, and a low ISO to reduce noise. It’s also critical to shoot in RAW format for the highest quality output during post-processing.
How can I capture star trails using an iPhone?
Capture star trails on an iPhone by using an app that allows long exposure and timelapse photography, such as NightCap Camera. It’s essential to mount your iPhone on a tripod to prevent movement and to find a location with minimal light pollution to ensure the best results.
Is it possible to create a star trail timelapse video without spending money on software?
Yes, it’s possible to create a star trail timelapse video without spending on software by utilizing free tools like StarStaX for stacking images and OpenShot or DaVinci Resolve for video editing.
What are the best practices for shooting a star trail video in terms of location and conditions?
Choose a dark location far from city lights to minimize light pollution. Dry, clear skies with minimal clouds are ideal conditions. Also, ensure there’s a captivating foreground to add depth to your star trail video. Be mindful of the moon phase; a new moon night is preferable to prevent the moonlight from washing out the stars.