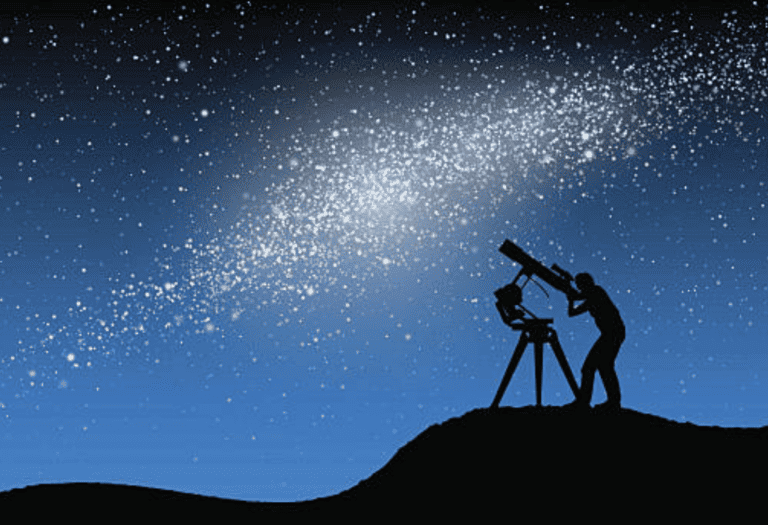
Choosing a star tracker for astrophotography can be a daunting task, but it’s essential if you want to capture stunning images of the night sky.
A star tracker is a device that helps you track the movement of the stars as the Earth rotates. This allows you to take long-exposure photographs without getting star trails.
Understanding star trackers is the first step in choosing the right one for your needs. There are several types of star trackers available, each with its own set of features and capabilities. Some are more suited for beginners, while others are designed for advanced astrophotographers. It’s important to understand what each type of star tracker can do and how it works before making a decision.
Setting up your star tracker correctly is also crucial for getting the best results. This involves finding a suitable location, aligning the tracker with the North Star, and calibrating it for your camera and lens.
With the right setup, you’ll be able to capture stunning images of the Milky Way, constellations, and other celestial objects.
Selecting the right star tracker is crucial for astrophotography, enabling long-exposure shots without star trails by compensating for Earth’s rotation. Key considerations include type (equatorial or alt-azimuth), features like polar scope and alignment, mount stability, and portability.
Understanding Star Trackers
If you’re interested in astrophotography, you’ll need to choose a star tracker that suits your needs. A star tracker is a device that helps you capture clear images of the night sky by compensating for the Earth’s rotation. In this section, we’ll discuss the types of star trackers available and the key features to consider when choosing one.
Types of Star Trackers
There are two main types of star trackers: equatorial and alt-azimuth. Equatorial star trackers are designed to align with the Earth’s axis of rotation, making them ideal for long-exposure astrophotography. Alt-azimuth star trackers, on the other hand, are simpler and easier to use, but they’re not as precise as equatorial star trackers.
Equatorial star trackers are typically mounted on an equatorial mount, which allows the device to rotate around a single axis. Alt-azimuth star trackers, on the other hand, are mounted on a simple tripod and move in two axes: up and down, and left and right.
Key Features to Consider
When choosing a star tracker, there are several key features to consider. These include:
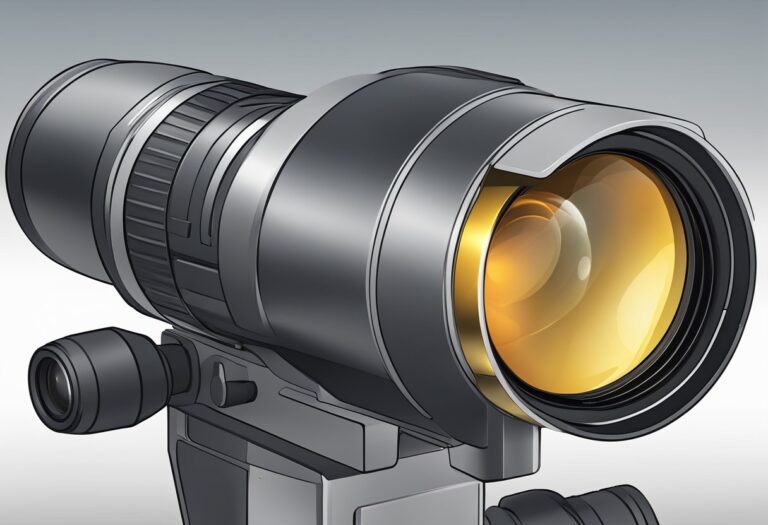
Polar scope: A polar scope is a device that helps you align your star tracker with the Earth’s axis of rotation. Some star trackers come with a built-in polar scope, while others require you to purchase one separately.
Polar alignment: Polar alignment is the process of aligning your star tracker with the Earth’s axis of rotation. This is typically done using a polar scope and can be a time-consuming process.
Mounts: Equatorial mounts are typically more stable and precise than alt-azimuth mounts, but they’re also more expensive and difficult to set up.
Portability: If you plan on taking your star tracker with you on trips, you’ll want to choose a device that’s lightweight and portable.
When choosing a star tracker, it’s important to consider your needs and budget. Equatorial star trackers are typically more expensive and require more setup time, but they offer greater precision and stability. Alt-azimuth star trackers, on the other hand, are simpler and easier to use, but they’re not as precise as equatorial star trackers.
Setting Up Your Star Tracker
Astrophotography requires a high level of accuracy and precision. One of the most crucial components of astrophotography is the star tracker. A star tracker is a device that tracks the movement of stars, allowing you to capture stunning images of the night sky. In this section, we will discuss how to set up your star tracker for astrophotography.
Polar Alignment Process
The first step in setting up your star tracker is to perform a polar alignment. Polar alignment is the process of aligning your star tracker with the North Star (Polaris) to ensure that it tracks the stars accurately. To perform a polar alignment, you will need a tripod and a declination bracket.
- Place your tripod on a level surface and attach your star tracker to the top of the tripod.
- Adjust the tripod legs to ensure that the star tracker is level.
- Attach the declination bracket to the star tracker.
- Point the declination bracket towards the North Star (Polaris).
- Adjust the altitude and azimuth controls on your star tracker until the polar axis is aligned with the North Star.
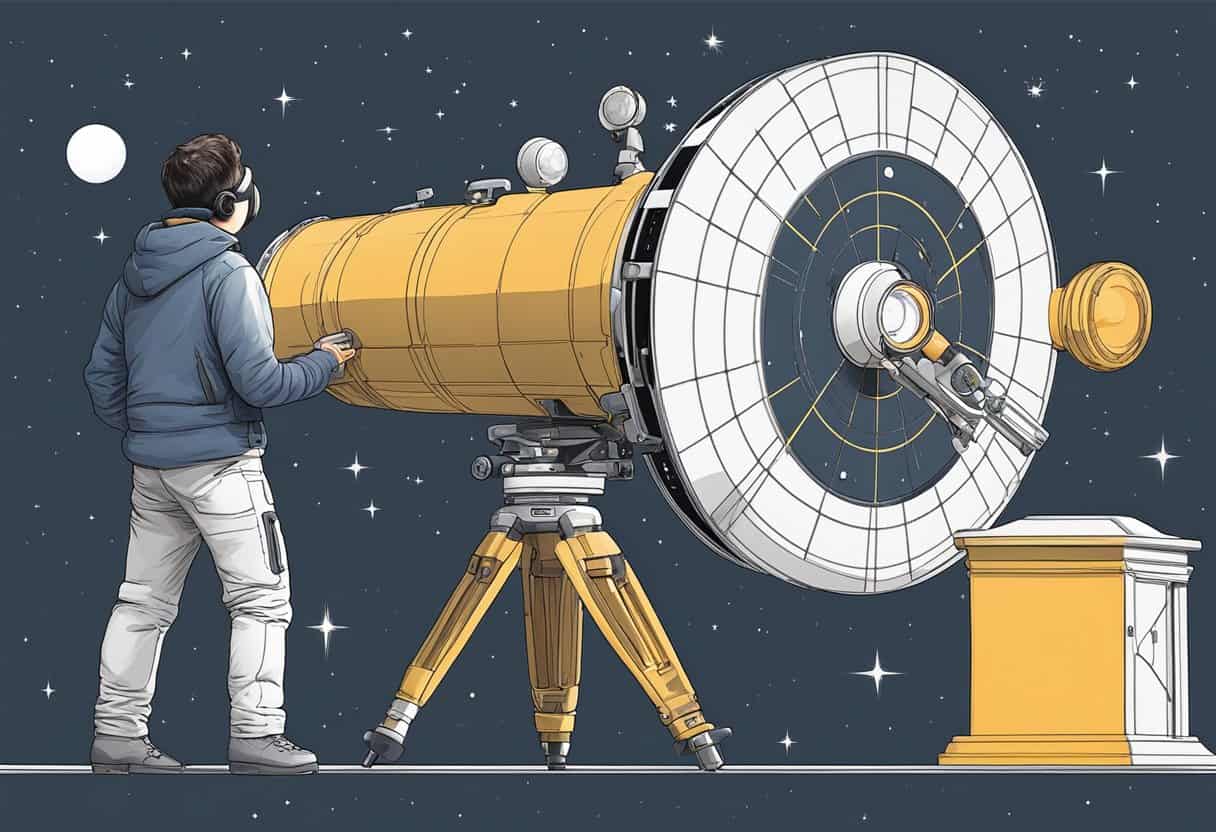
Mounting and Balancing
Once you have performed a polar alignment, the next step is to mount and balance your camera on the star tracker.
- Attach your DSLR or mirrorless camera to the ball head of the star tracker.
- Adjust the ball head to ensure that your camera is level.
- Adjust the counterweight on the opposite side of the camera to balance the payload properly.
- Ensure that the payload capacity of your star tracker is sufficient to support your camera and lens.
By following these steps, you can set up your star tracker for astrophotography and capture stunning images of the night sky.
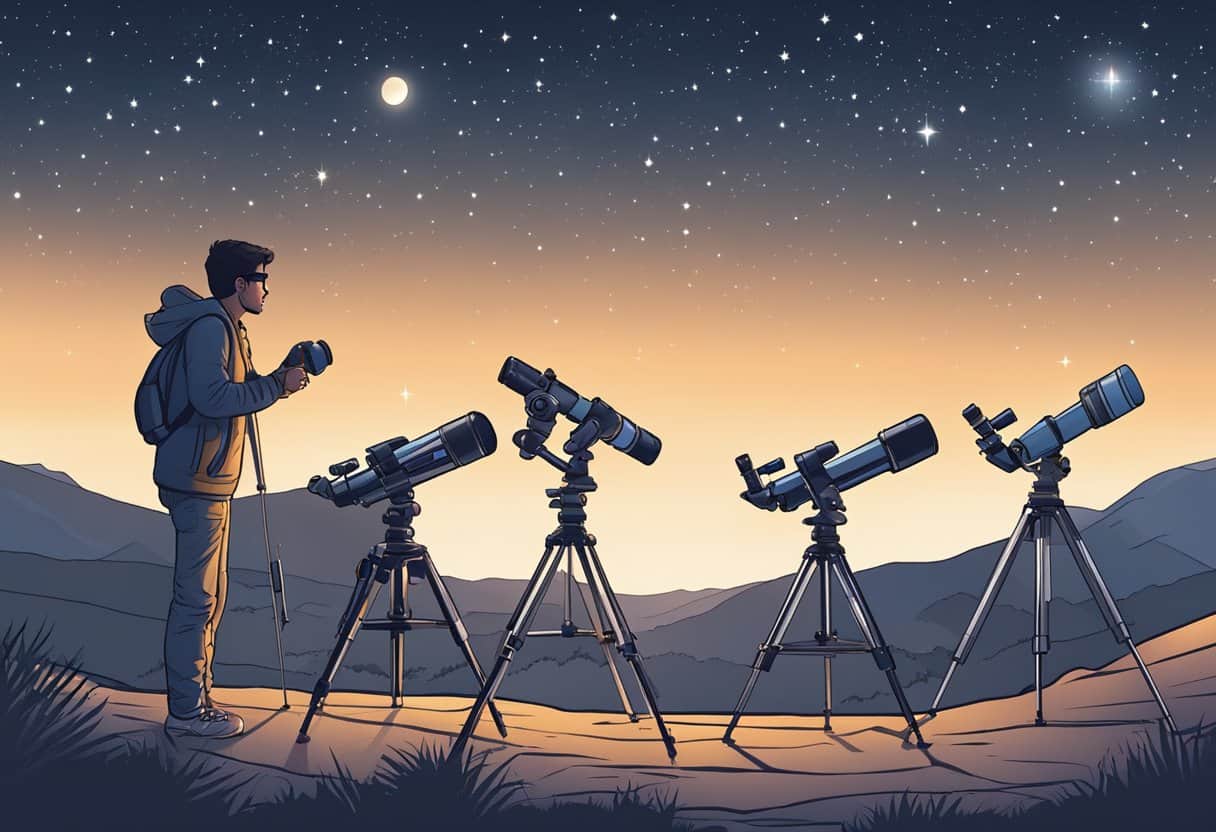
Choosing the Right Star Tracker
Astrophotography requires precision and stability. A star tracker is an essential piece of equipment for capturing stunning images of the night sky. Choosing the right star tracker can be overwhelming, but understanding the factors that affect performance and comparing popular models can help you make an informed decision.
Comparing Popular Models
There are many popular star trackers on the market, each with its own strengths and weaknesses. Here are some of the best star trackers for astrophotography:
iOptron SkyGuider Pro: This star tracker is a popular choice for astrophotographers due to its accuracy and portability. It can support up to 11 pounds of equipment and has a built-in rechargeable battery.
Sky-Watcher Star Adventurer: This star tracker is another popular choice for astrophotographers. It can support up to 11 pounds of equipment and has a battery life of up to 72 hours.
Benro Polaris: This star tracker is a great option for those on a budget. It can support up to 5.5 pounds of equipment and has a built-in rechargeable battery.
Move Shoot Move: This star tracker is unique in that it rotates the camera instead of the tracker itself. It is lightweight and portable, making it a great option for travel.
Sky-Watcher Star Adventurer Pro: This is an upgraded version of the Sky-Watcher Star Adventurer. It has improved tracking accuracy and can support up to 11 pounds of equipment.
Fornax LighTrack II: This star tracker is a high-end option for astrophotographers. It has a weight capacity of up to 22 pounds and can track for up to 6 hours.
Vixen Optics Polarie: This star tracker is another popular option for astrophotographers. It is lightweight and portable, making it a great option for travel. It can support up to 7 pounds of equipment.
Factors Affecting Performance
When choosing a star tracker, there are several factors to consider that can affect its performance:
Weight: The weight capacity of the star tracker should be able to support the weight of your camera and lens.
Battery Life: Battery life is important, especially if you plan on taking long exposures. Make sure the star tracker has a battery life that is sufficient for your needs.
Portability: If you plan on traveling with your star tracker, portability is important. Look for a star tracker that is lightweight and easy to transport.
Value: Consider the features and price of the star tracker to determine if it provides good value for your budget.
Choosing the right star tracker can make all the difference in capturing stunning images of the night sky. Consider your needs and budget, and compare popular models to find the best star tracker for your astrophotography setup.
Advanced Techniques and Tips
When it comes to choosing a star tracker for astrophotography, there are a few advanced techniques and tips that can help you get the best results. In this section, we will cover two key areas: Long Exposure Astrophotography and Photographing Deep-Sky Objects.
Long Exposure Astrophotography
One of the most important aspects of astrophotography is getting the right exposure time. When taking long exposures, you need to make sure that your camera is stable and that your subject is in focus. To achieve this, you should consider using a star tracker that has a high tracking accuracy and can handle long exposure times.
When taking long exposures, it is also important to consider your focal length and ISO settings. A longer focal length will require a shorter exposure time, while a higher ISO setting will allow you to use a shorter exposure time. However, using a higher ISO setting can also introduce more noise into your images.
Photographing Deep-Sky Objects
Photographing deep-sky objects requires a different approach than capturing the Milky Way. For deep-sky astrophotography, you will need to use a longer focal length and a higher ISO setting. You will also need to use a star tracker that can handle longer exposure times and has a high tracking accuracy.
When photographing deep-sky objects, it is important to use the sidereal rate tracking mode on your star tracker. This will allow you to track the movement of the stars across the sky and keep them in focus. Additionally, you should consider using a longer exposure time to capture more detail in your images.
For tracked astrophotography, you can also create stunning tracked Milky Way panoramas. To achieve this, you should use a wide-angle lens and take multiple exposures while tracking the stars. You can then stitch these images together in post-processing to create a panoramic image of the Milky Way.
In summary, when choosing a star tracker for astrophotography, it is important to consider the tracking modes, exposure time, focal length, and ISO settings. By following these advanced techniques and tips, you can take stunning long exposure and deep-sky astrophotography images with your star tracker.
Frequently Asked Questions
What are the key features to look for in a star tracker for astrophotography?
When selecting a star tracker for astrophotography, there are several key features to consider. First, you’ll want to look for a tracker that has a high weight capacity, as this will allow you to use heavier cameras and lenses. Additionally, you’ll want to look for a tracker with accurate tracking capabilities, as this will ensure that your images are sharp and free of star trails. Finally, you’ll want to consider the battery life of the tracker, as longer battery life will allow you to shoot for longer periods of time without needing to recharge.
How does a star tracker improve astrophotography results?
A star tracker is an essential tool for astrophotography, as it allows you to capture long-exposure images of the night sky without the blurring effects of the Earth’s rotation. By keeping your camera pointed at the same spot in the sky, a star tracker ensures that your images are sharp and free of star trails, resulting in clear and detailed images of celestial objects.
What are the budget-friendly options for star trackers that don’t compromise on quality?
While there are many high-end star trackers on the market, there are also several budget-friendly options that offer excellent performance and accuracy. One such option is the Sky-Watcher Star Adventurer, which is a lightweight and portable tracker that can support up to 11 pounds of weight. Another option is the iOptron SkyGuider Pro, which offers accurate tracking and a high weight capacity for a reasonable price.
Can entry-level DSLRs benefit from using a star tracker, and which models are recommended?
Absolutely! Entry-level DSLRs can benefit greatly from using a star tracker, as it allows you to capture long-exposure images of the night sky without the blurring effects of the Earth’s rotation. Some recommended entry-level DSLRs for astrophotography include the Canon EOS Rebel T7i and the Nikon D5600.
What are the pros and cons of using a star tracker with a telescope for astrophotography?
Using a star tracker with a telescope for astrophotography can provide several benefits, including increased accuracy and longer exposure times. However, there are also some drawbacks to consider, such as increased setup time and the need for additional equipment. Additionally, using a star tracker with a telescope can be more challenging than using it with a camera alone, as it requires more precise alignment and tracking.
How does the iOptron Star Tracker compare to other leading brands in terms of performance and cost?
The iOptron Star Tracker is a popular choice among astrophotographers due to its high accuracy, ease of use, and reasonable price. While there are other leading brands on the market, such as Sky-Watcher and Vixen, the iOptron Star Tracker offers a great balance of performance and cost, making it an excellent choice for both beginners and experienced astrophotographers alike.